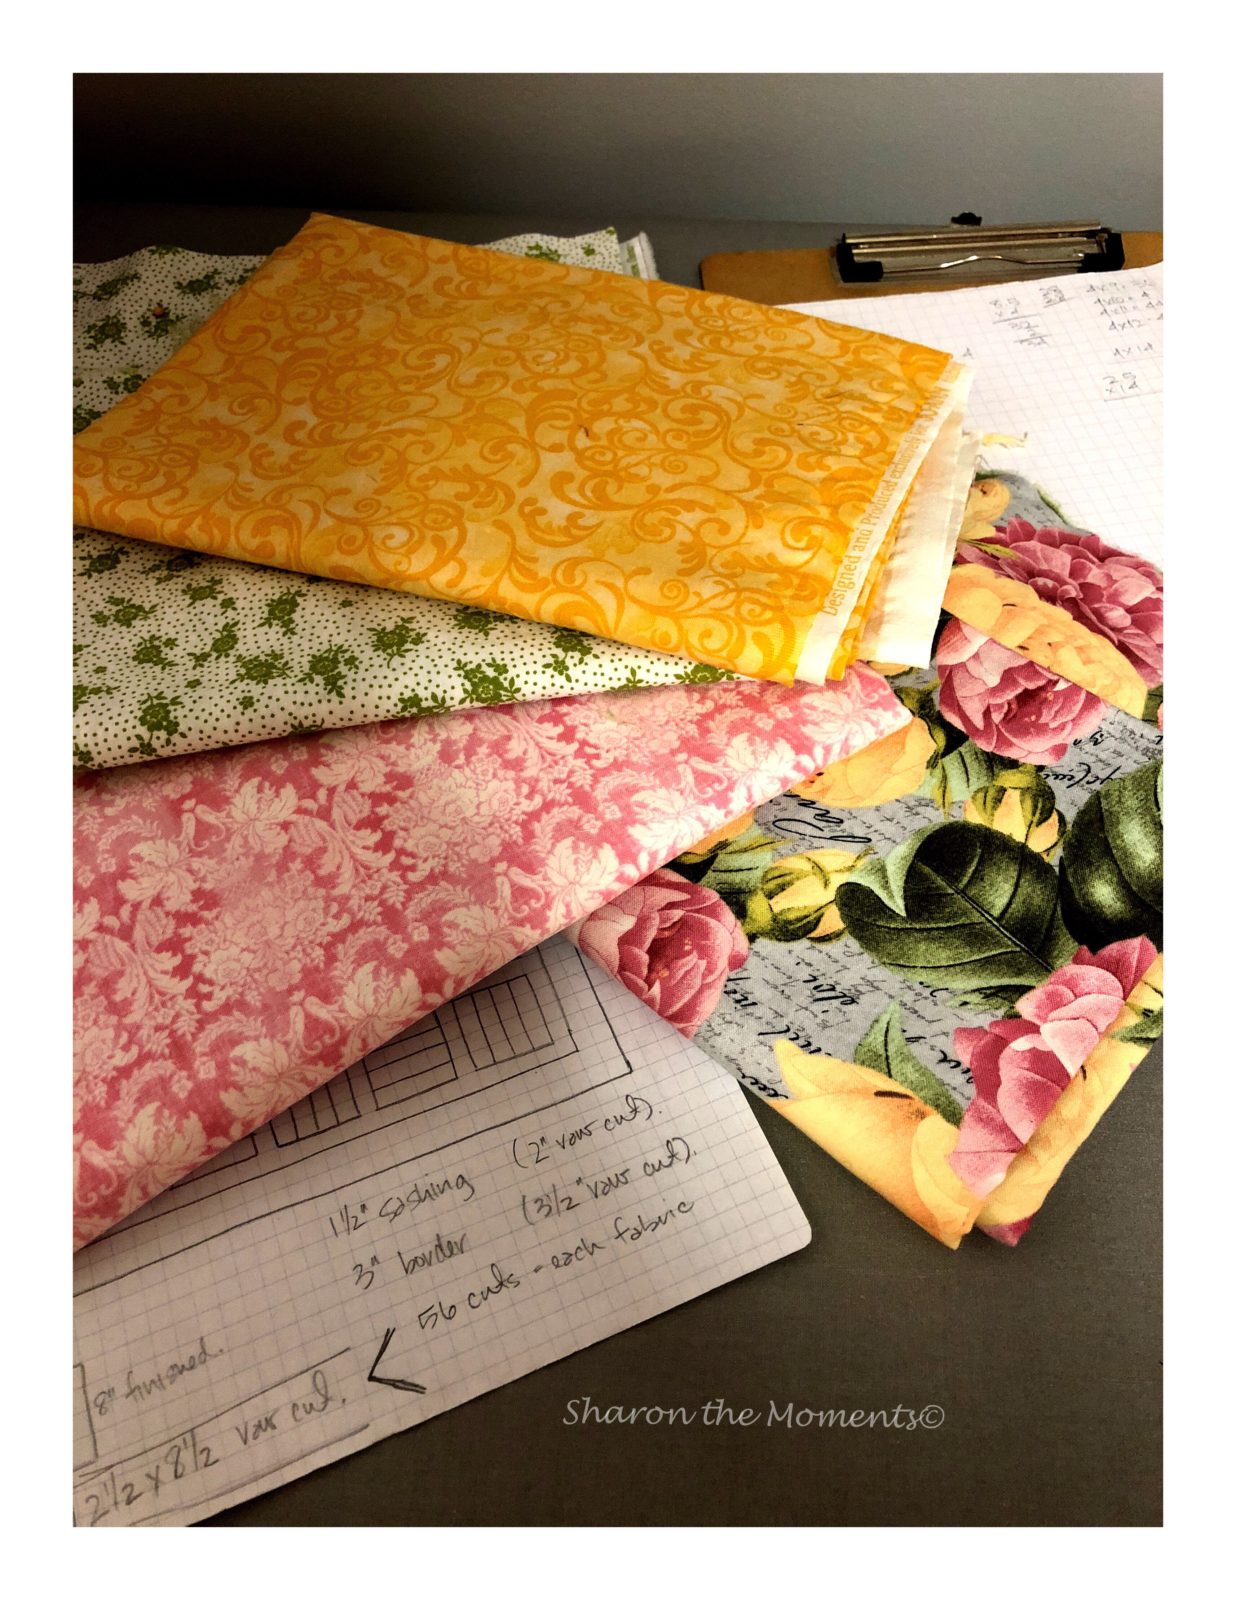
I bought these coordinating fabrics (1 1/2 yards each), several years ago in hopes of turning them into a quilt for my bedroom. When I purchased the fabrics, I didn’t have a pattern in mind, I just knew I loved the colors and how they worked well together. (Don’t all quilters buy fabric that way?) Each print has a beautiful floral pattern that inspired the name of my quilt, Flower Garden.
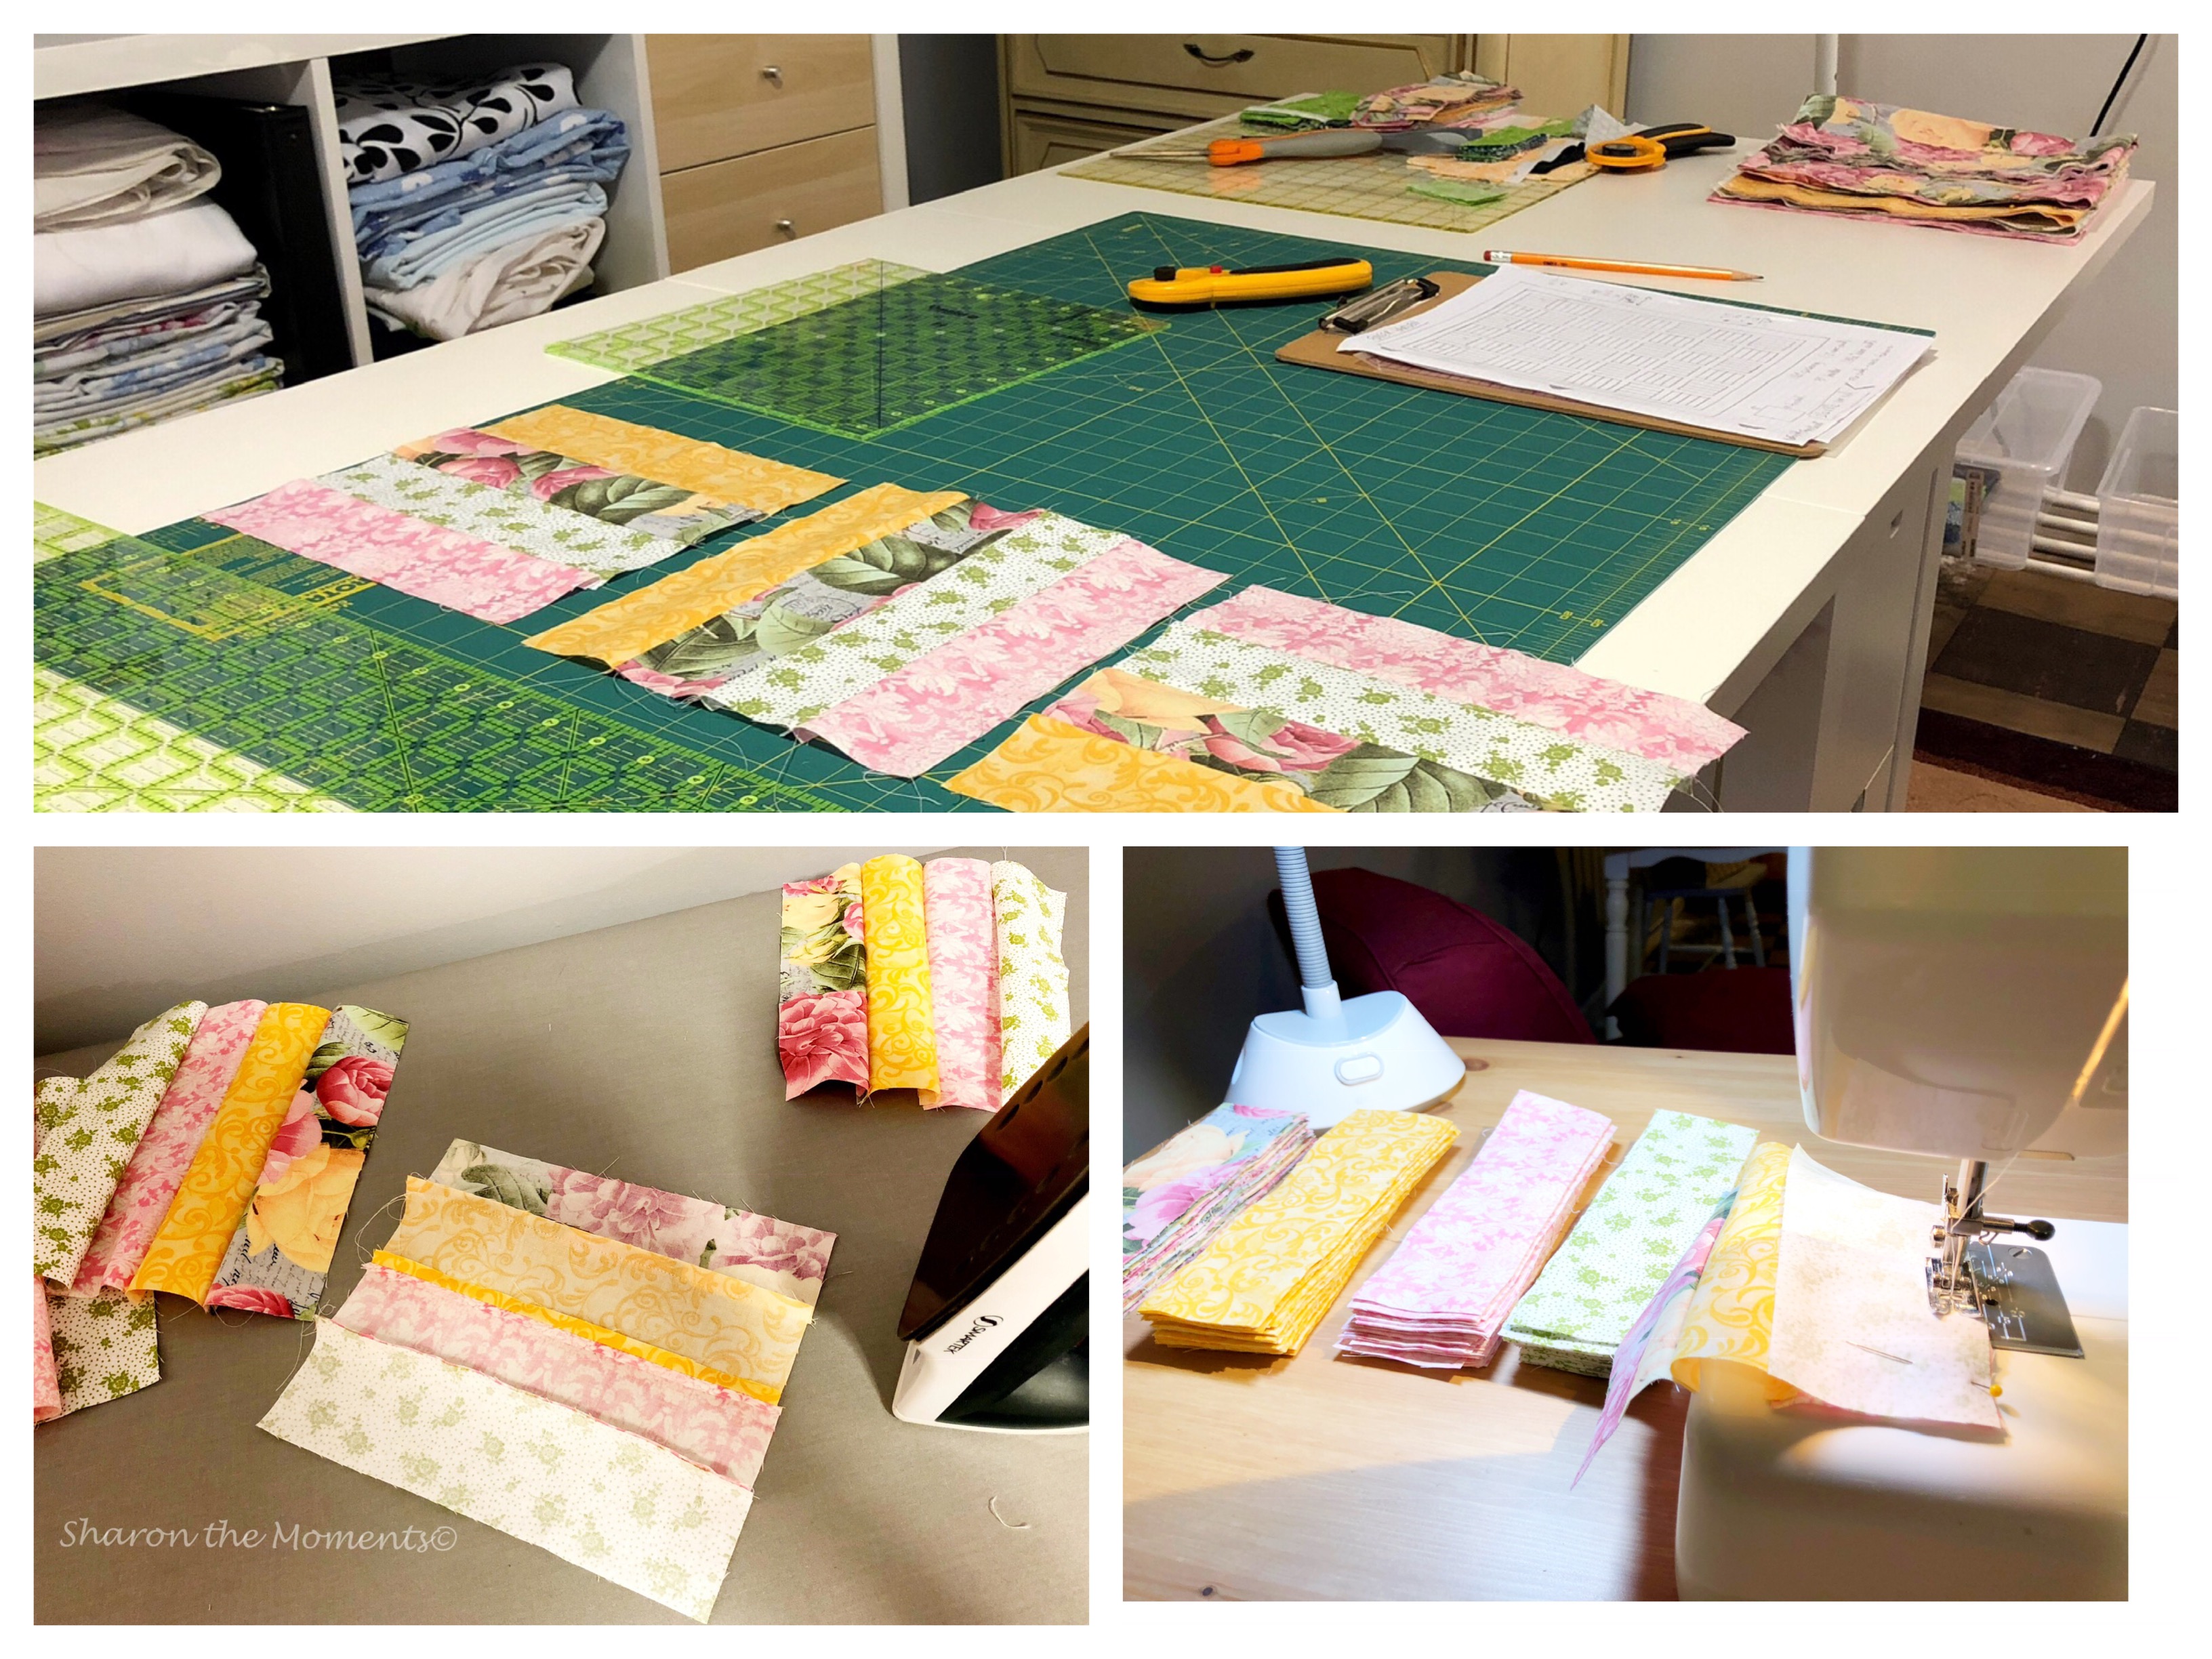
From there, I did a lot of searching and researching sizes and other patterns from numerous Pinterest posts. I created a pattern that I loved and felt would work with my (beginner) quilting skill set and my free time. (I also use a lot of graph paper for sketching out my designs. This step also helps with the sizing and cutting needs. My design included 4 8×2 inch strips sewn together to make an 8×8 inch square finished. Once my fabrics were washed, dried and ironed, I then begin to cut all my strips. I have created a cutting table area and use a fabric rotary cutter on the cutting mat. I also use a quilter square with all the measurement for cutting which makes life that my easier.
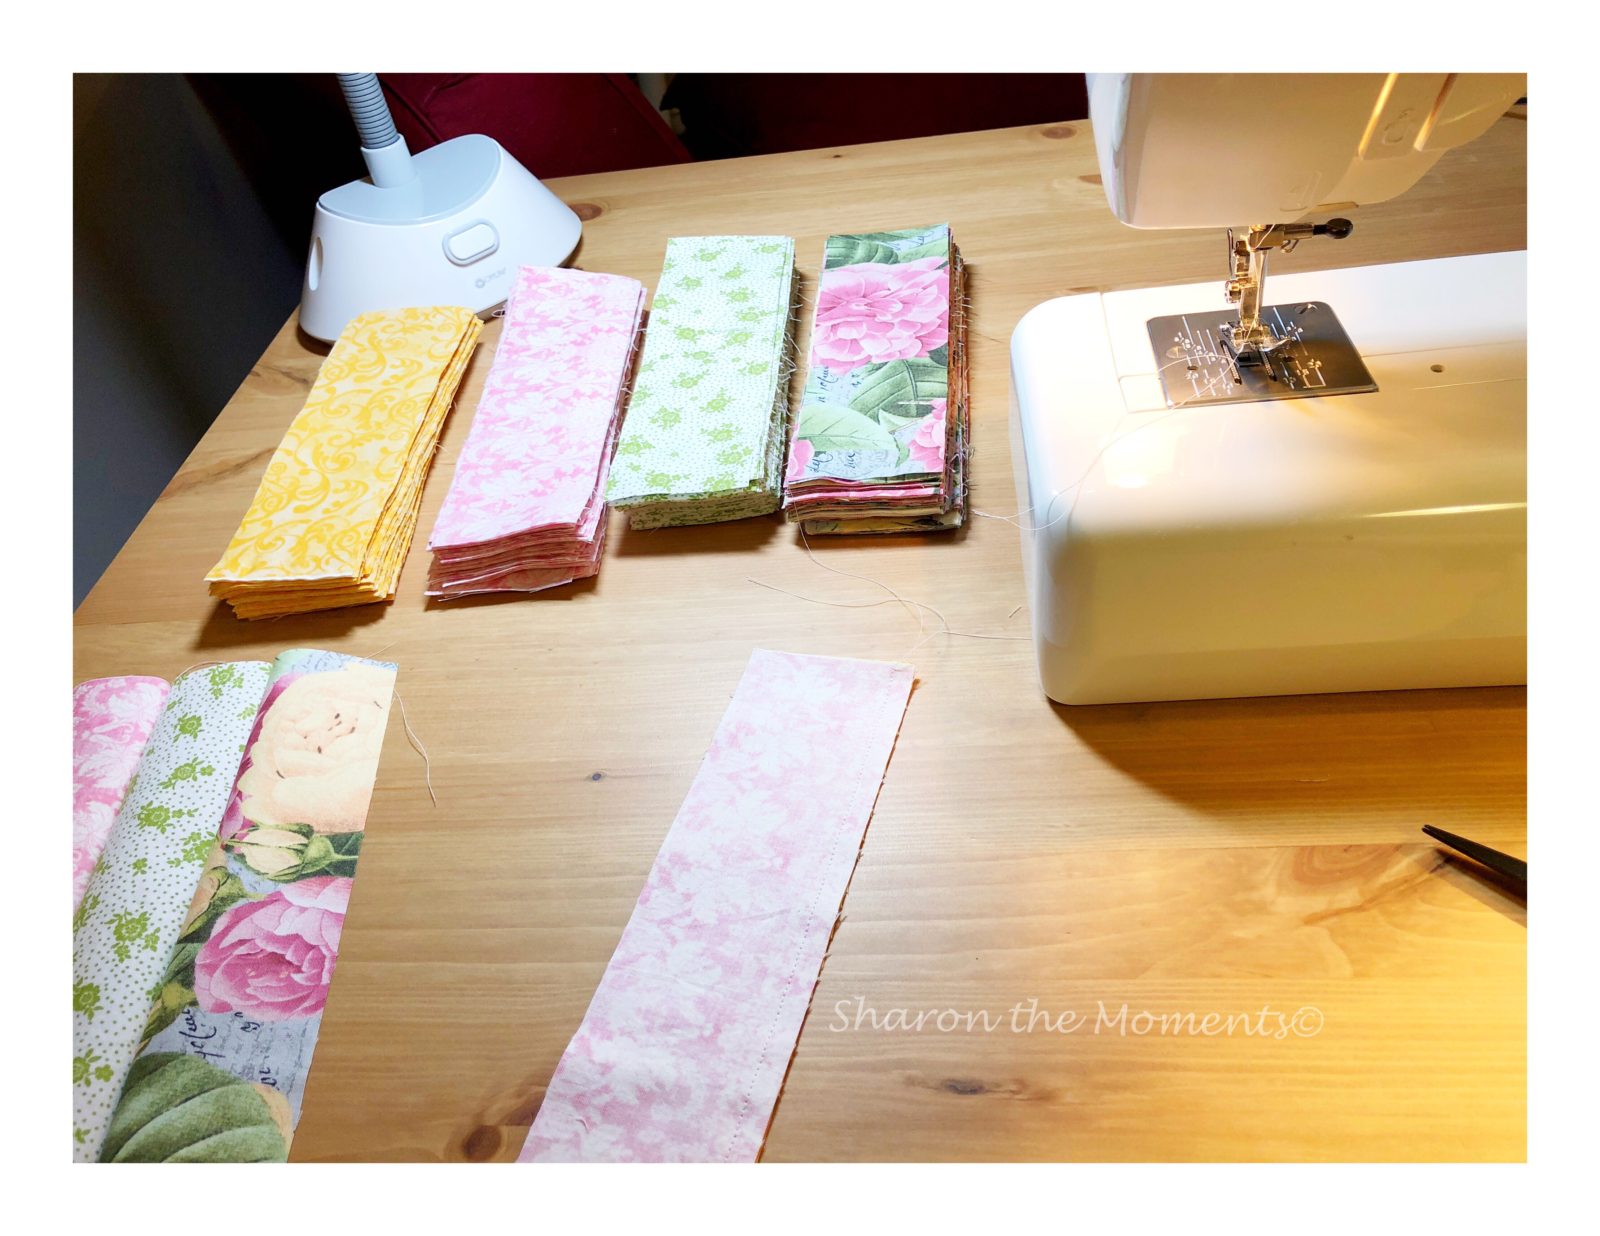
Fabric 1 through 4: 48 cuts each at 2 1/2 inches x 8 1/2 inches (I use a 1/4 sewing allowance). Once I had all my cuts of each fabric, I then placed them in an order to like and began sewing right sides together creating 48 8×8 1/2 squares. (Remember the top and bottom still need to be sewn allowing an 1/4 sewing allowance each).
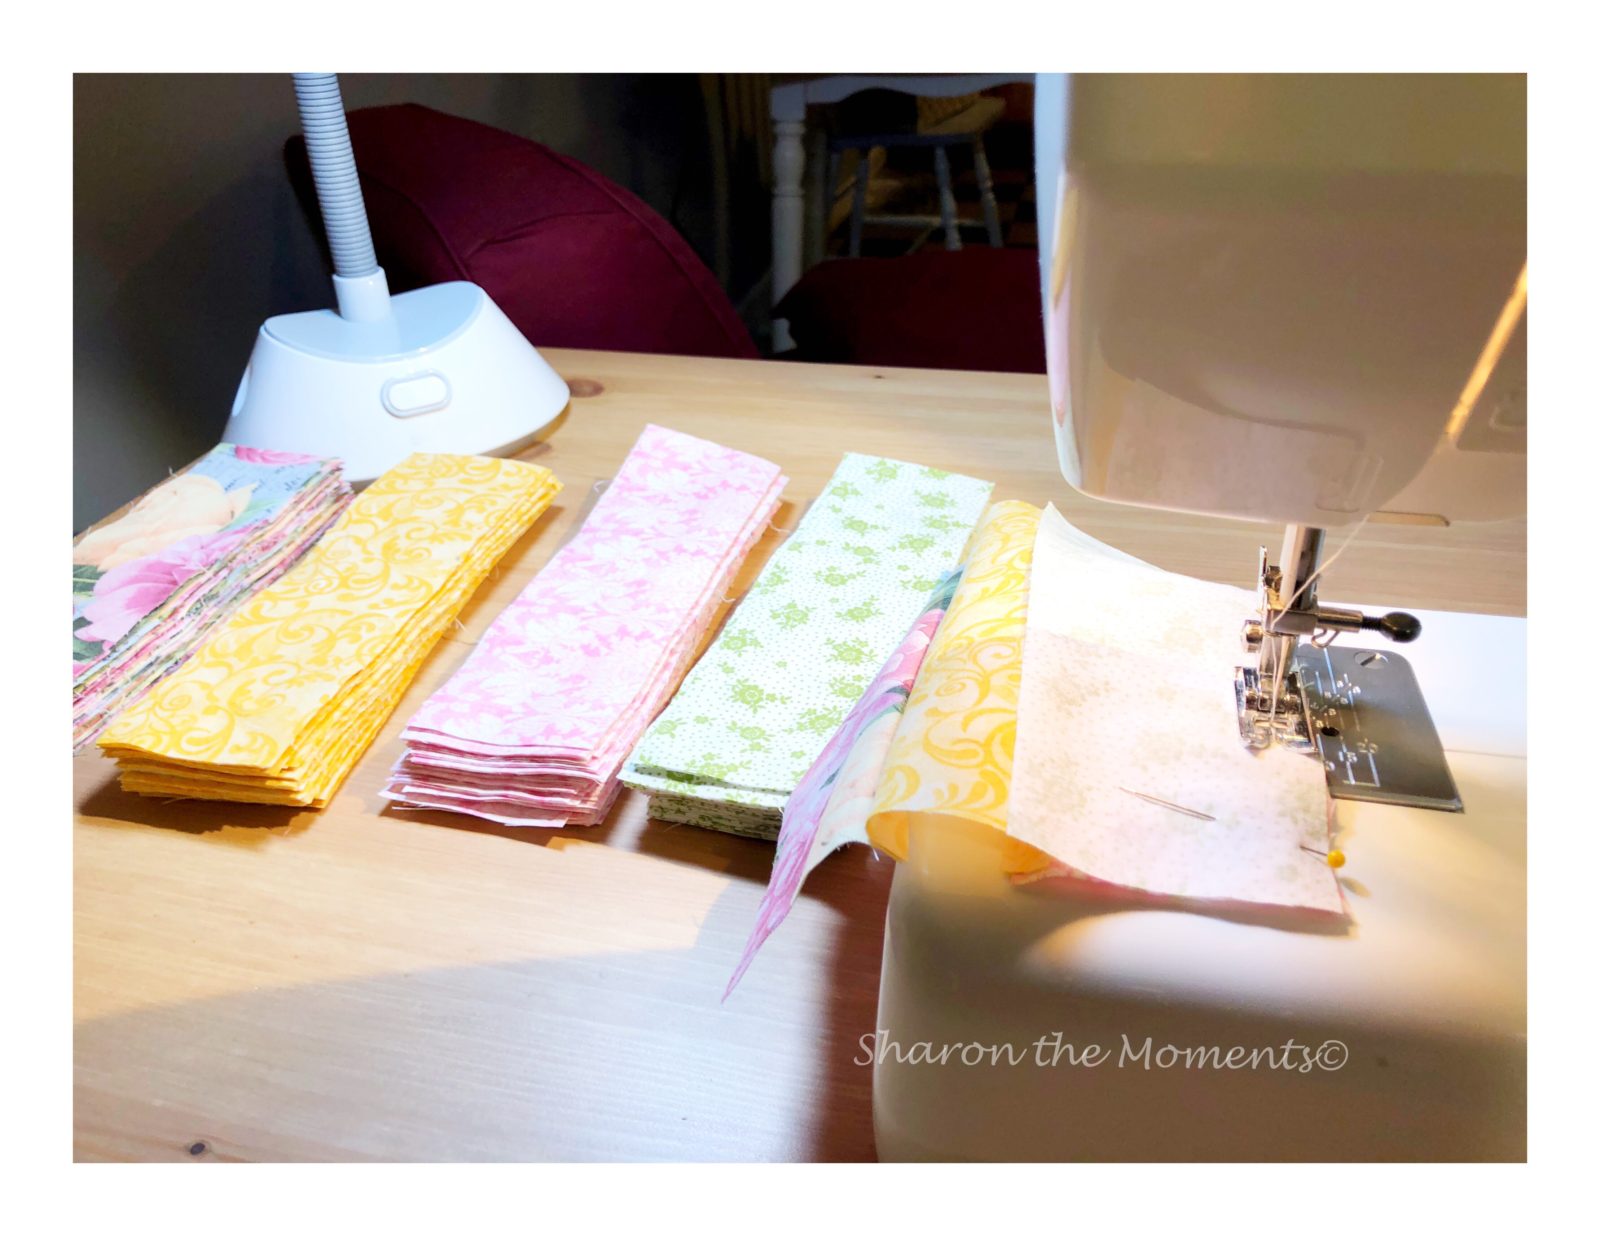
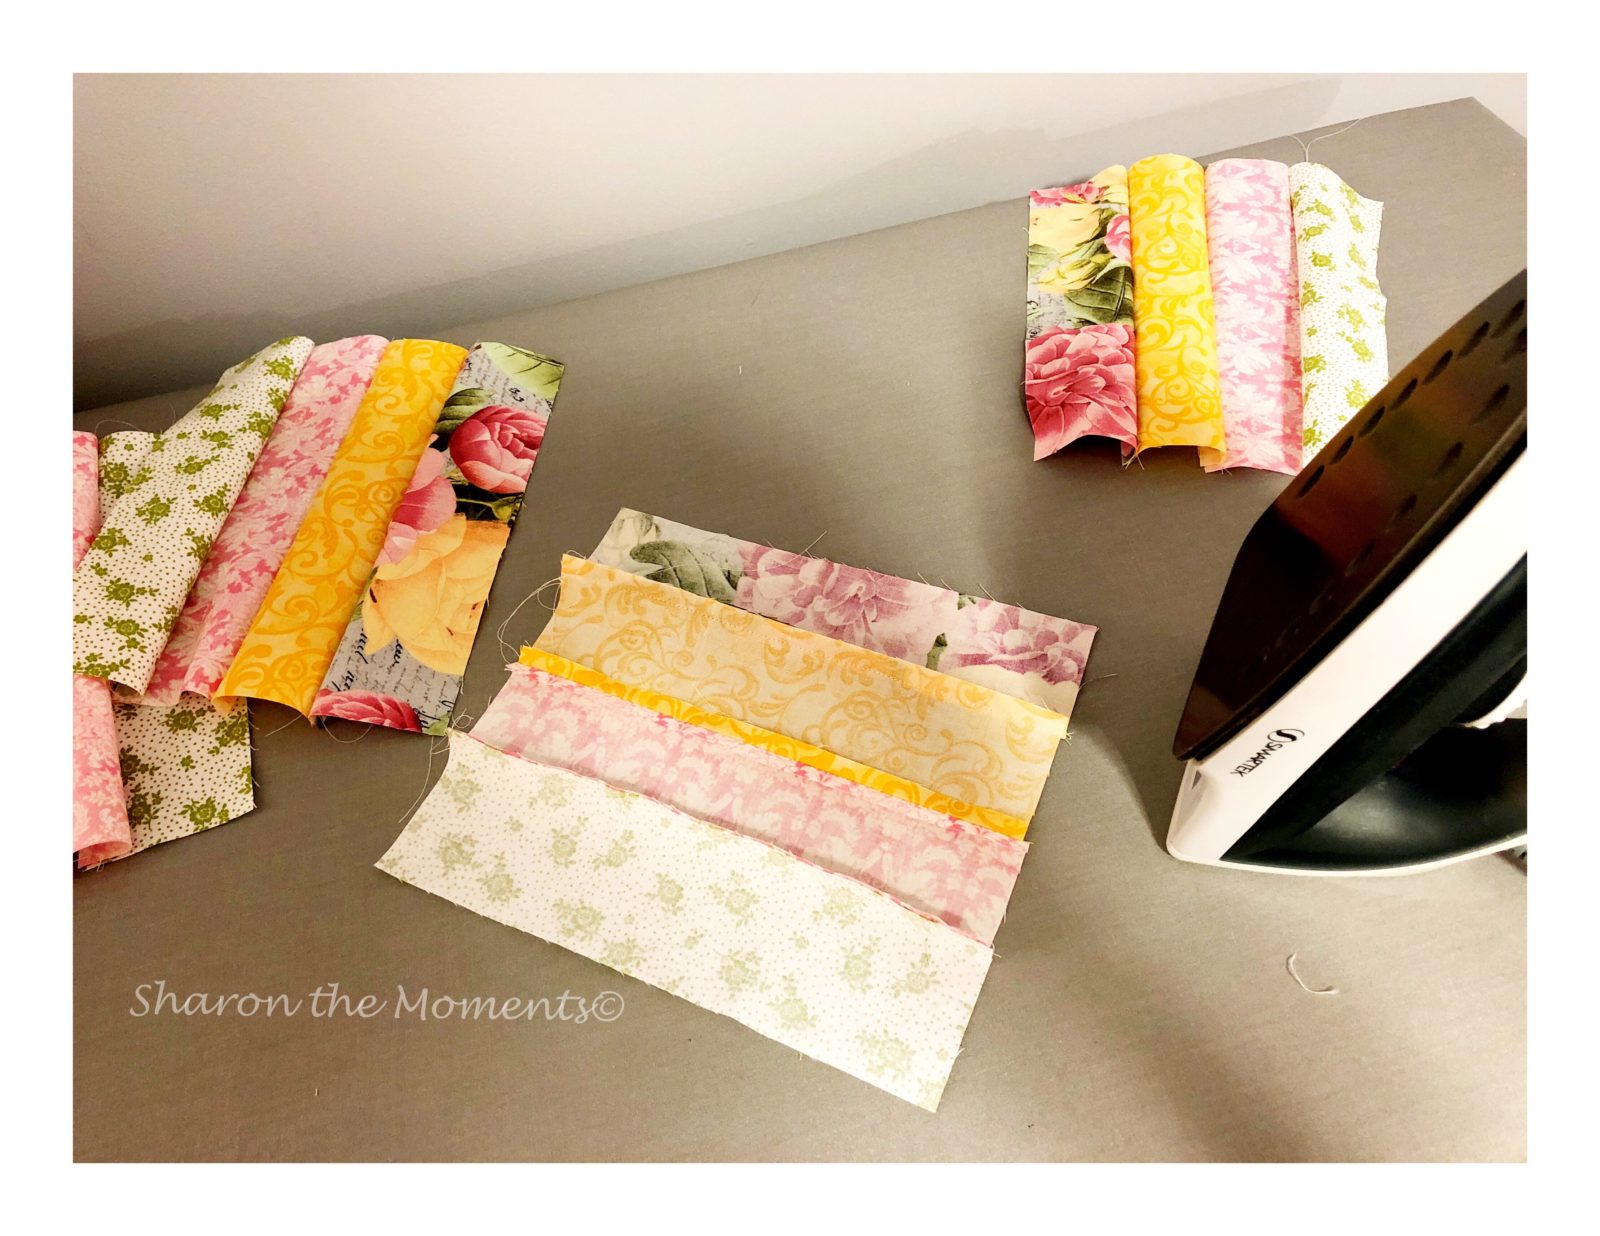
I love my set up in the basement as my Sewing Room. It is a color filled room with creative ideas posted on the walls and peg boards; I even has a TV where I love watching football as I work. Once each block was sewn, I then began the process of pressing the seems.
Following the pressing of each block, then came the fun part of creating a pattern. This is where the freedom of creativity comes into play. I laid out each square in a design I liked, changing many times until I decided on one. Once I made a decision on the design, I stacked each row in order, labeling the rows with a piece of masking tape and a safety pin. This step then allows me to put the project away without compromising the design. Then when I am ready to sew, I know which row is which and where to begin my sewing.
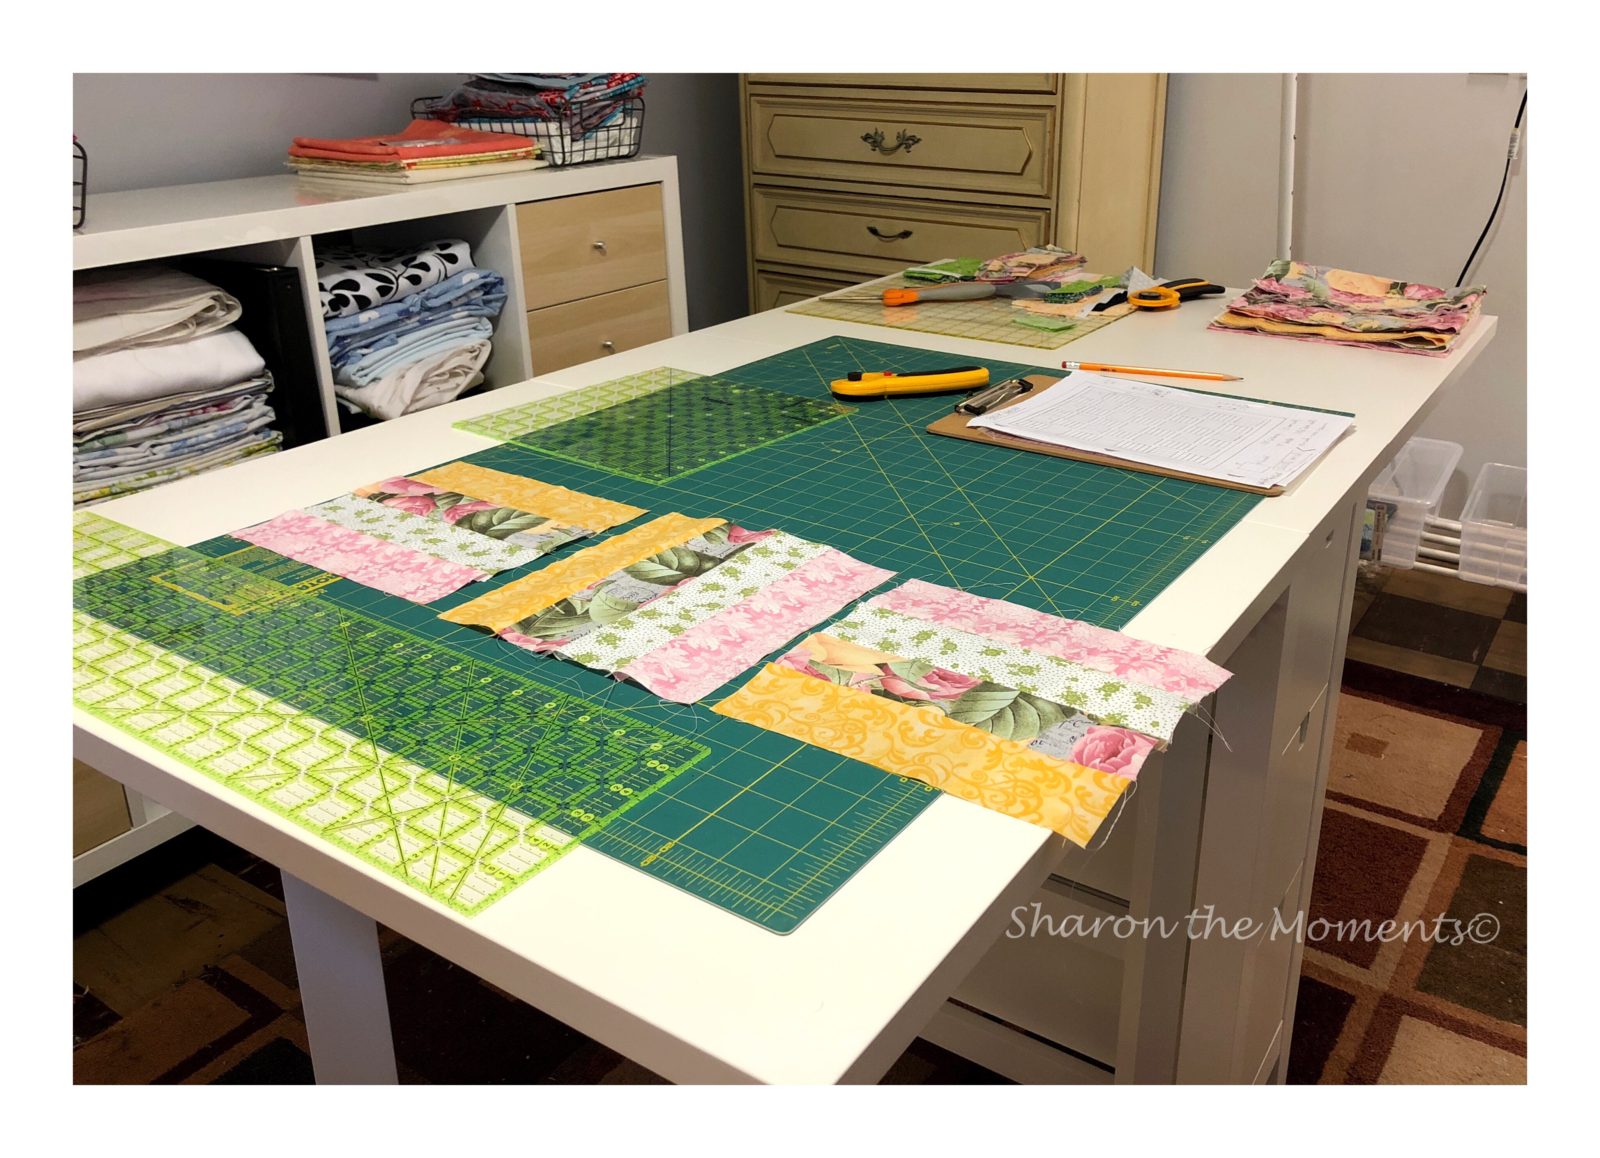
Since I decided that I wanted to add a white sashing (border) between each block at 2 1/2 inch wide, my next step will be cutting 40 2 1/2 x 8 1/2 white sashing. Stop back to see my progress.
I finished my very first quilt and you can read all about it by click here.
Quilt on and Sharon the Moments