Looking for an easy and fun new way to dye your own fabric? Maybe a fun project to do with your family this summer? Or need some unique fabrics for your quilts that are not like any other store bought fabric? If yes, then maybe Ice Dying is the answer.
With so many easy and readily available dyes, with a few supplies, and a free afternoon, you can make your own ice dyed fabrics or a one of a kind tie dyed t-shirt for the entire family.
Supplies Needed Include:
- White 100% Cotton (dyeable) *pre-washed fabric. Size depends on your project.
- 100% Cotton *pre-washed t-shirts
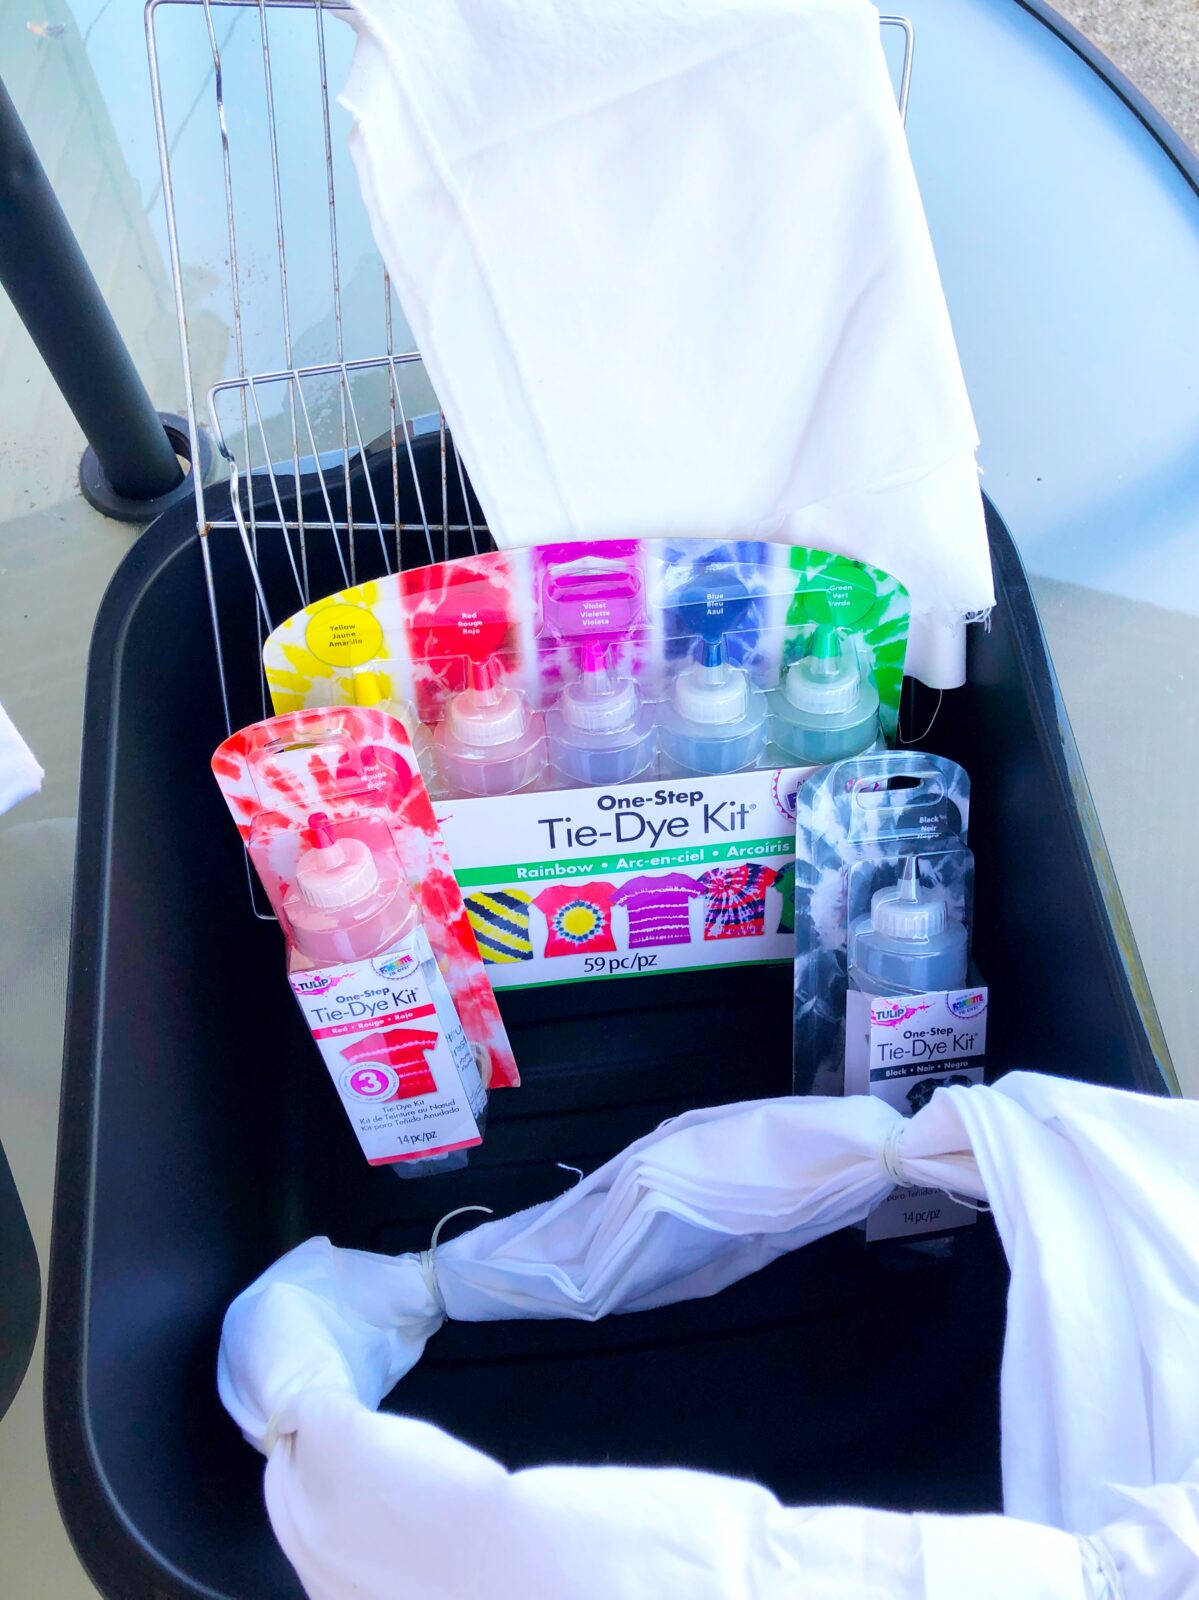
- Rit Dye OR Tie-Dye Kit containing desired colors. I used the kit purchased at a local craft store.
- Rubber bands
- Plastic containers
- Metal Cooling Racks
- Rubber Gloves
- Washable (waterproof) table cloth
- 5 lbs. bag ice; crushed.
- Imagination and patience
- * To ensure the fabrics are dye ready, prewash to remove any fabric softeners or other residues that might prevent the dye from working correctly.
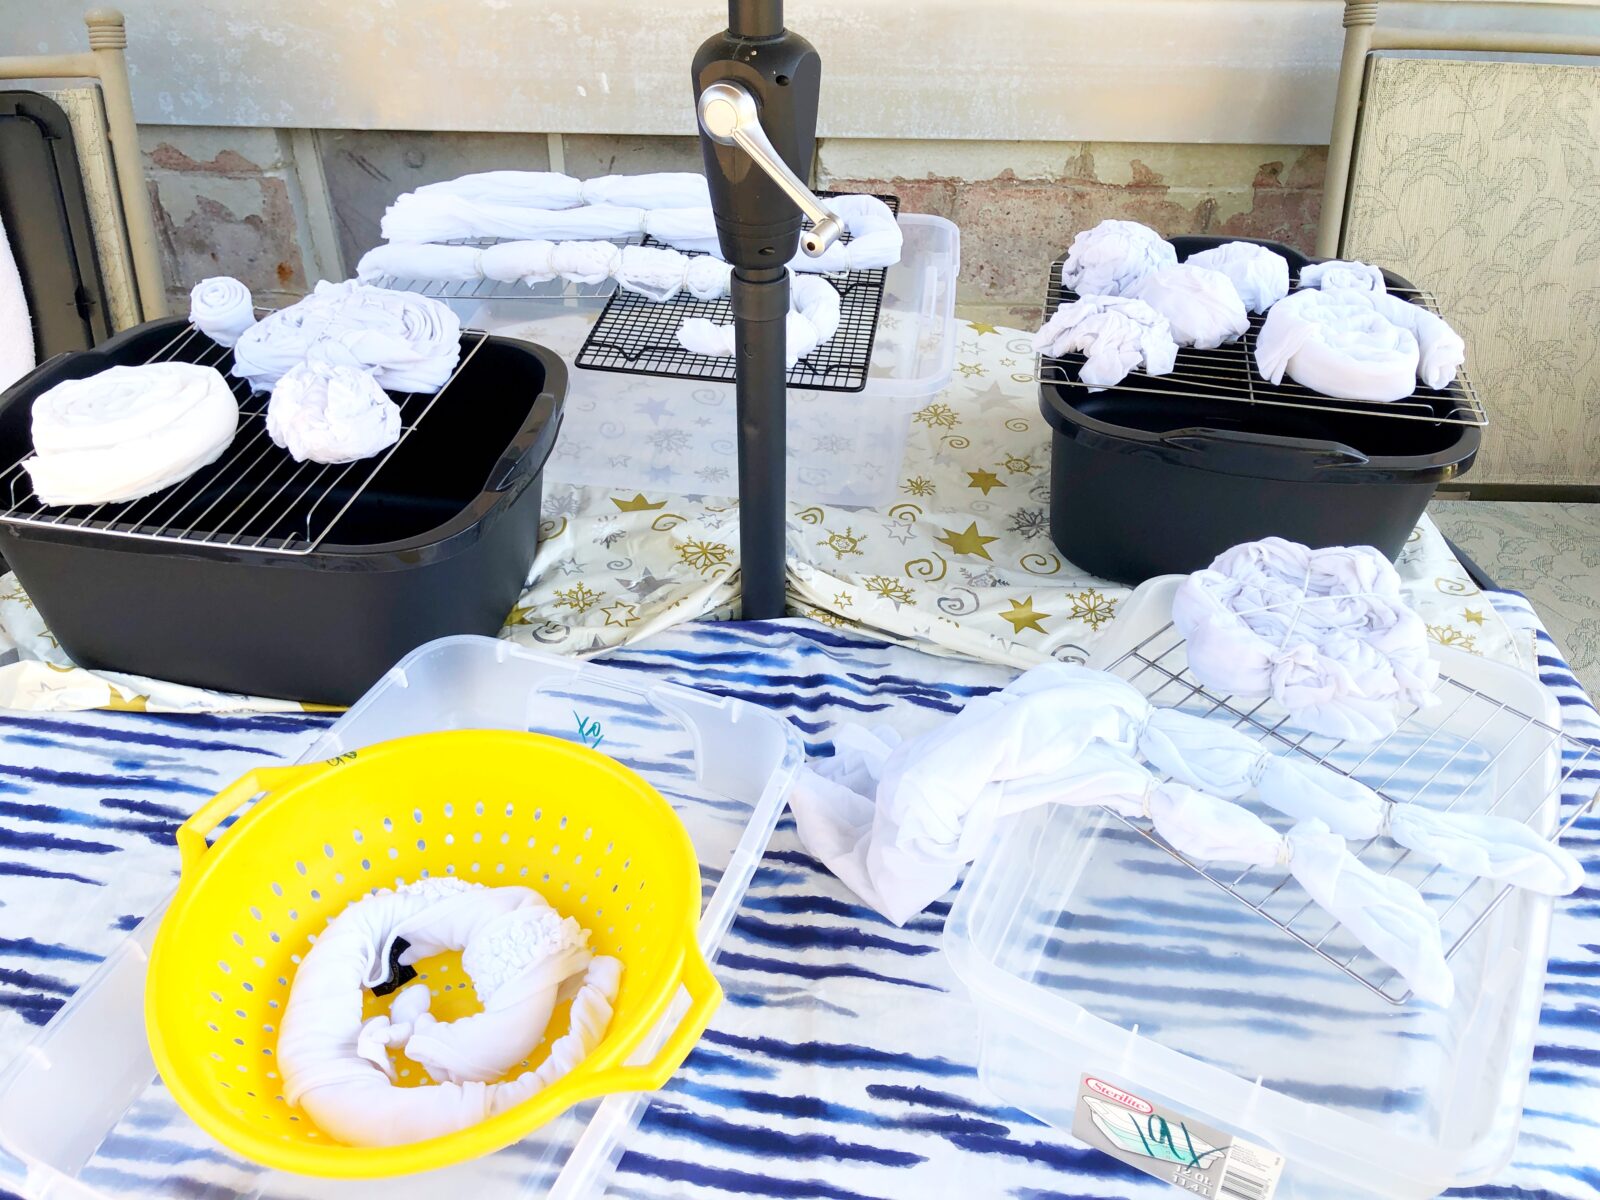
Once you have all your supplies and are ready to begin, find a location that is free from items that may get in the way. It was a beautiful sunny day so we set up the table outside under the umbrella for our working station.


For the best results, you will need to wet the fabric in clean warm water. The dye will be better absorbed when the fabric is wet. Next, have an idea of the colors you are wanting to create. Remember this is not an exact science and the colors will bleed into the next. Therefore, I recommend selecting maybe one to three colors that are complimentary on the color wheel. Adding too many colors may turn the fabric brown.
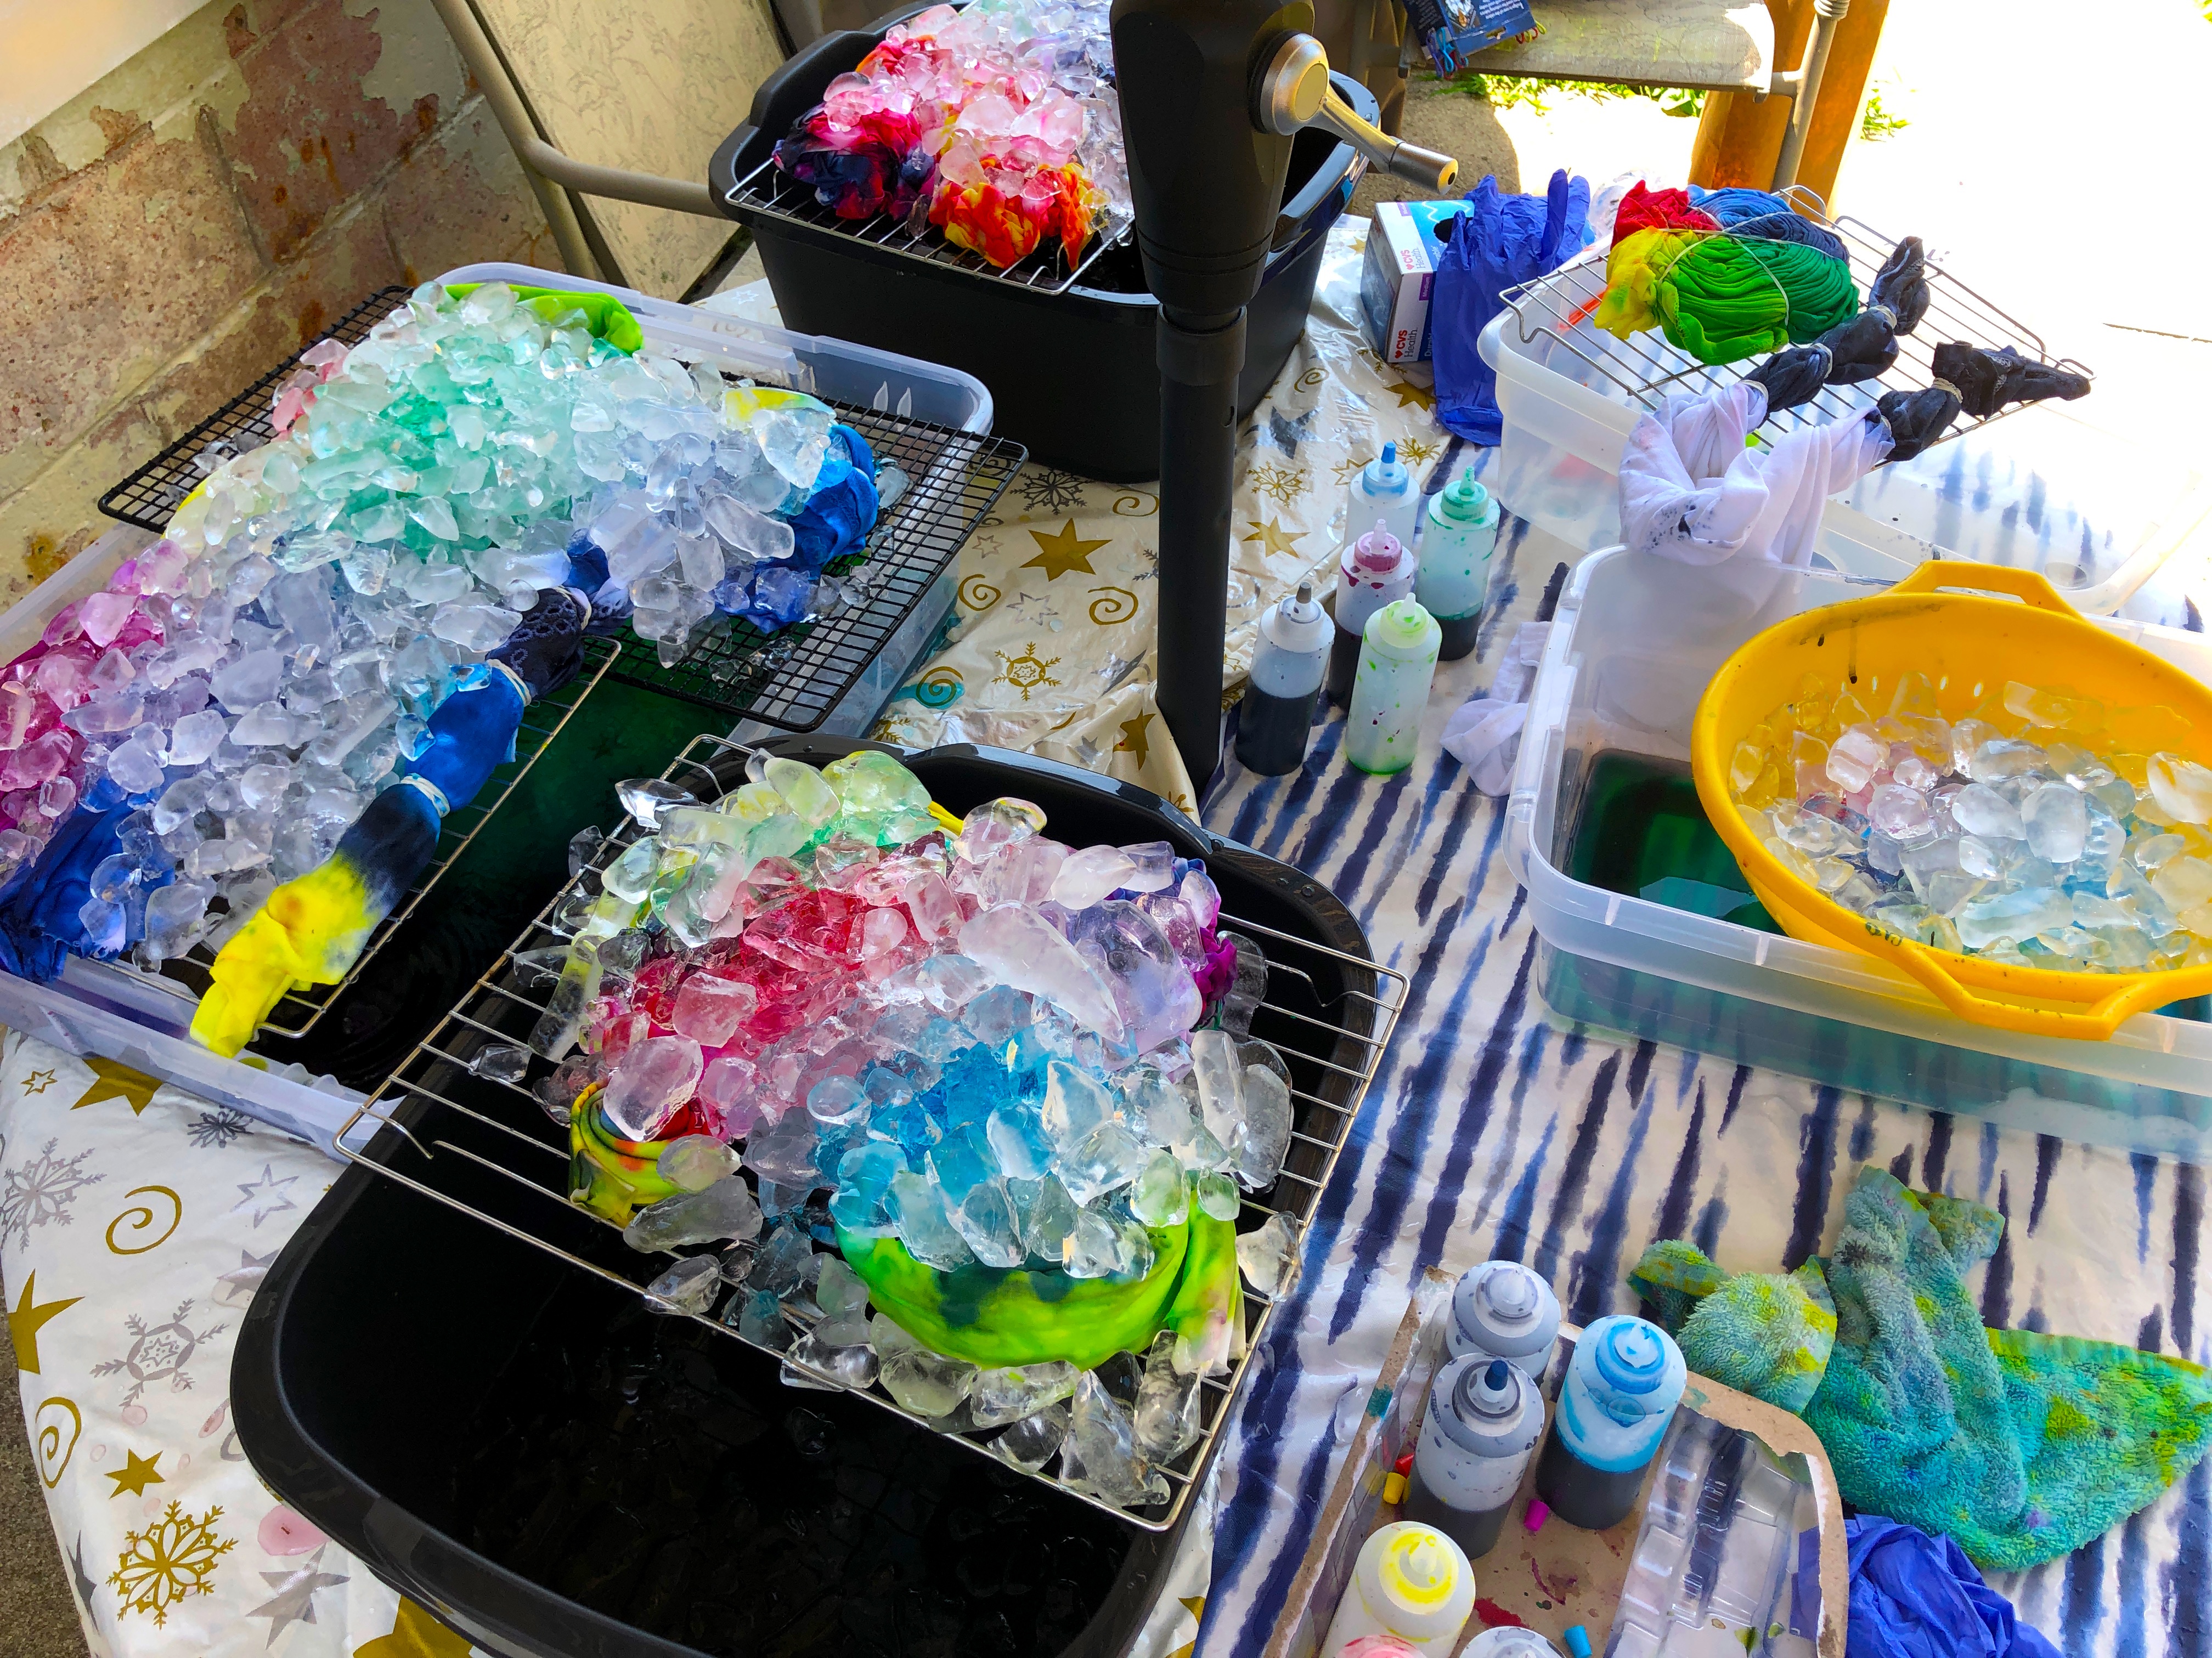
Place the metal drying racks over the plastic containers. We were dying a lot of fabrics so had several dying stations set up. Next, you will want to scrunch or roll your fabric. This helps the process create a marble effect as the ice melts. Then using the rubber bands, you can band together the fabric in different locations to create the void effect. The tighter the band, the less dye will penetrate this area of the fabric. We choose several varieties in our fabric set up.

Place your fabrics on the metal drying racks without any over lapping. Be sure that all the fabric is inside the plastic container so as the ice melts, the drips will be contained.
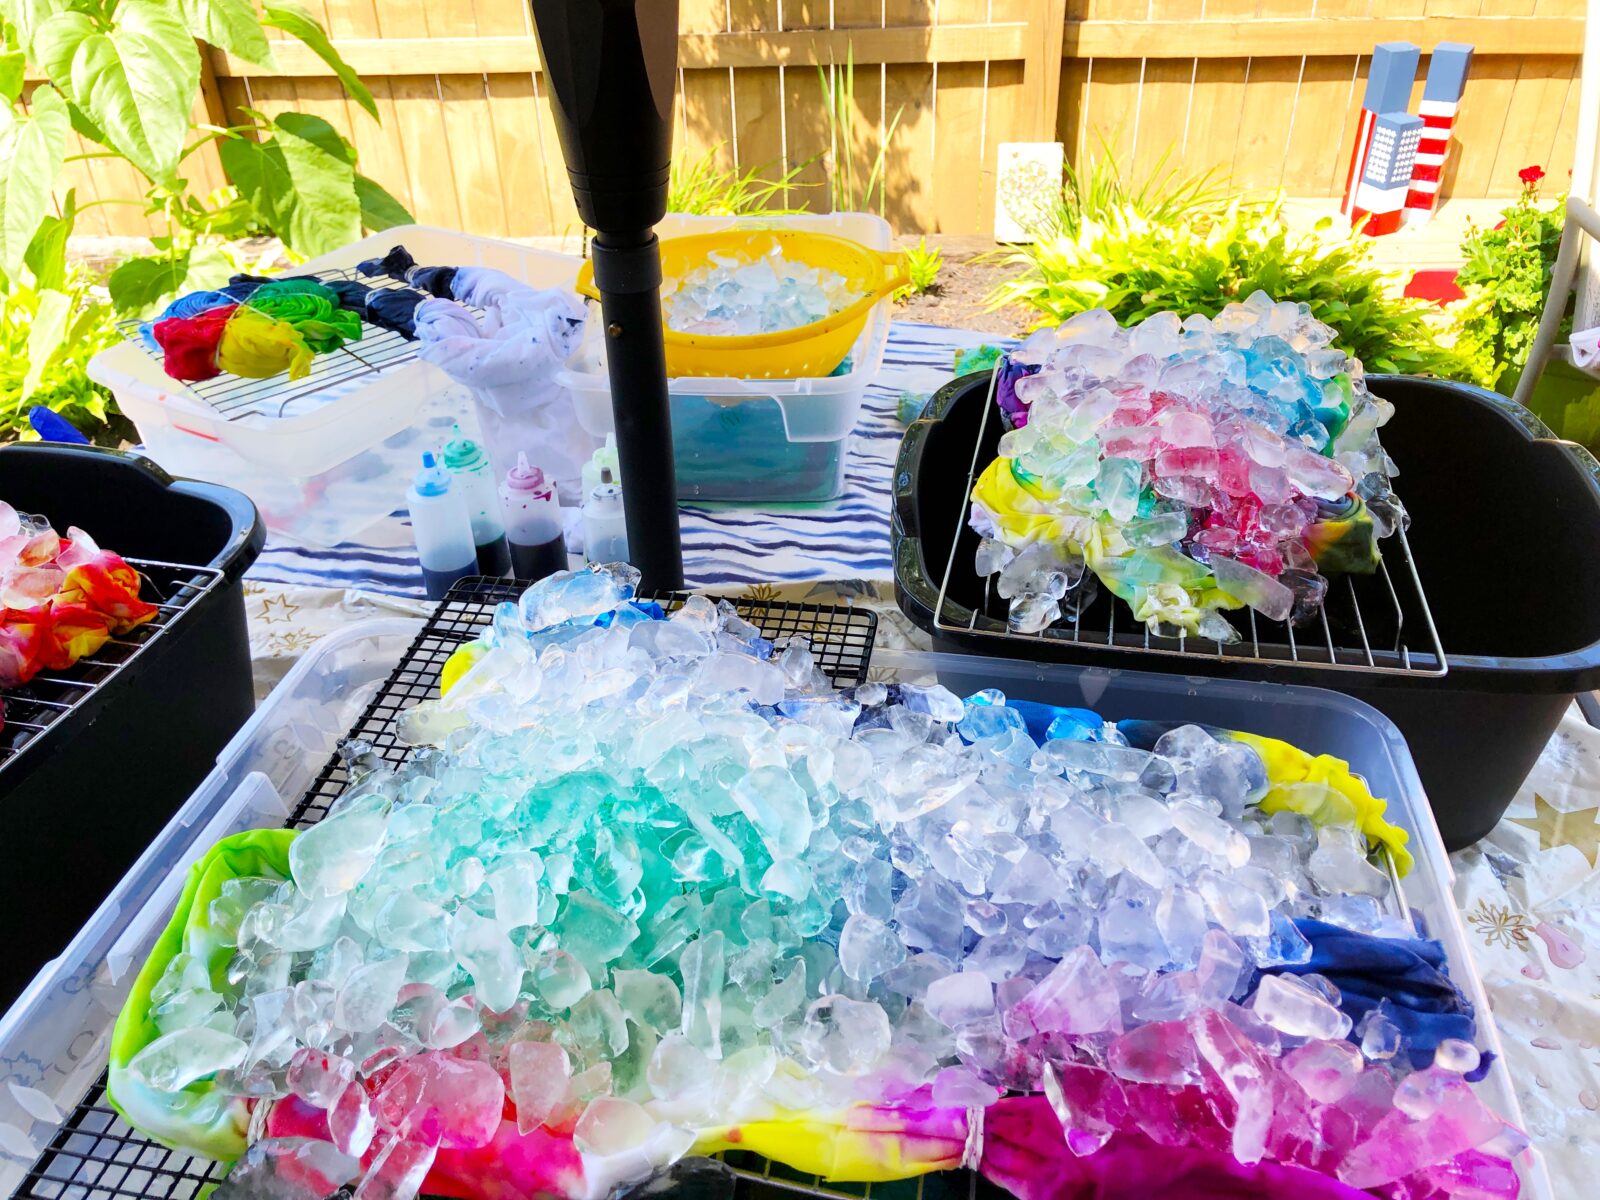
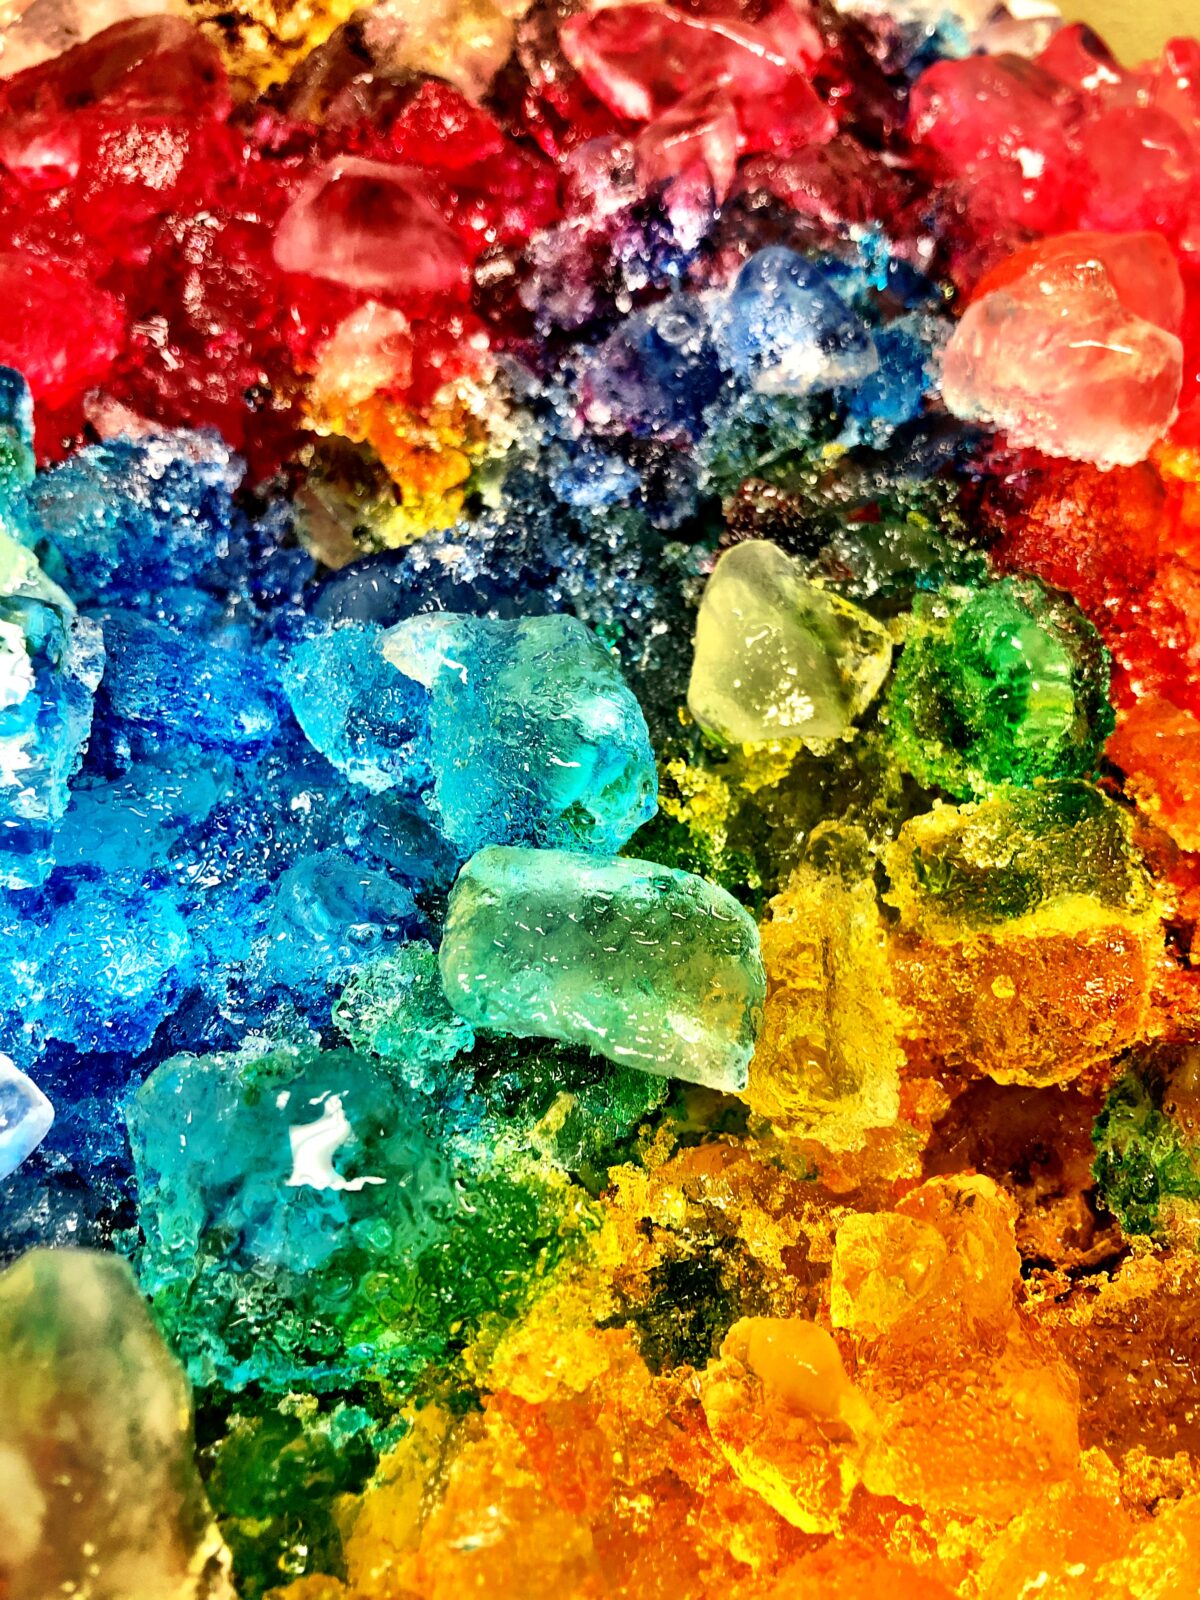
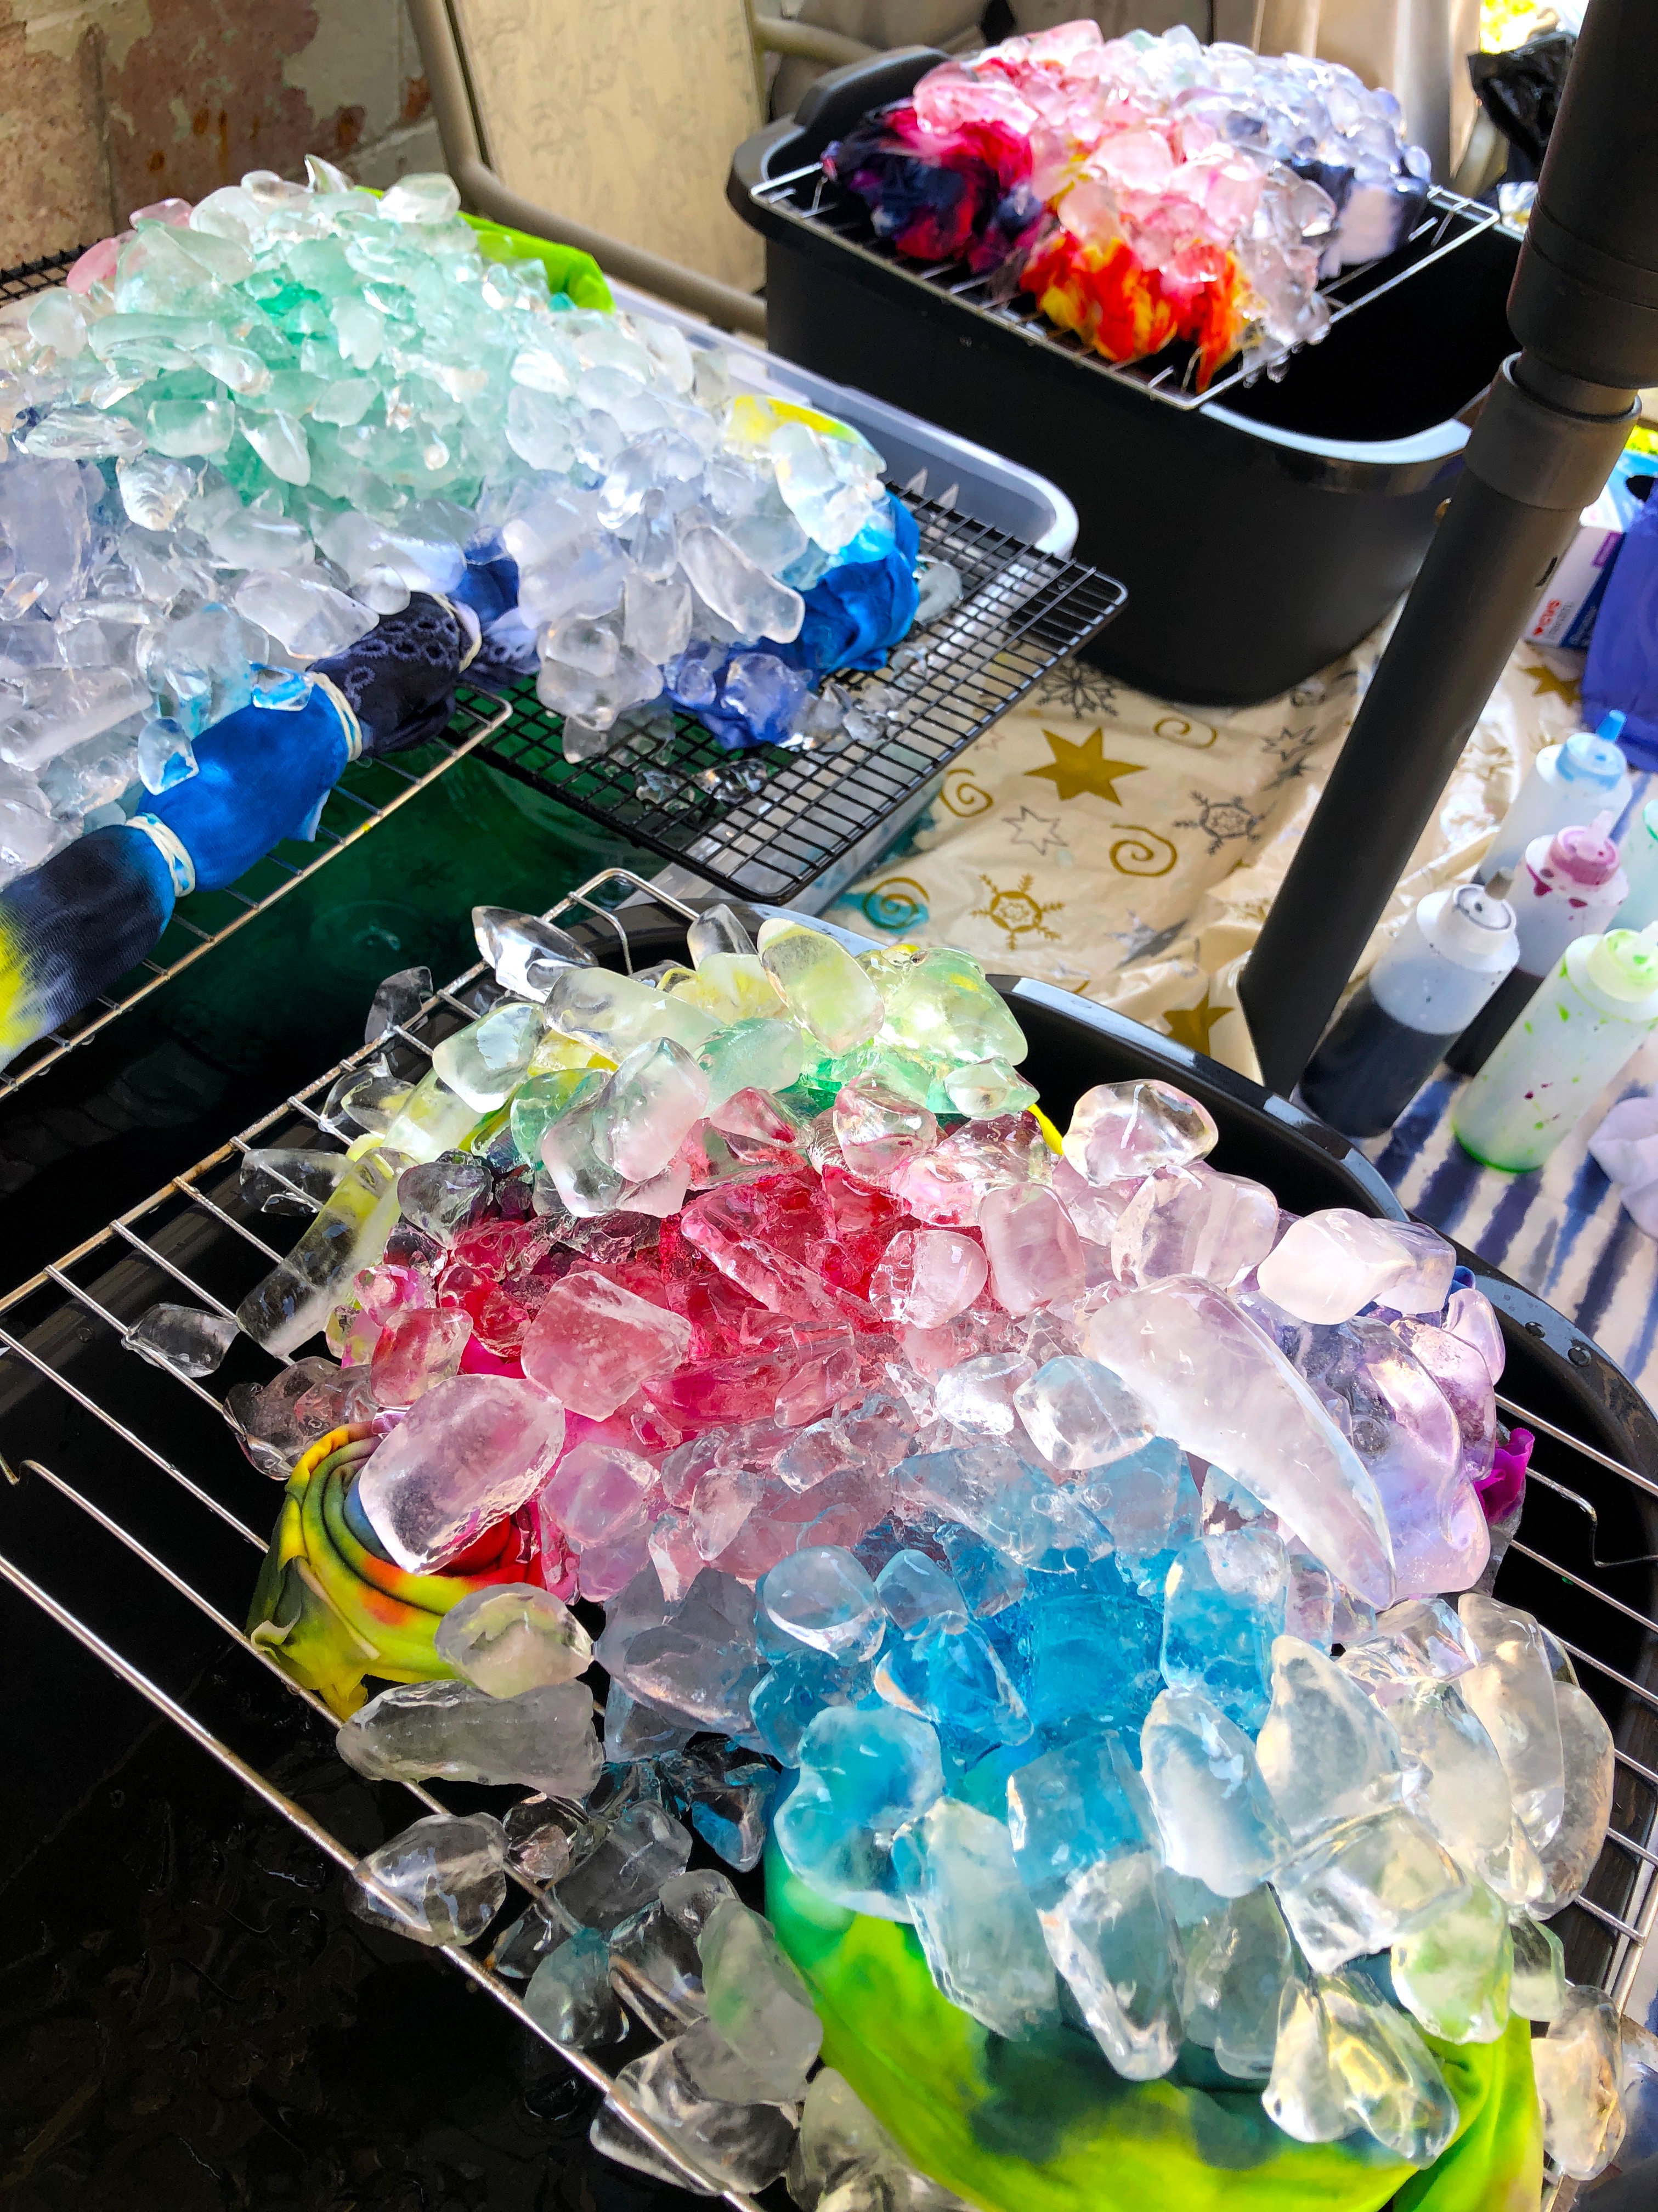
Once the fabrics are in place, begin to layer the crushed ice on top of the fabrics. Then pour the pre mixed fabric dye over the ice. As the ice melts, the colors will bleed into the fabric below. Now, it is time to wait. You will want to allow all the ice to melt.
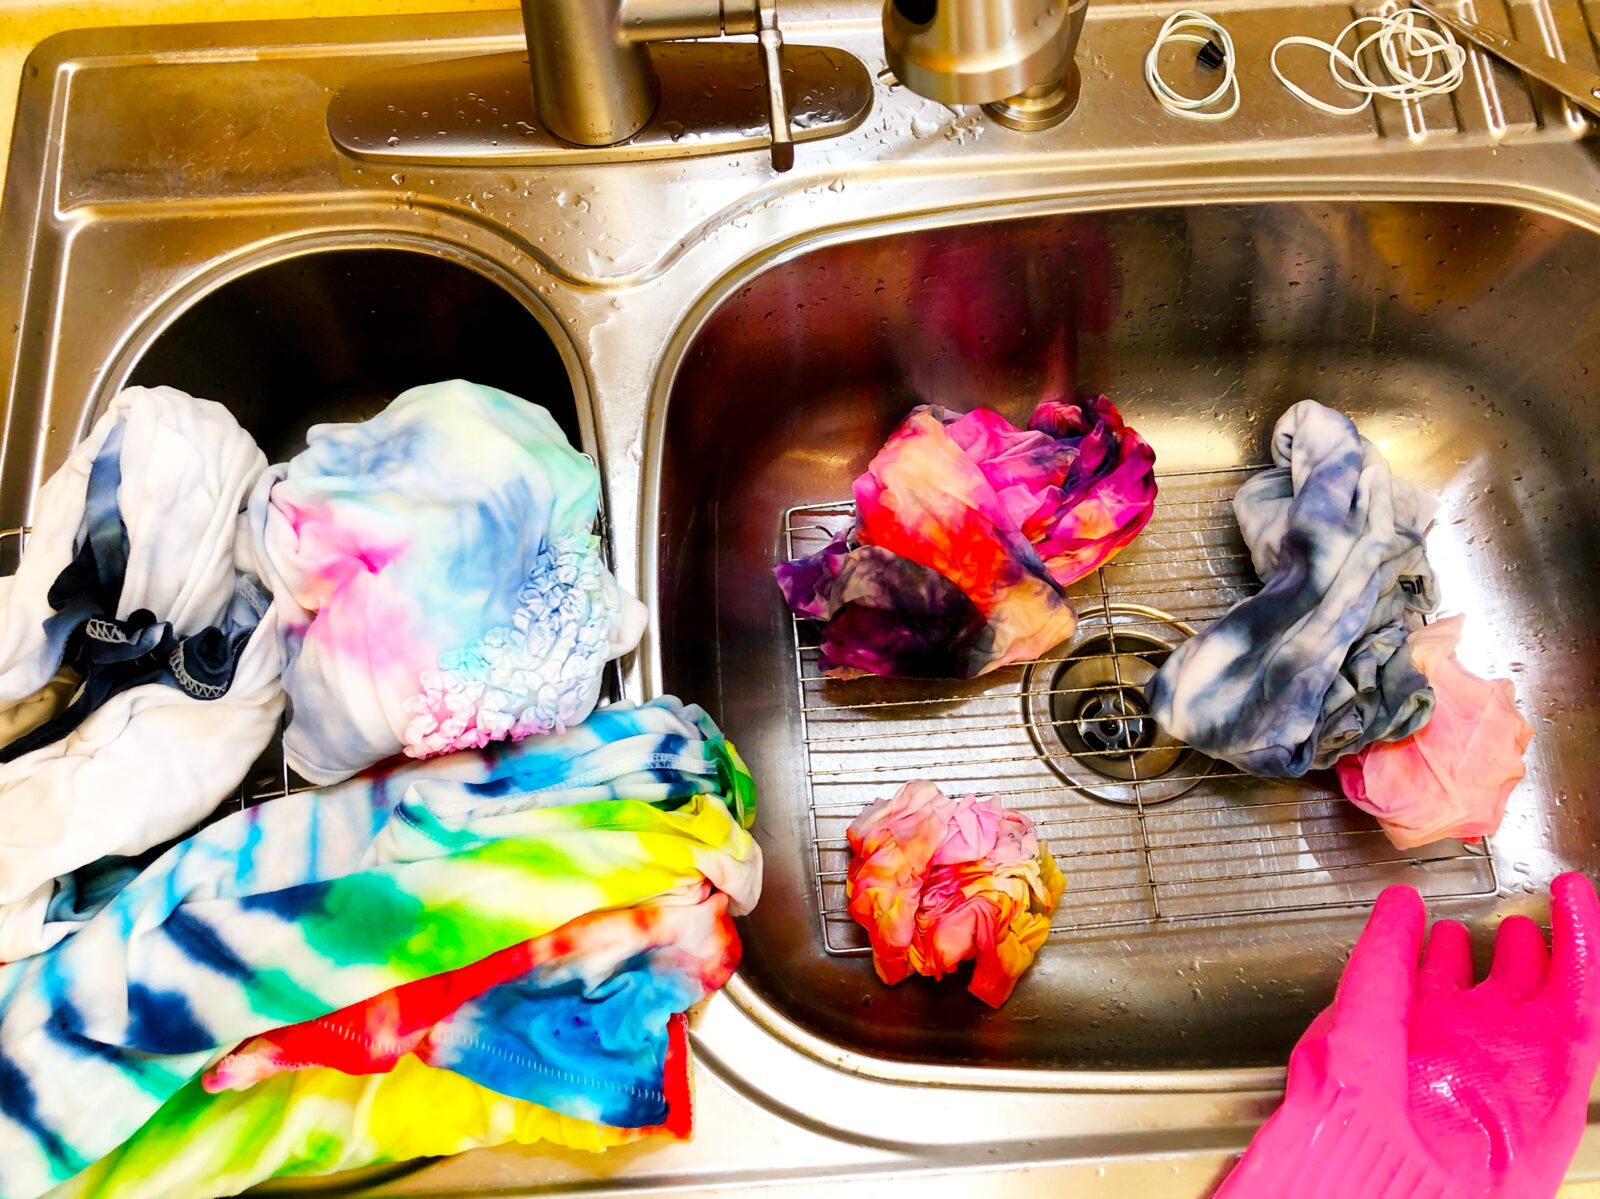
Fast forward… After all the ice has melted, it is time to rinse the fabrics in cold water. Rinse until the water runs clear. I wore my rubber gloves for this process as well.
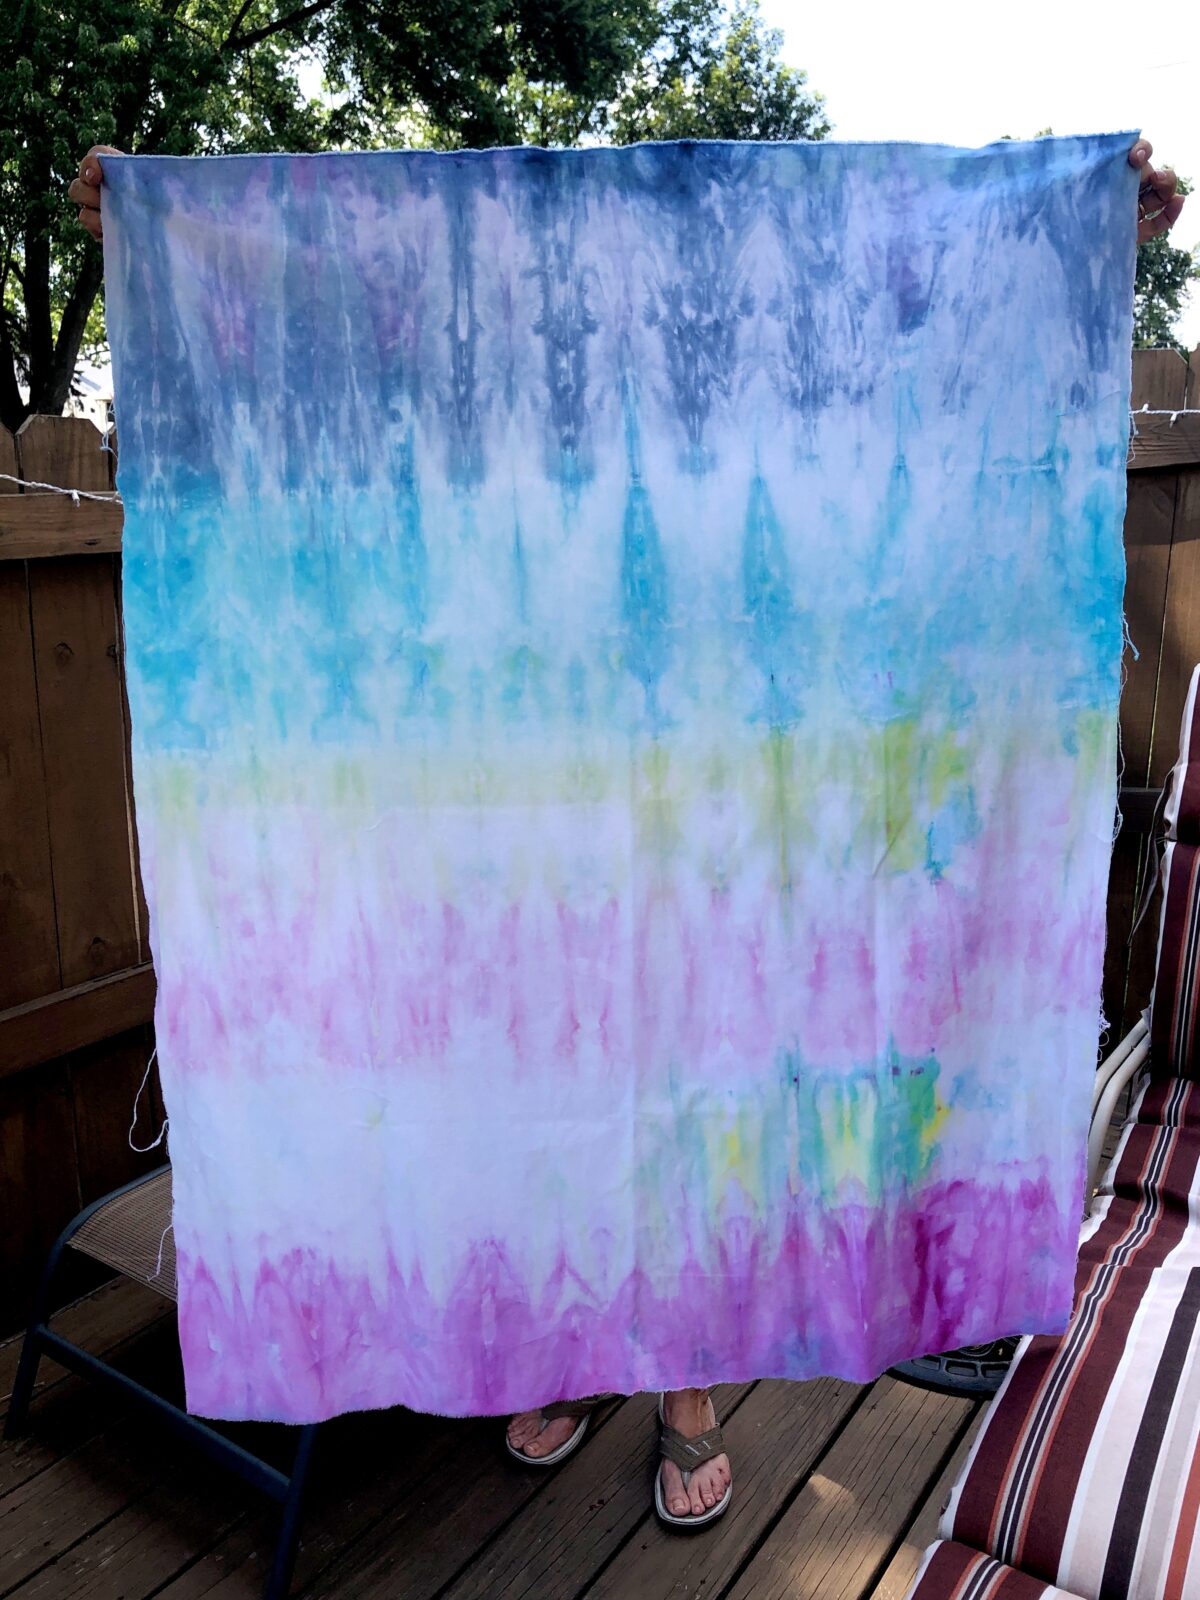
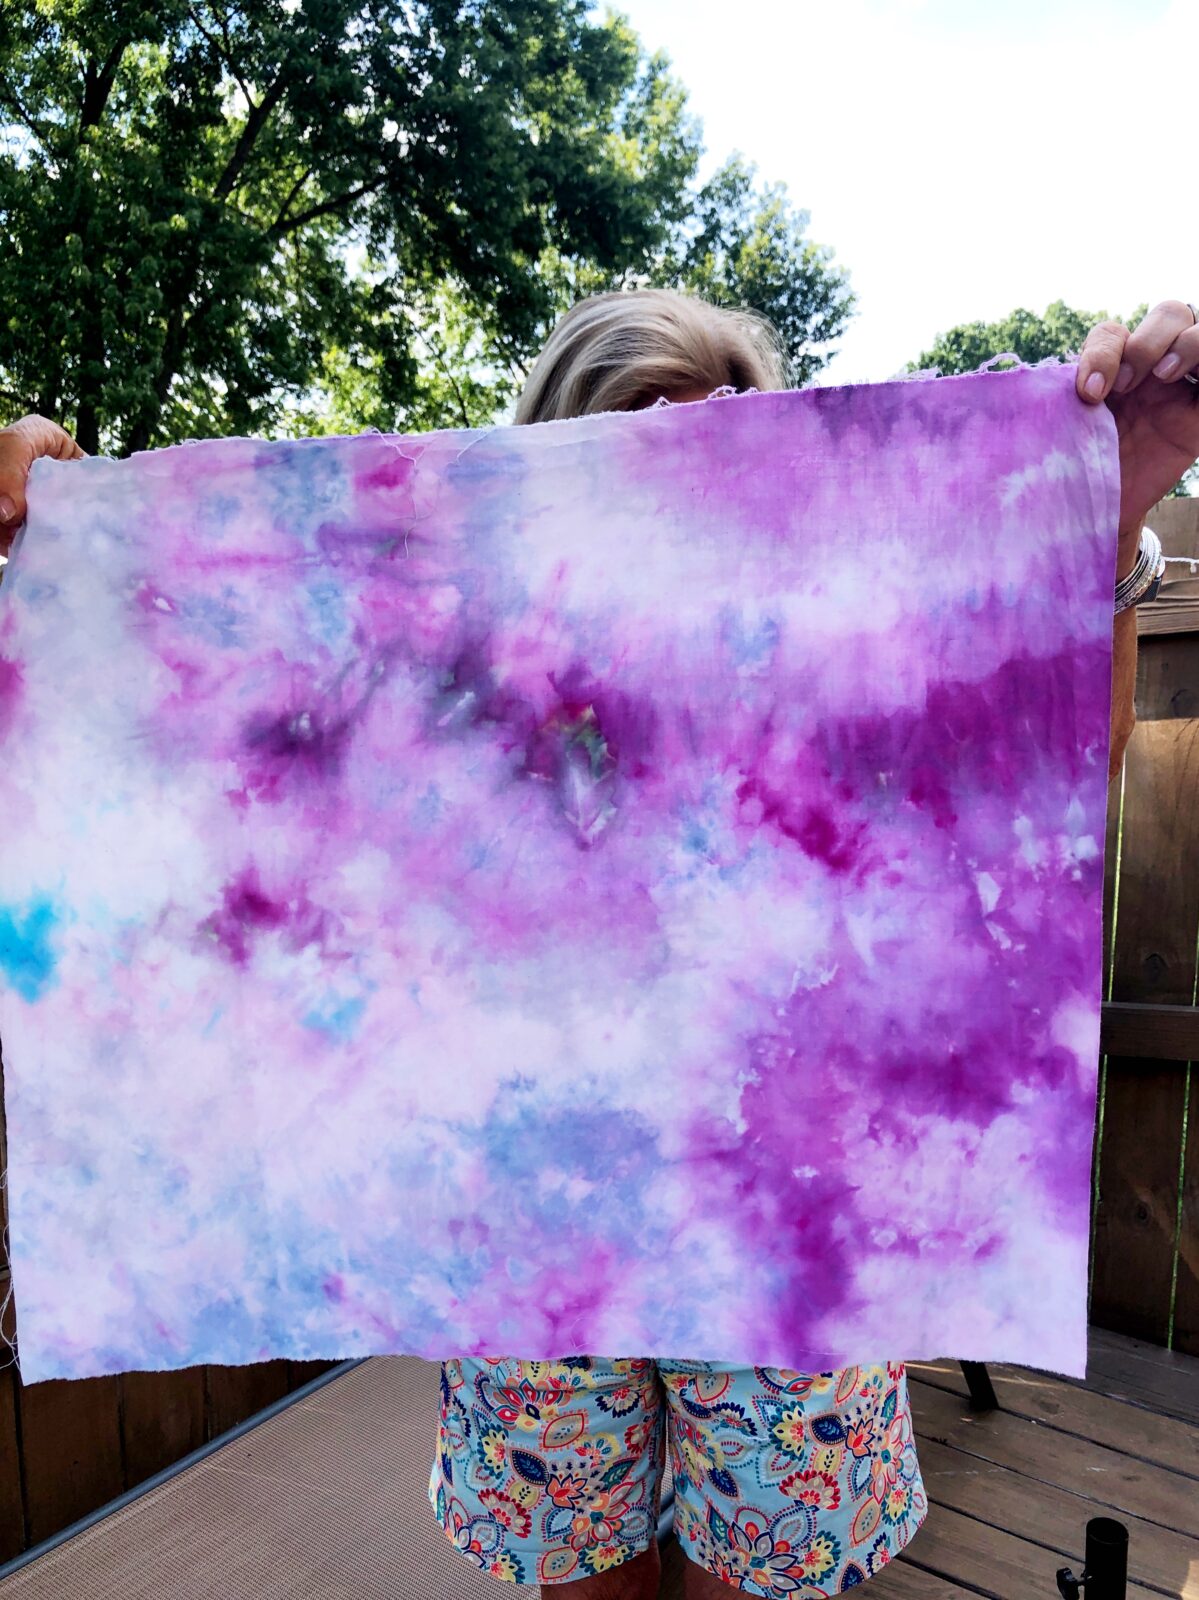
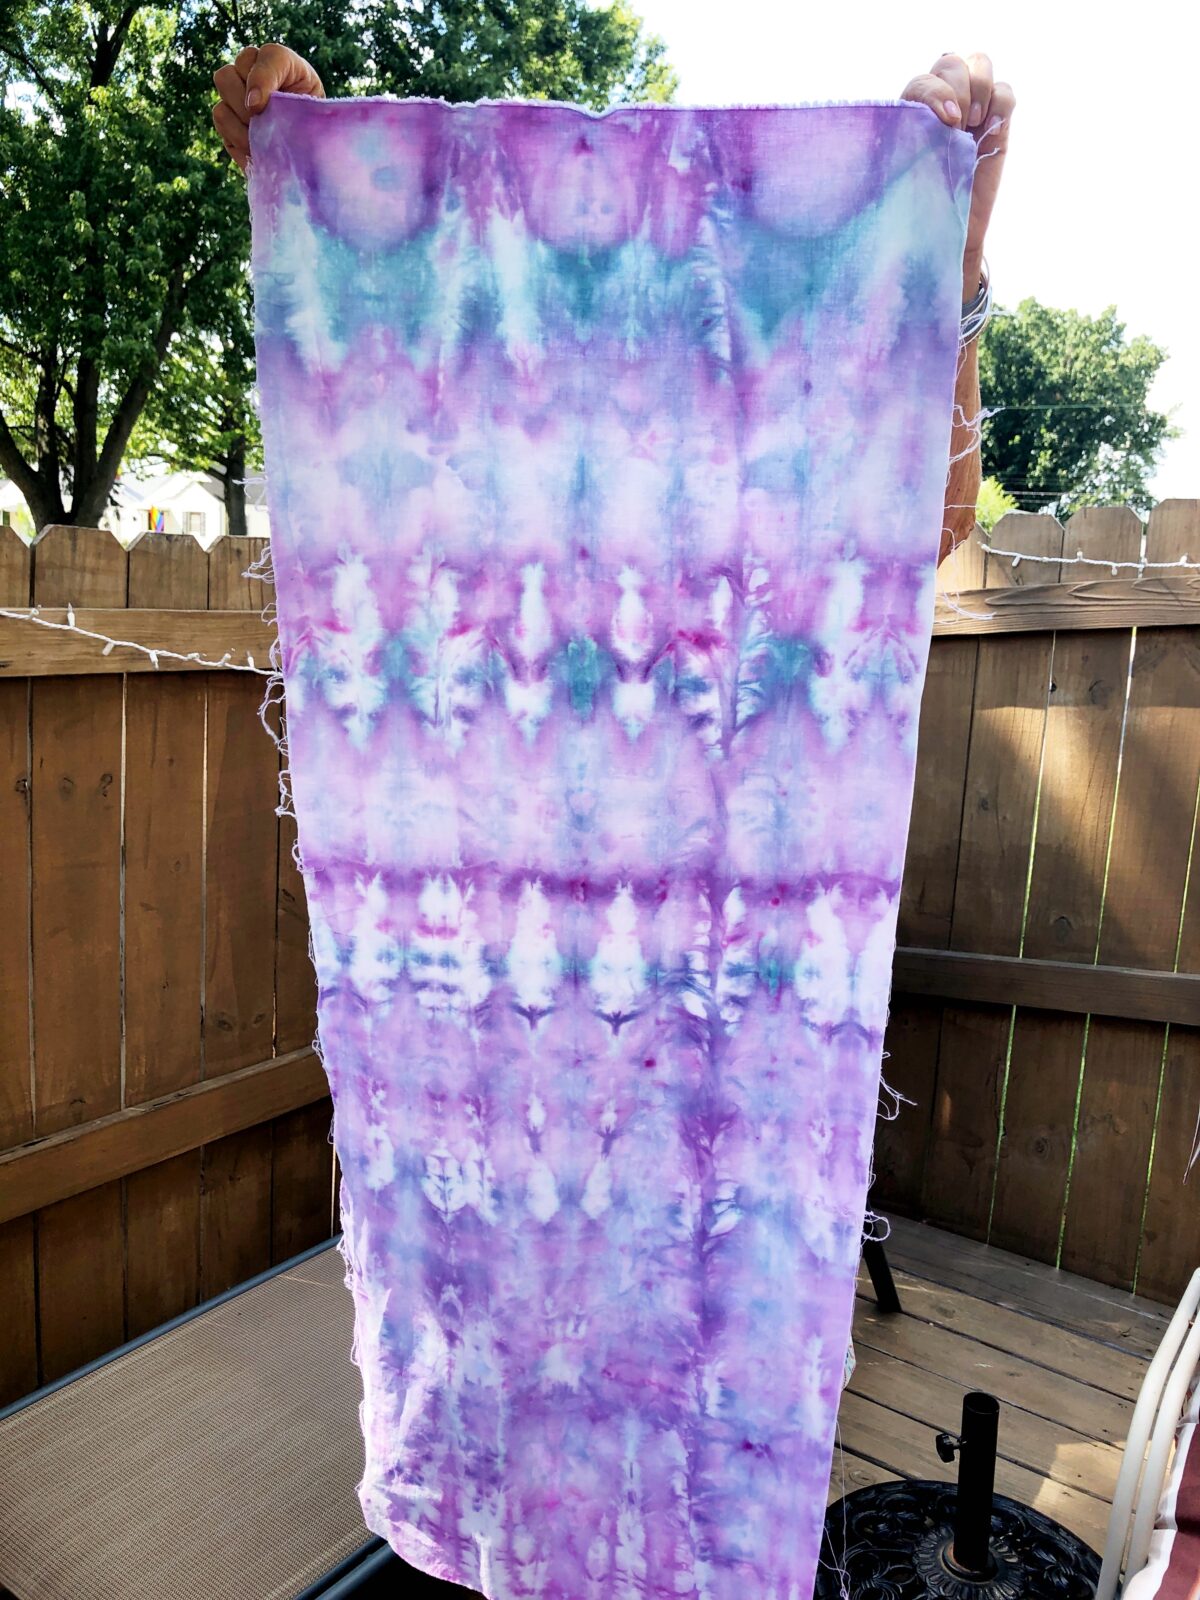
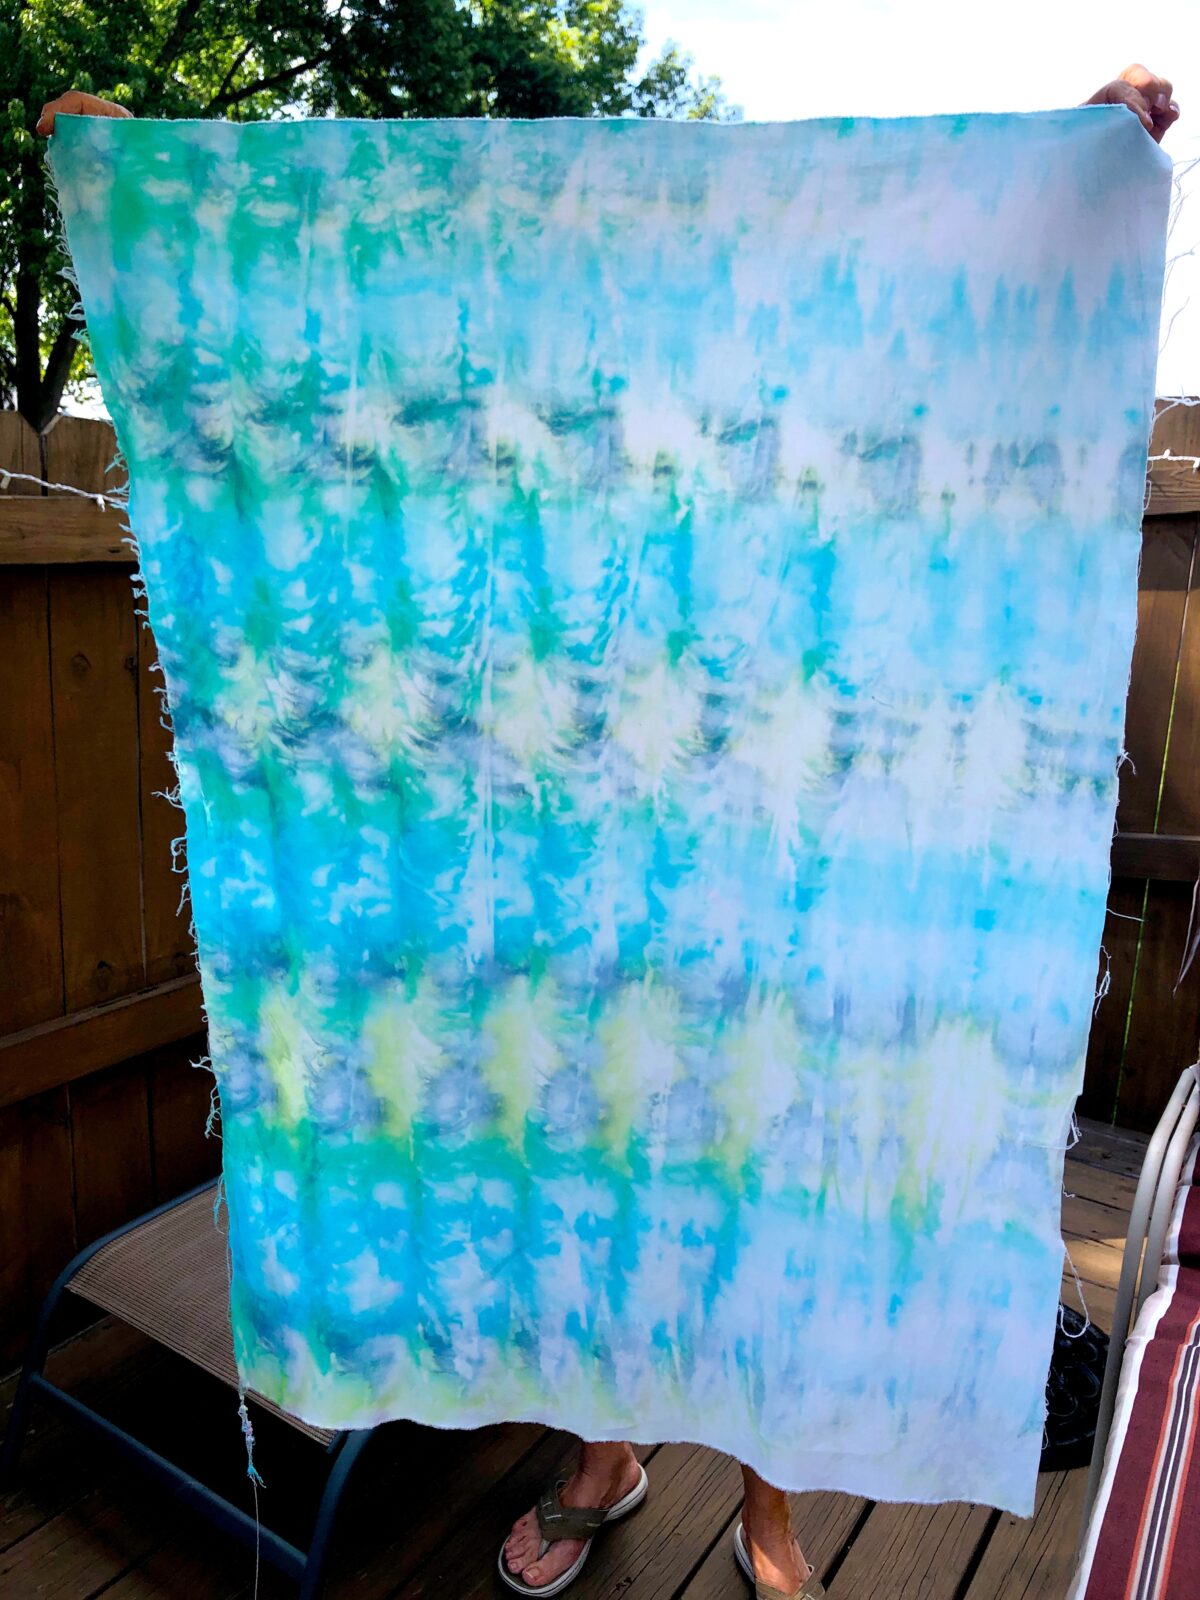
This was the fun part. This is where the colors and pattern of the ice dying become clear. I love all the vibrant colors just come alive and play well on the fabric.
After the rinse water runs clear, you can open up the fabrics to display the true patterns.
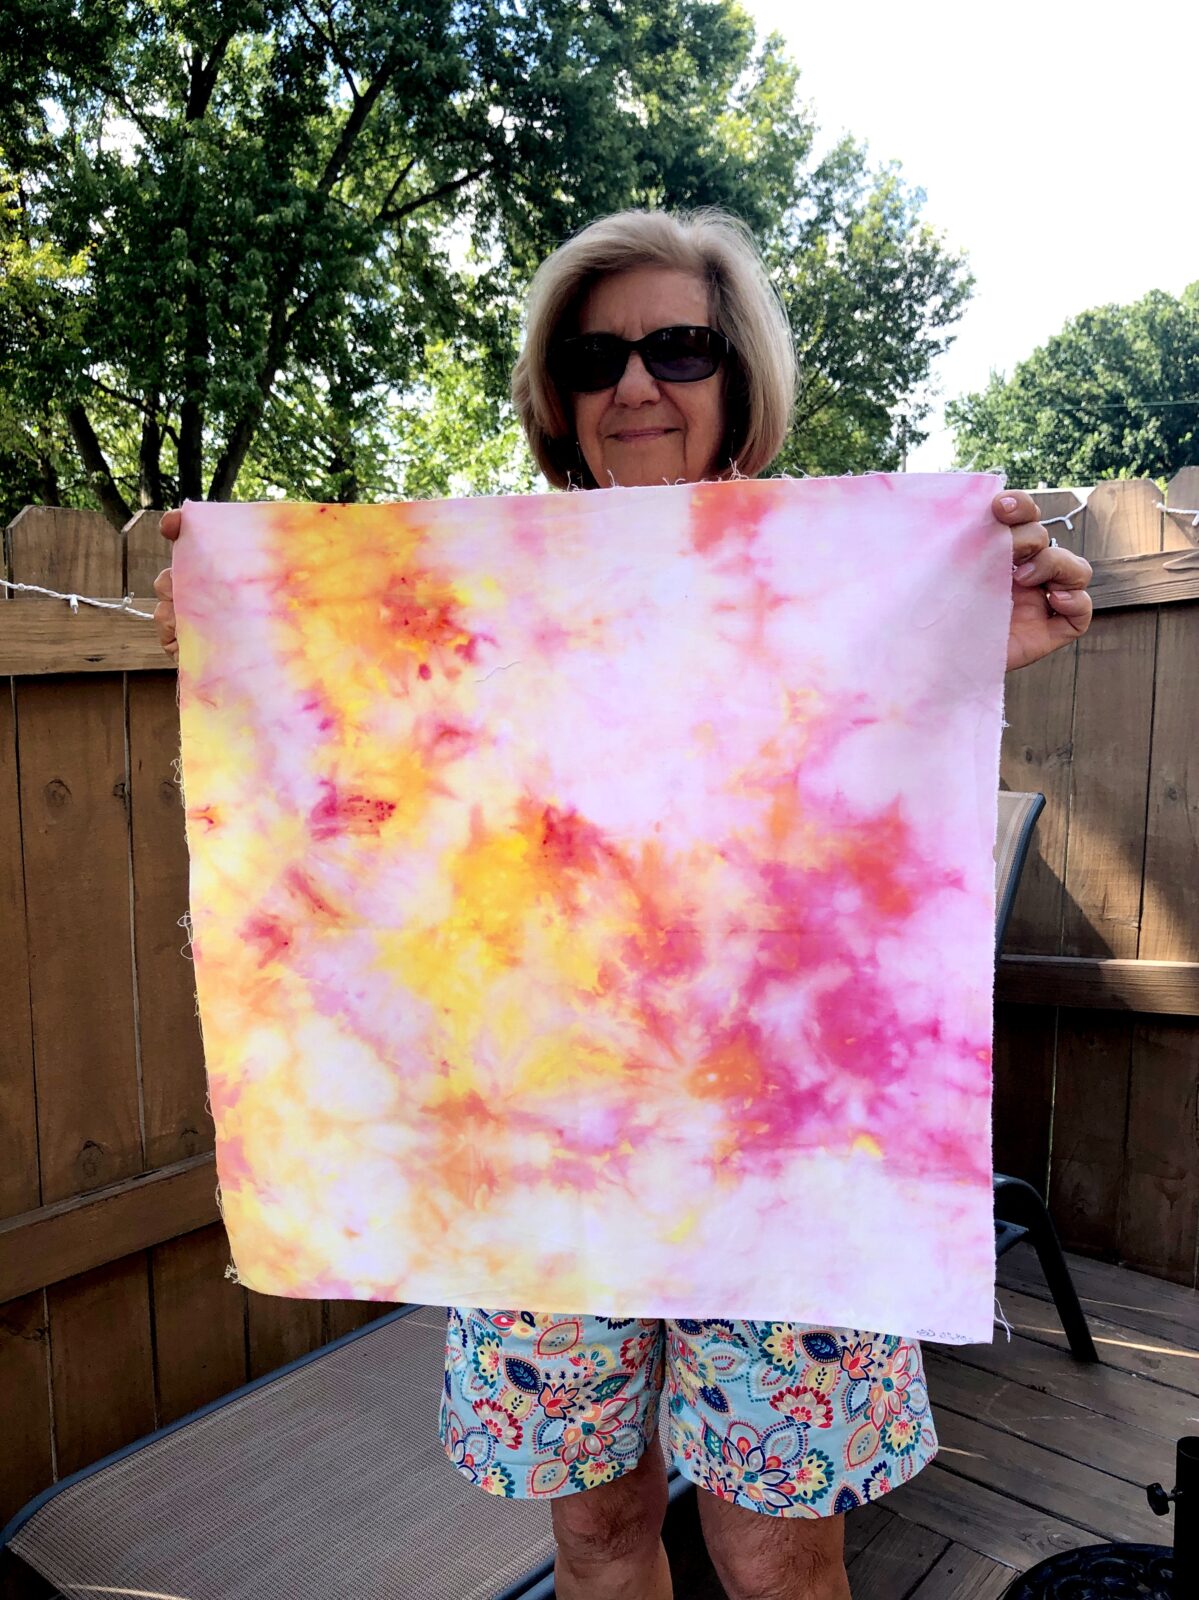
We then washed the fabrics in cold water, gentle cycle with a mild soap, then allowed the fabric to sun dry. I used an iron on high Cotton setting that then set the dye and removed the wrinkles. WoW!! That was such a fun and easy project to create my own unique one-of-a kind fabric pieces. The next step was the most difficult… deciding what to do with this gorgeous fabric. Stay tuned to a follow up to my creations.
Have you tried ice dying? What projects did you make with your fabrics?
Sew on and Sharon the Moments. Happy Creativity.