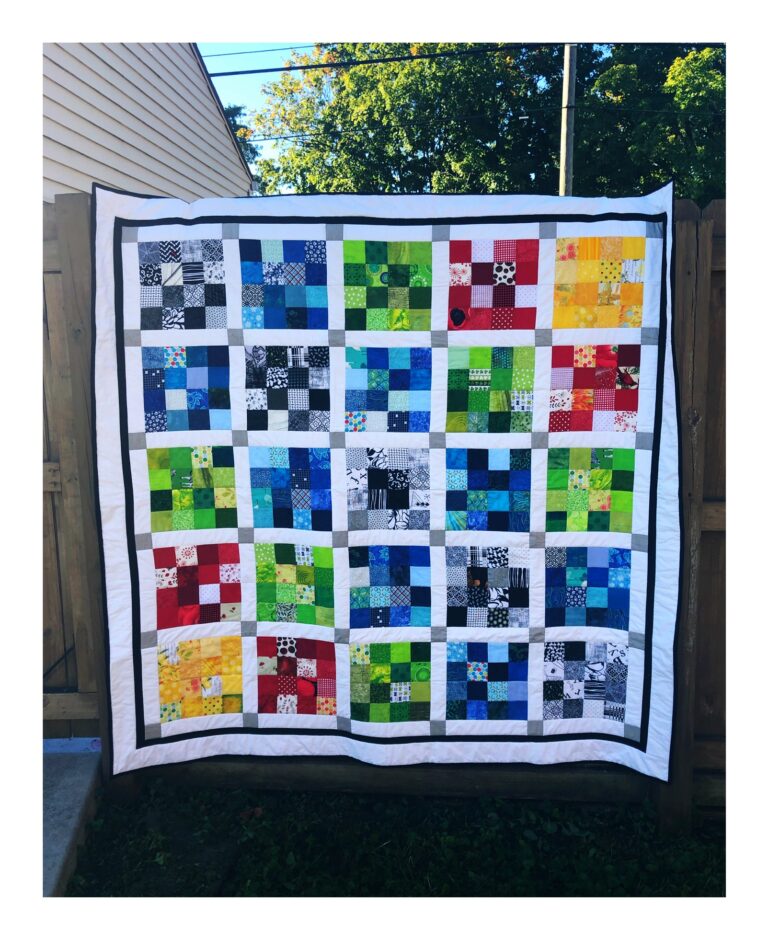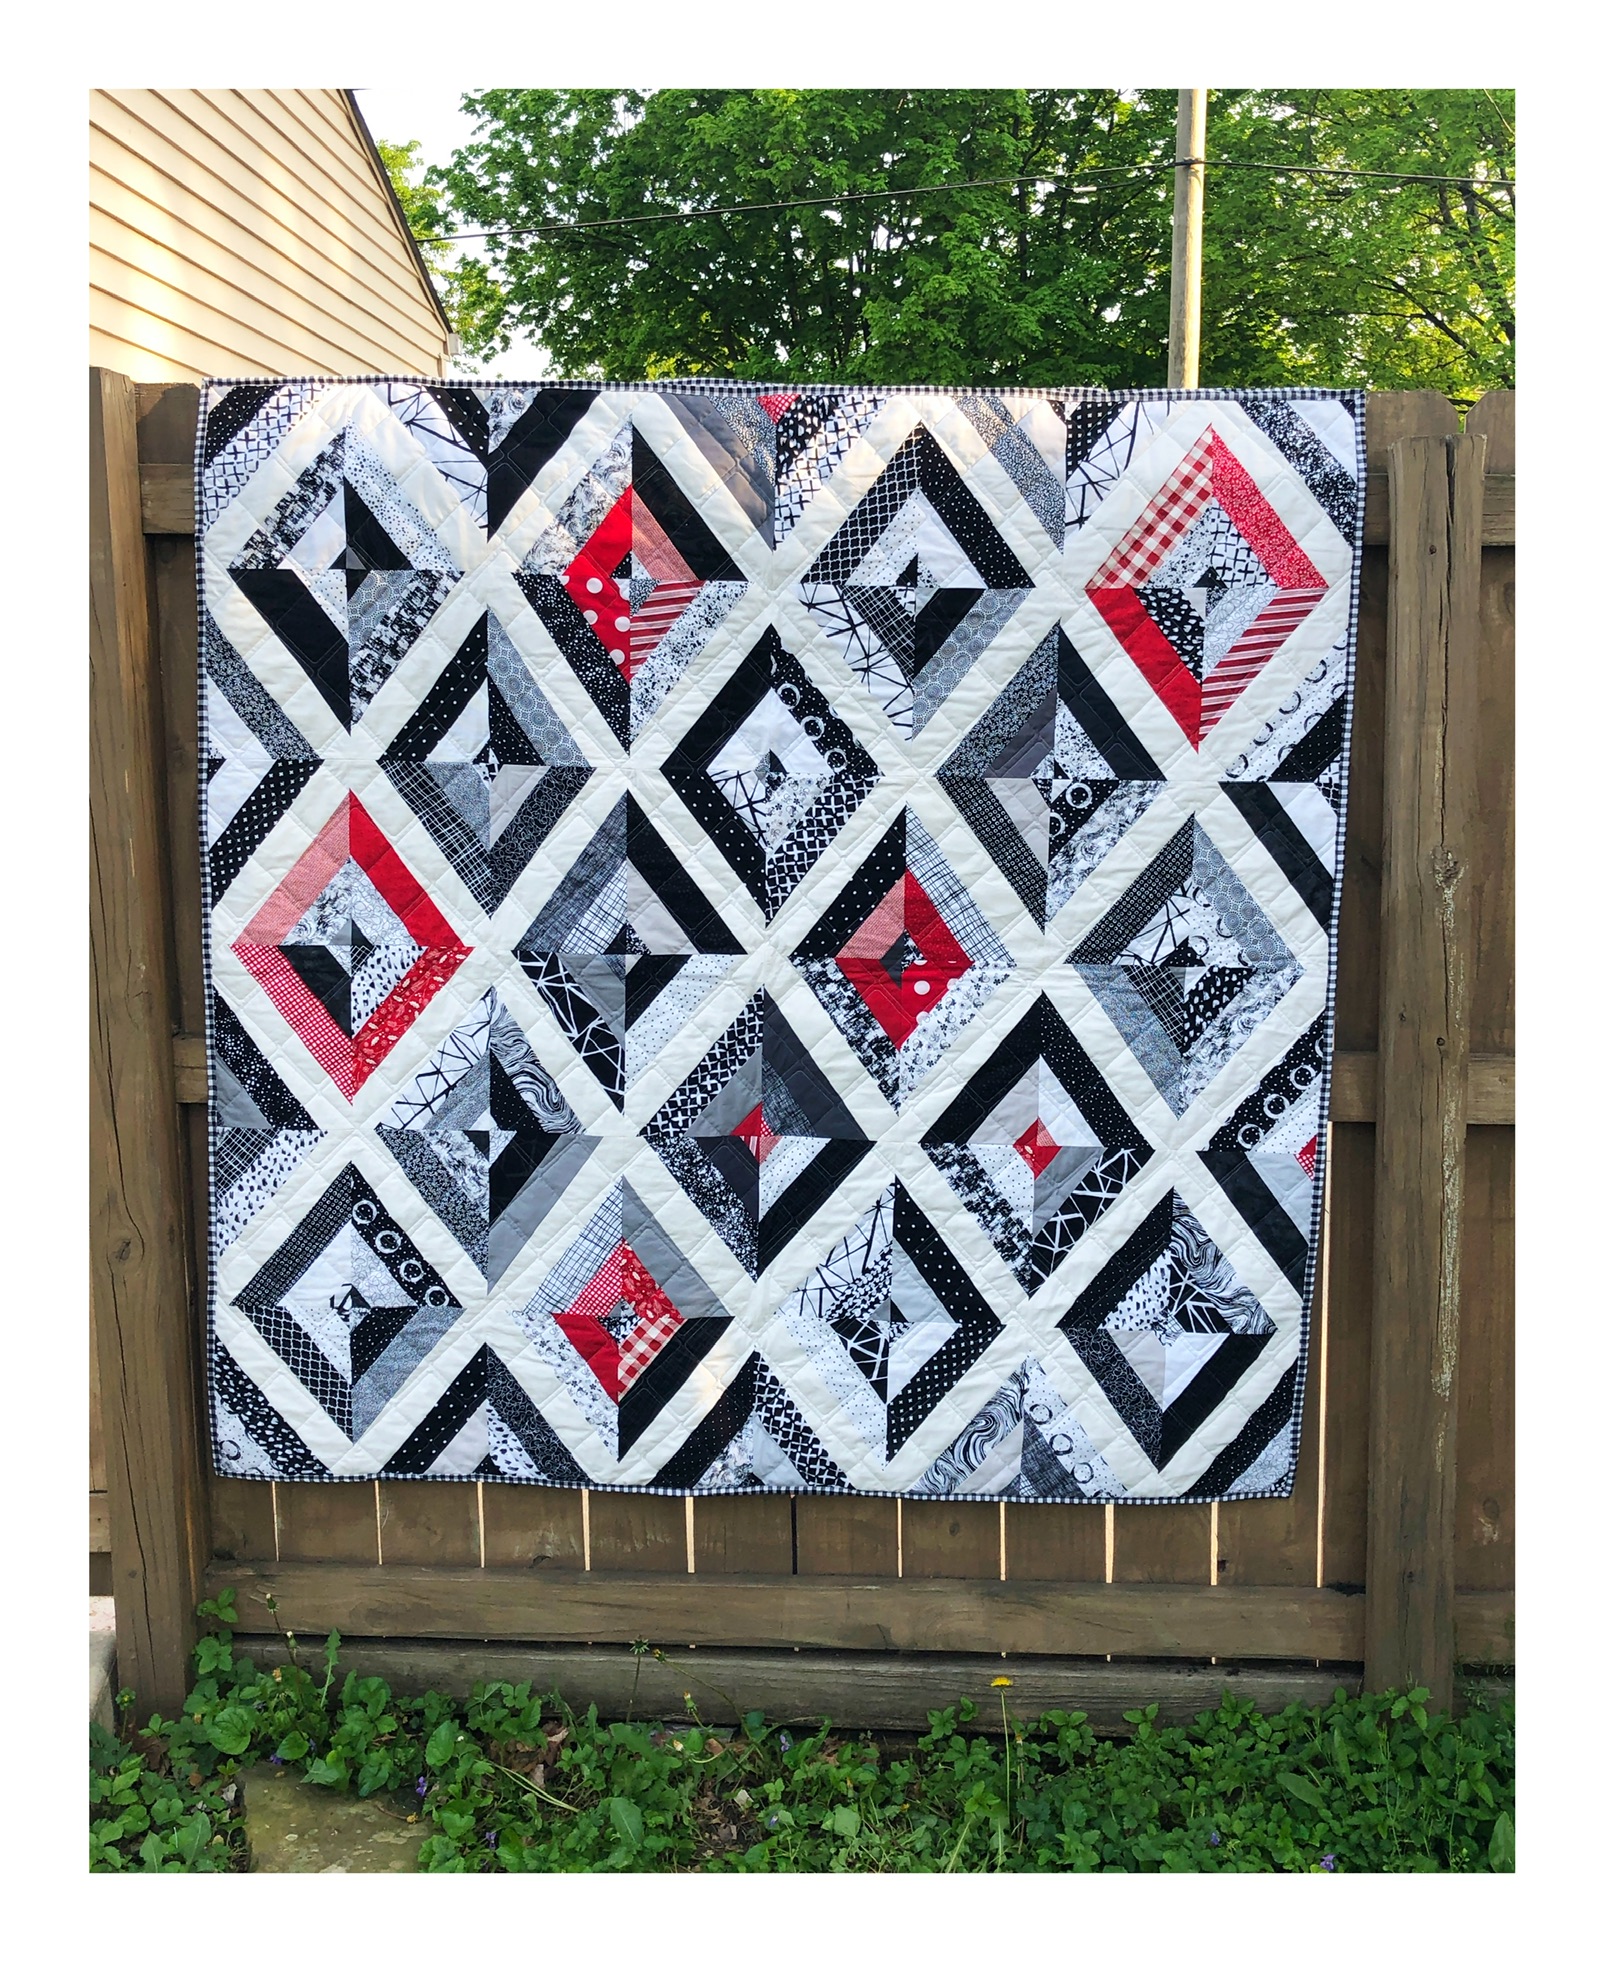
I LoVe this Quilt!!
I know.. I say this about all my quilts but they really are like my children; I love them all the same in their own special way. One of my favorite colors is red and when paired with black and white in a quilt, my hearts sings. This quilt was super easy to construct and is considered a beginner level quilting pattern. I have several * jelly rolls and thought this would be a perfect design for a black and white quilt.
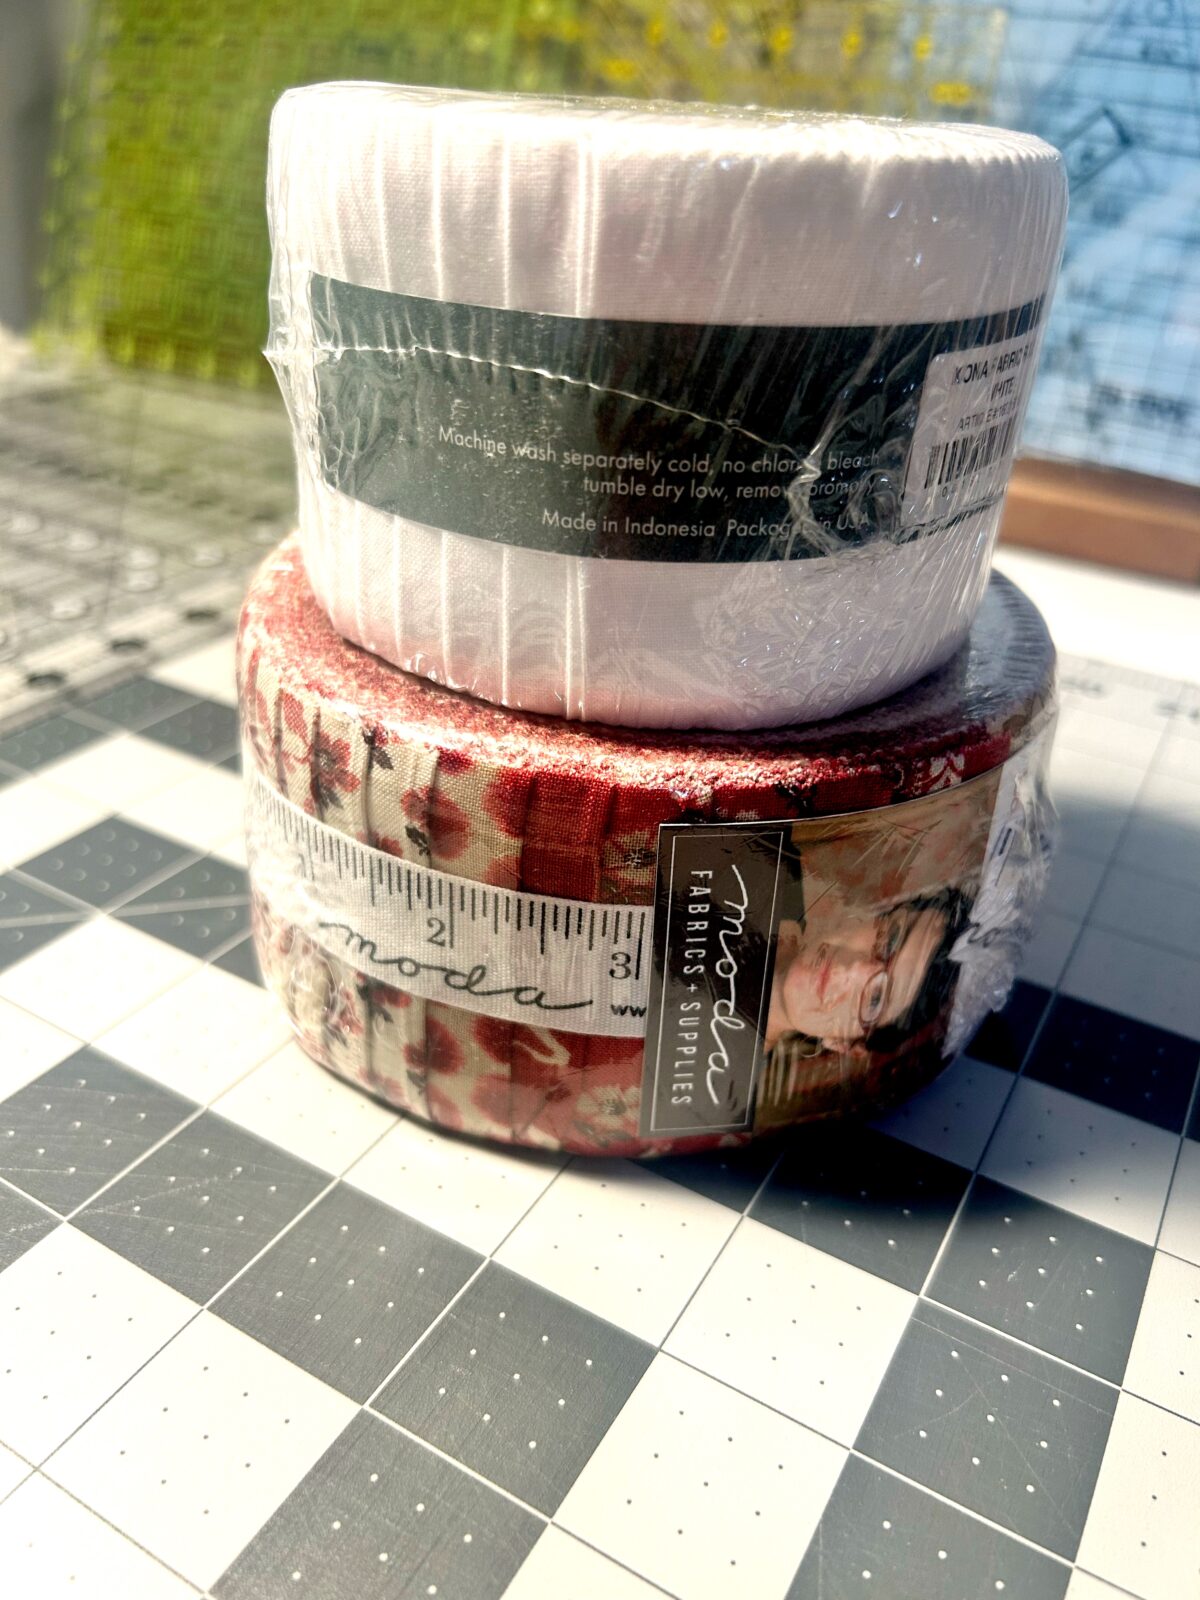
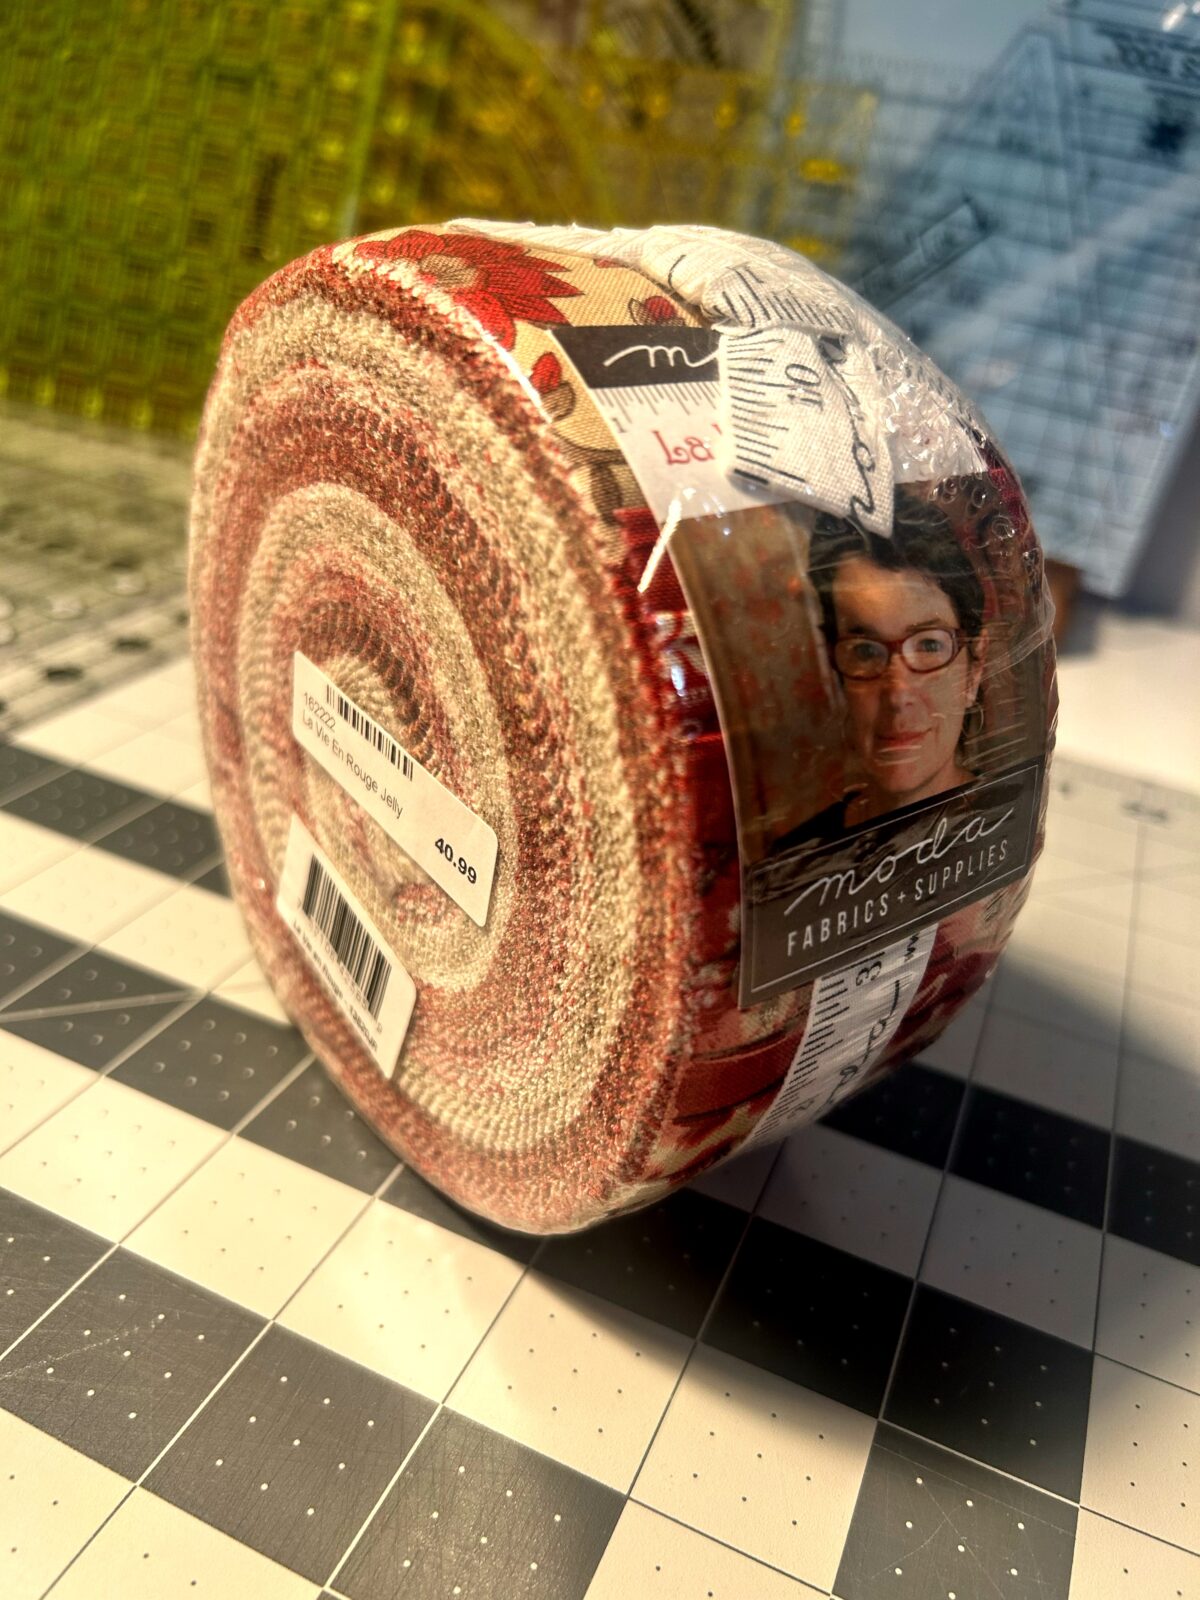
Jelly Roll
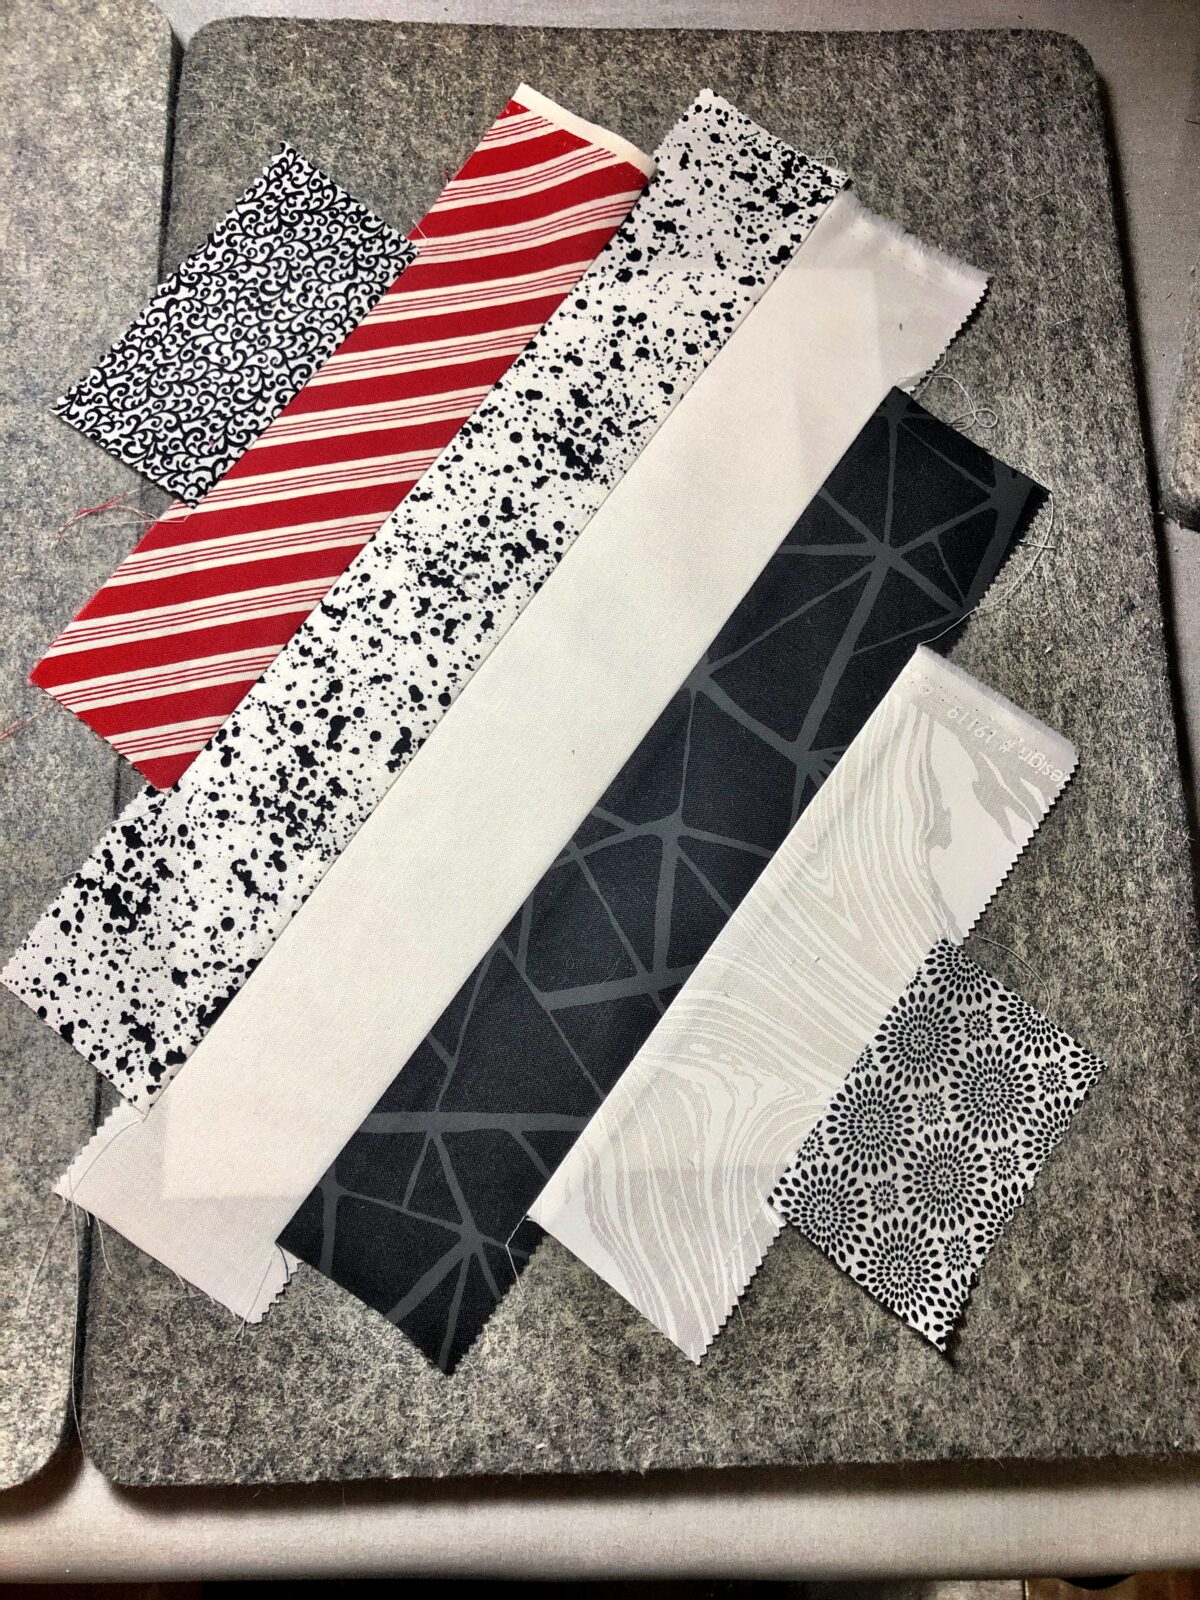
A Jelly Roll {in quilting terms} is a (pre-cut) bundle of fabric cut into strips of 2 1/2″ wide by the width of Fabric (WOF) of 44″-45″ long. Most jelly roll bundles contains 40 strips of fabric in the same coordinating fabric collection. These pre-cut bundles are sold at your local quilt shop and on line and are great for making quick and easy projects since the fabric is already in strips.
Strip Quilting
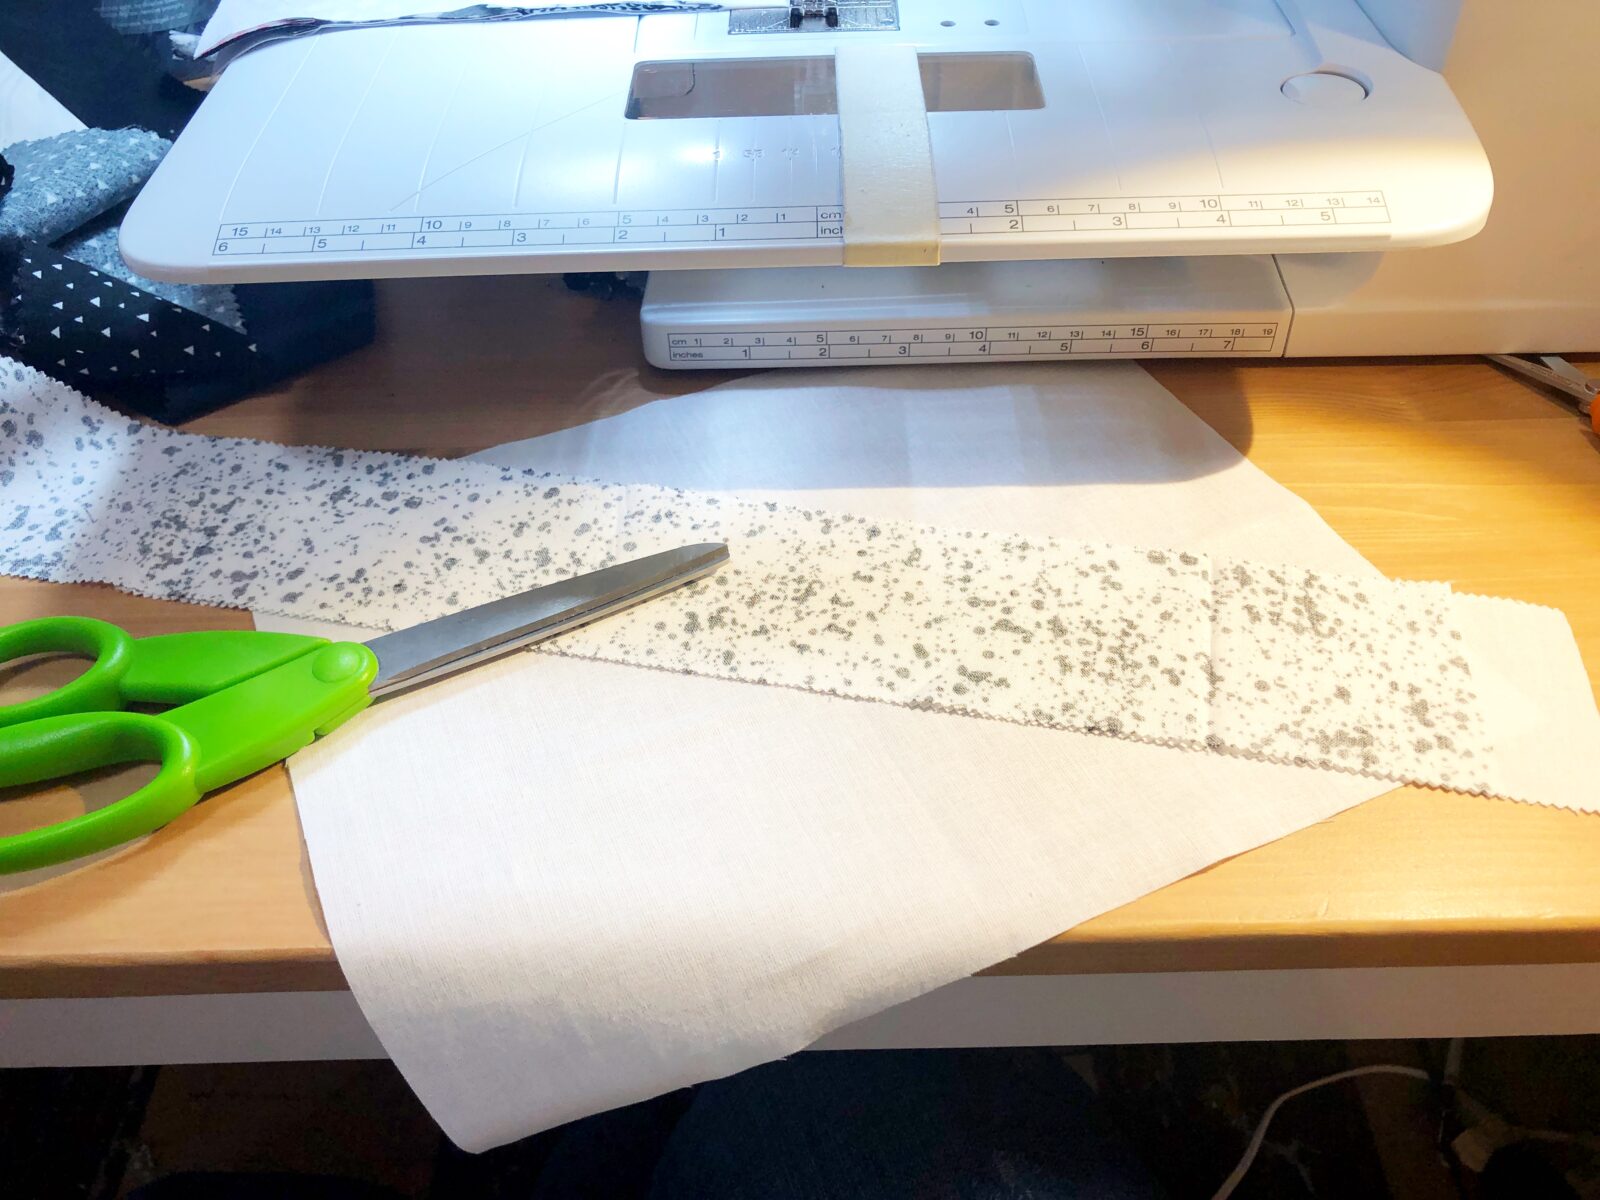
This type of Quilt is a called a Strip Quilt. There is a base layer that the fabric strips are then sewn to. The great things about this quilt pattern is anything goes; let your creativity soar. I choose to make my quilts blocks 8″x11″ so that is the size I cut my base layer fabric. However, the base fabric layer could be any size you like {I have seen it 8″x8″ square which is just as stunning}. When selecting your base layer fabric, it needs to be a very thin based fabric, so I choose a muslin which can be purchased at any local fabric shop. Once you have decided the number of blocks you need to complete your quilt, you will then sew your fabric strip to this layer in diagonal strips; thus the name a Strip Quilt.

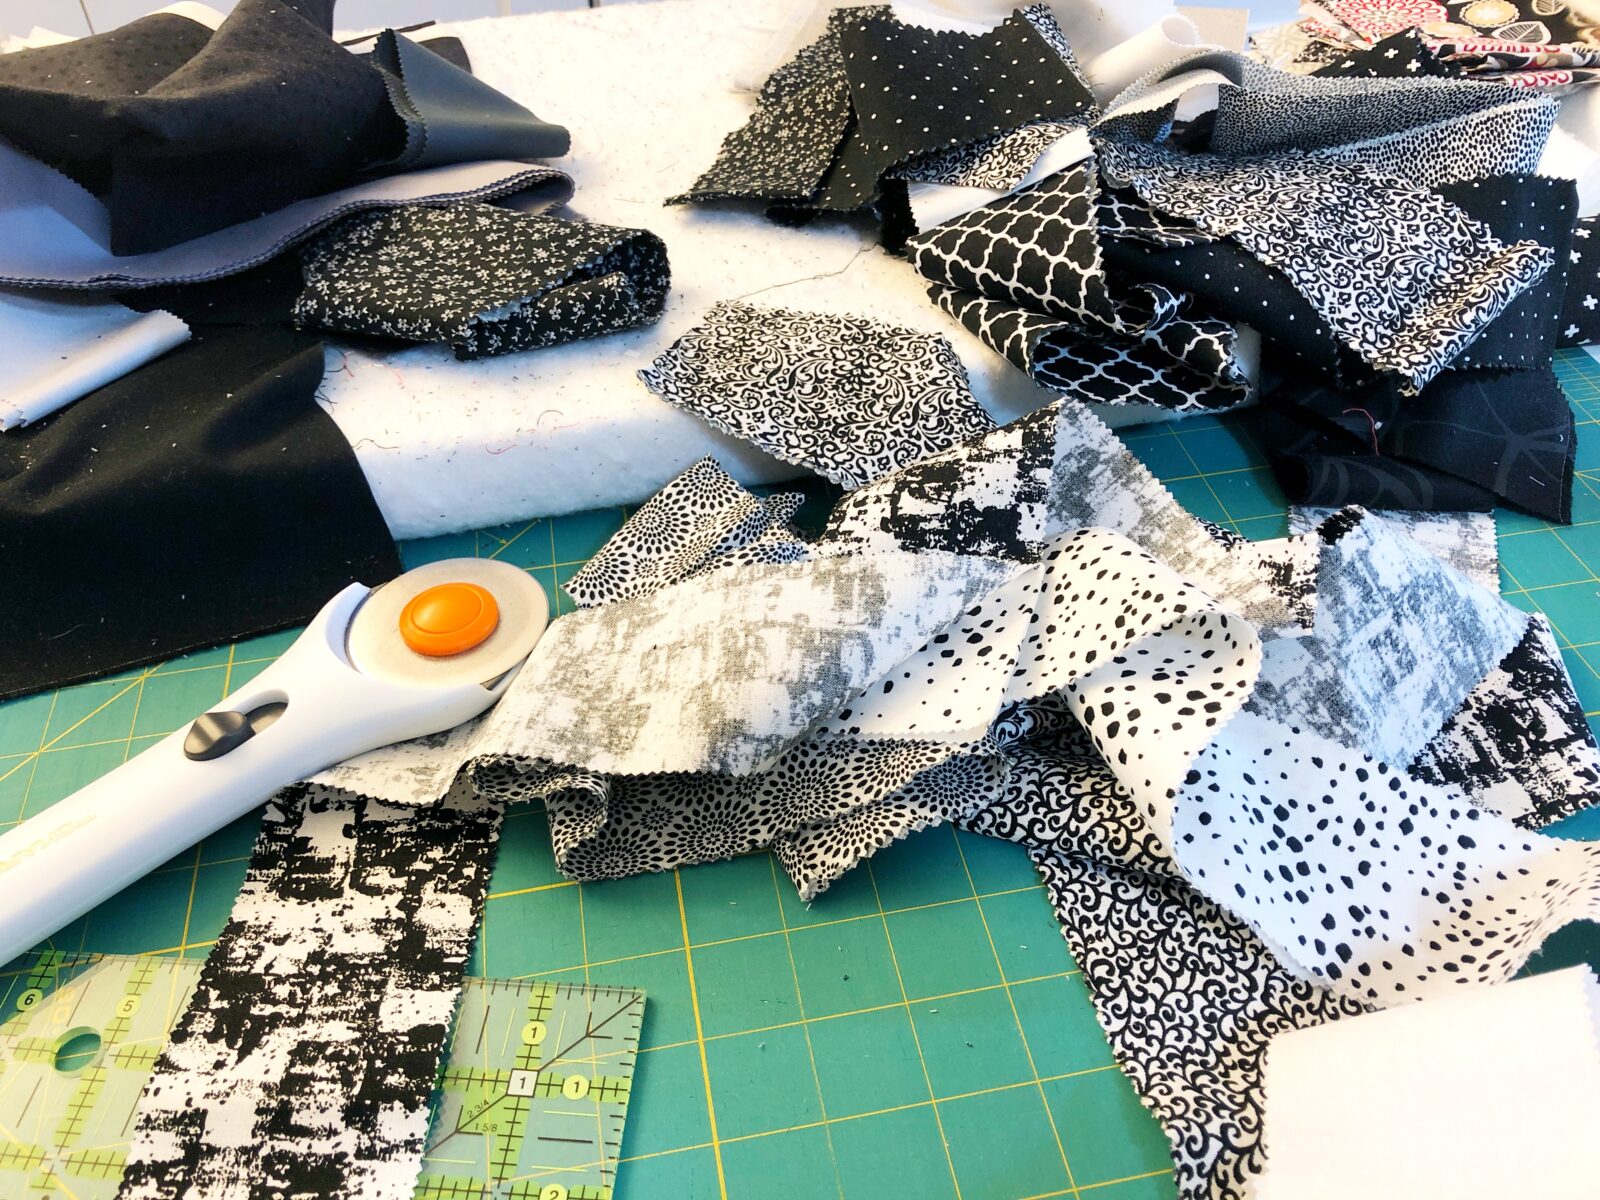
Selecting Fabrics
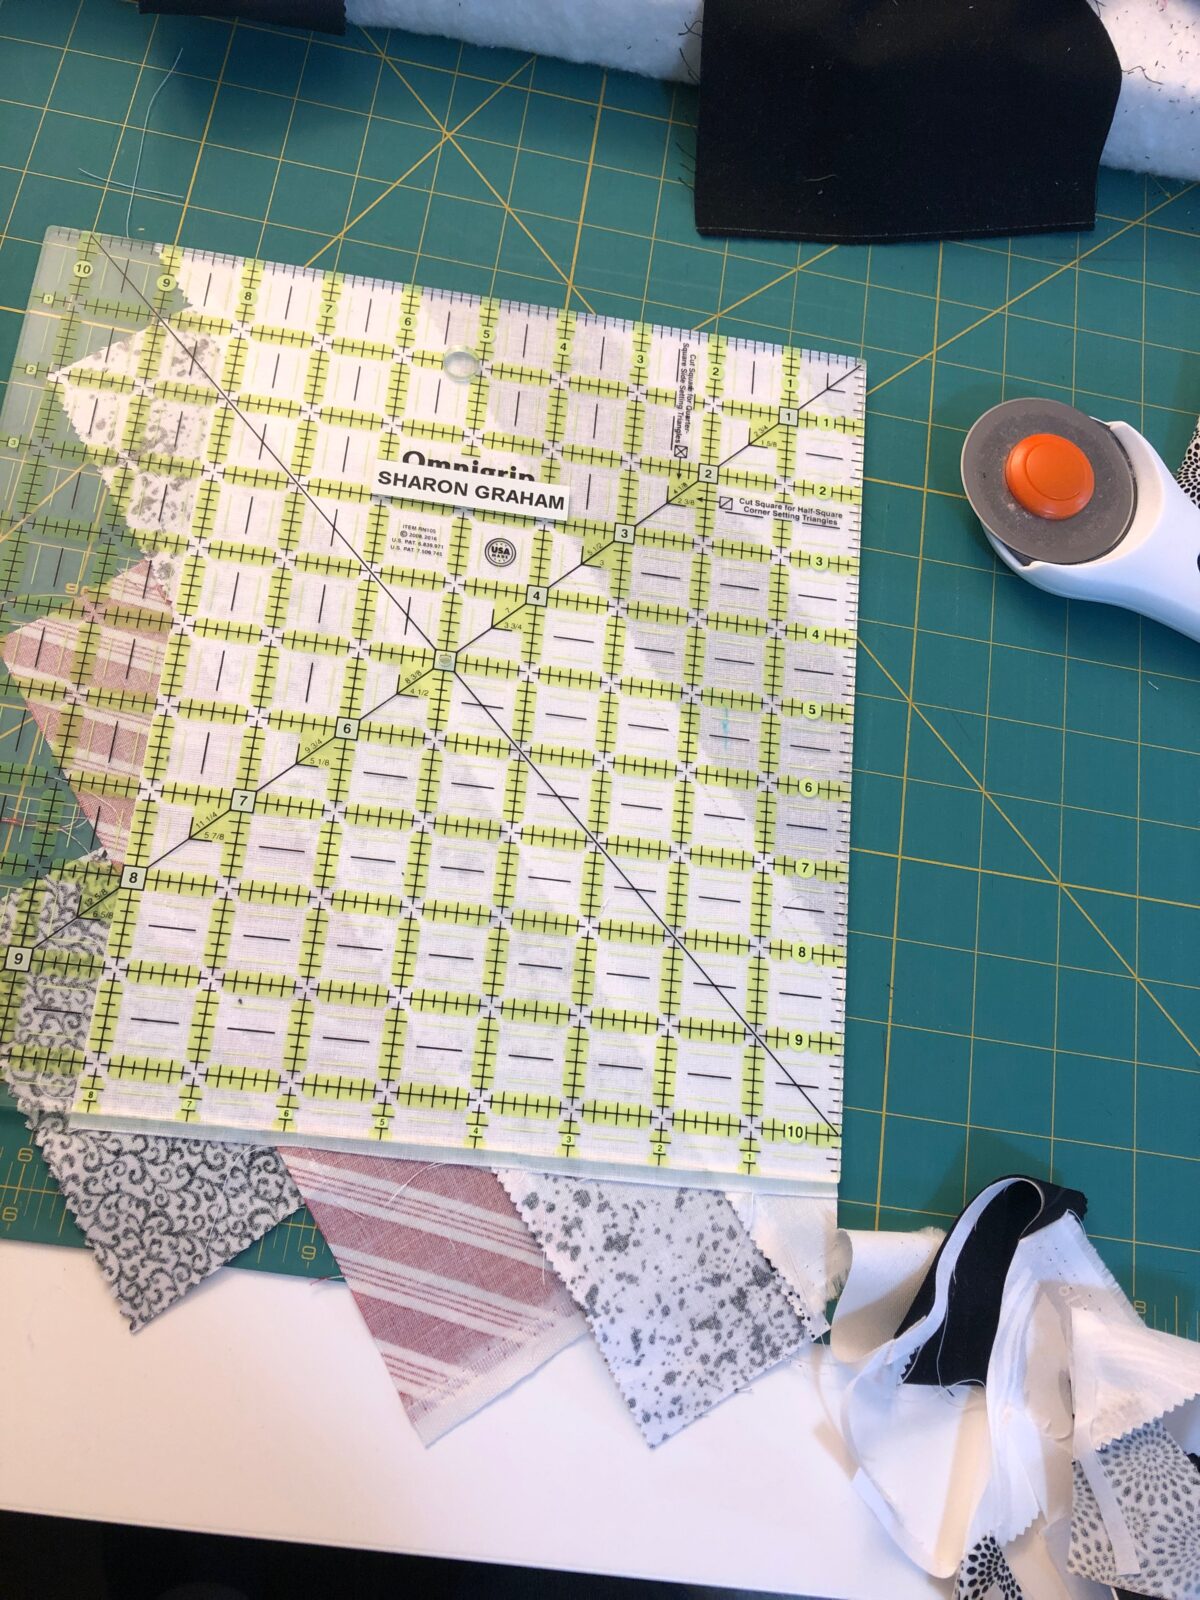
From your fabric pile, in my case my scrap left over jelly roll strips with a few scrap red fabrics added to the mix, I selected a neutral fabric as my first piece and placed it right side down corner to corner on my base layer. Selecting a 2nd strip of fabric, I lay them right sides together and with a 1/4″ seam allowance, I sew along on long side of the strips. The great part is you do not need to be perfect on the placement of your center fabric.
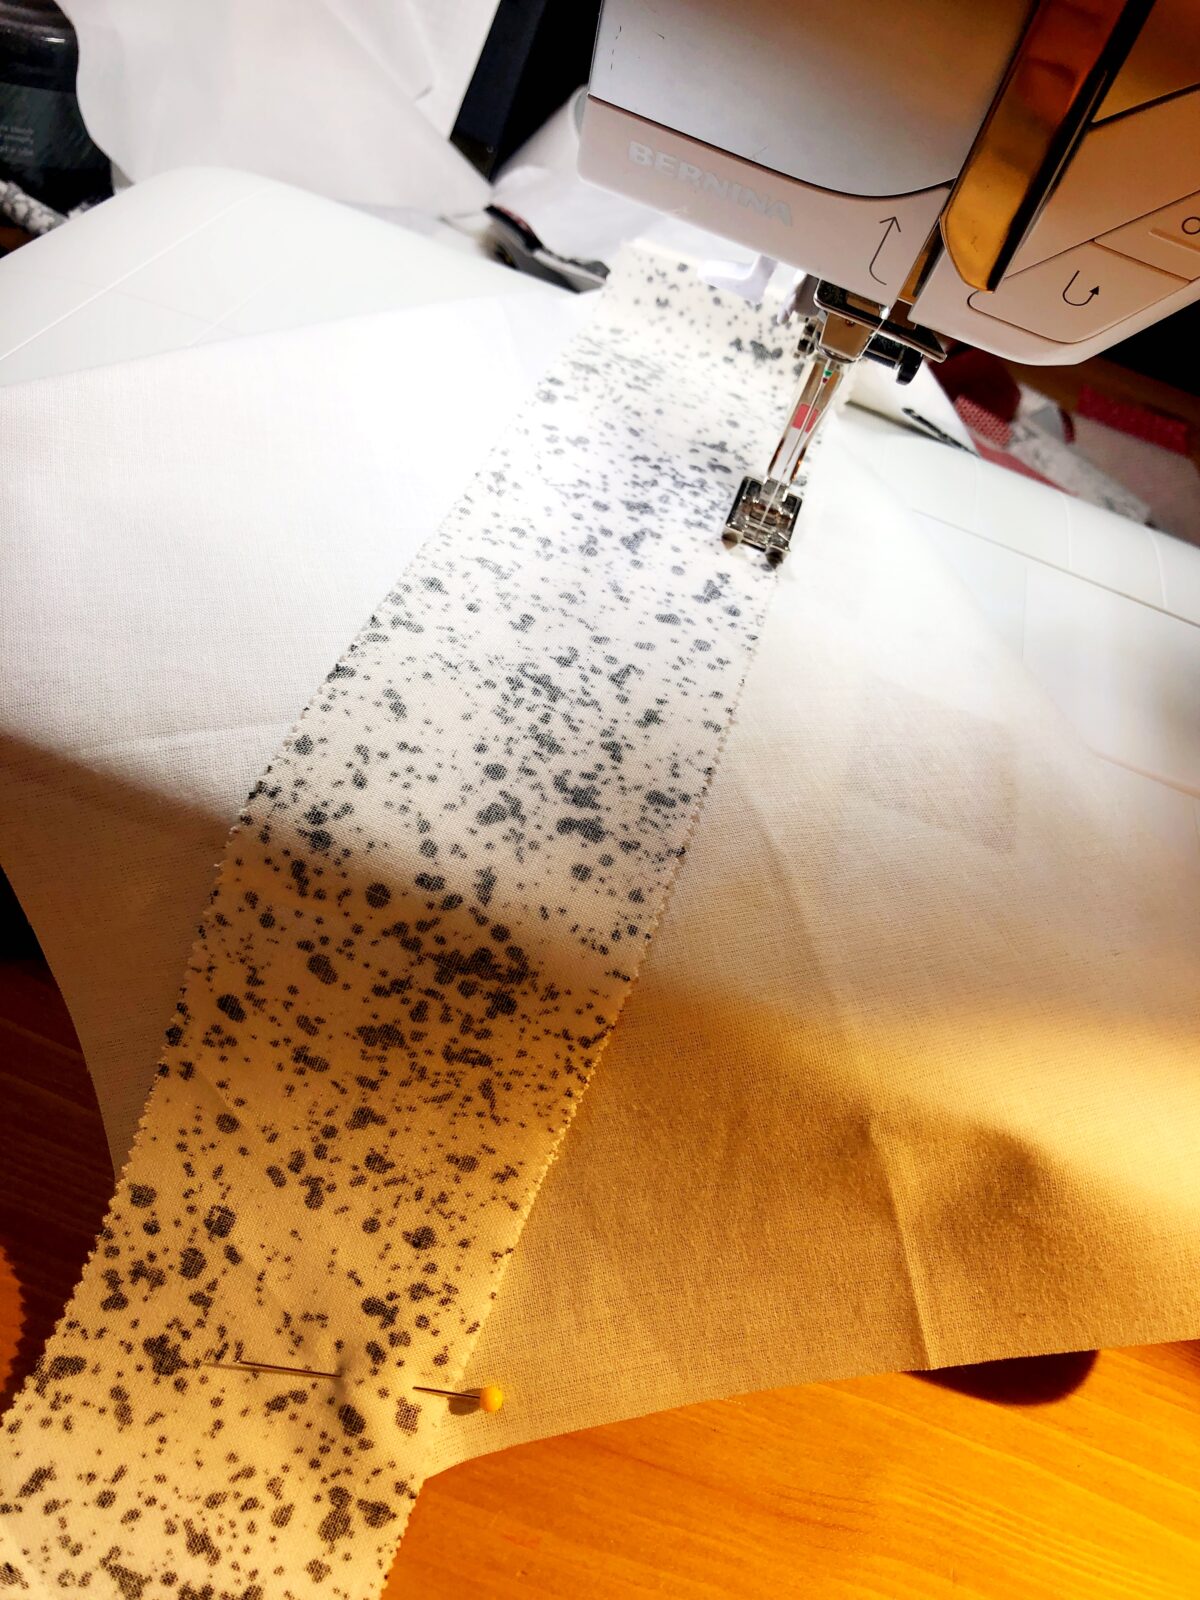
Sewing Each Strip
After each fabric strip is sewn to the base layer, you will flip the fabric strip over so the right side is face up and then finger press the fabric seam, moving outward towards the end of the base layer. Select your next fabric strip and place right side together to the fabric you just sewed. Again, with a 1/4″ seam allowance, you will sew along the long side, then flip over and finger press. Be sure to alternate between each side as you move toward the end of your base layer of fabric, ensuring you finger press each newly sewn strip.
Your finished block (pre trimming) should look like this:
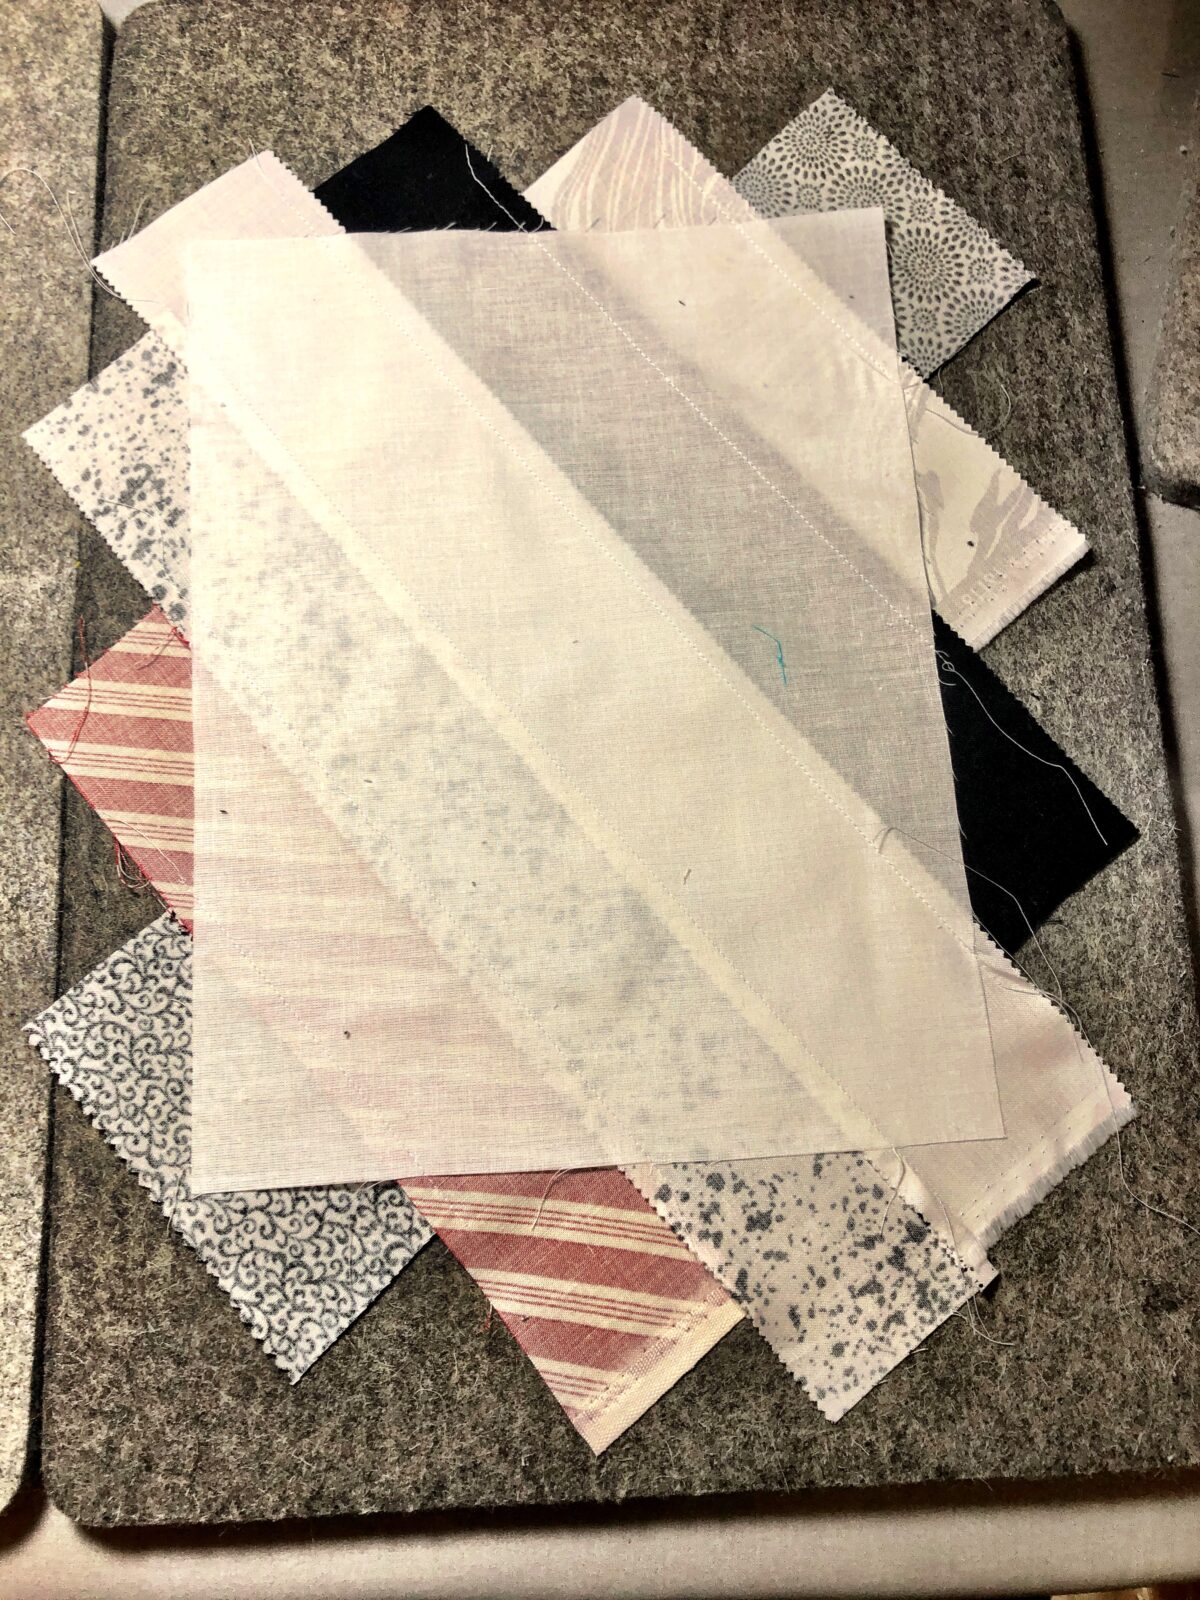
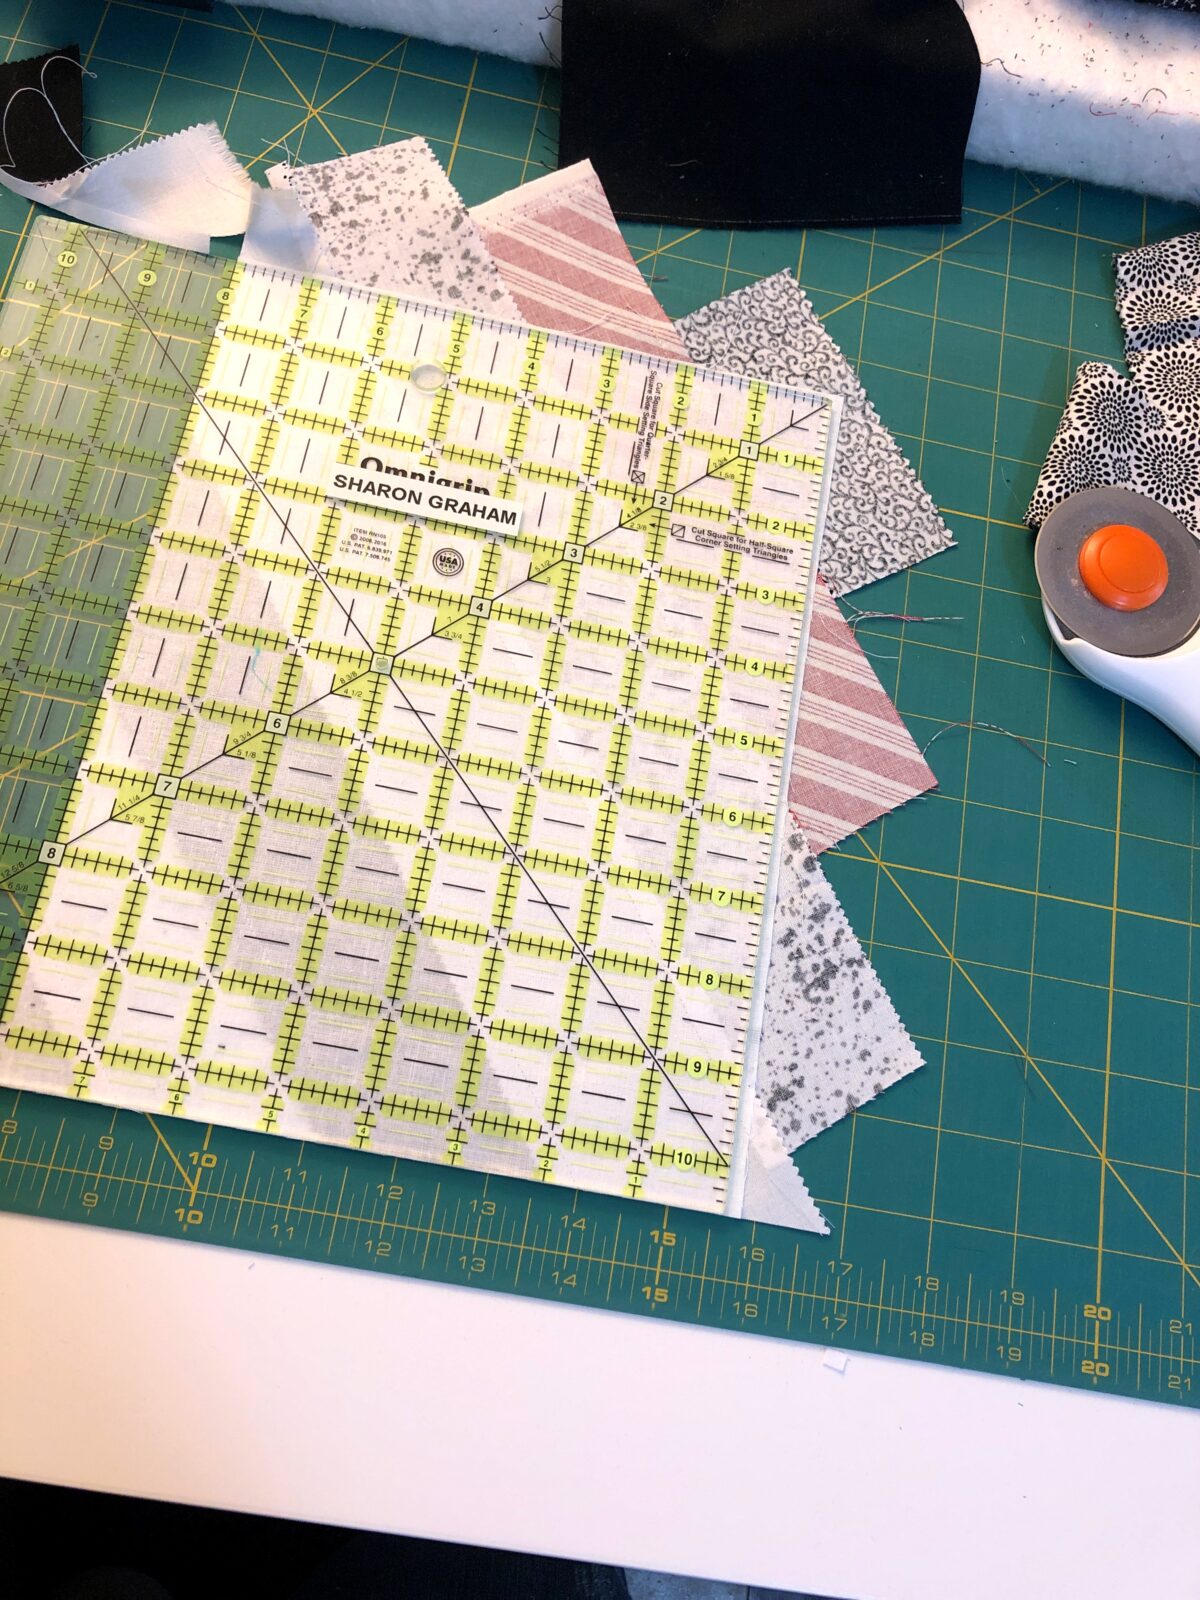
Once you have sewn all your blocks, they should looks like the pictures above. You will now need to trim the block. I used my quilting ruling and trimmed each block. The portion that is cut is then discarded.
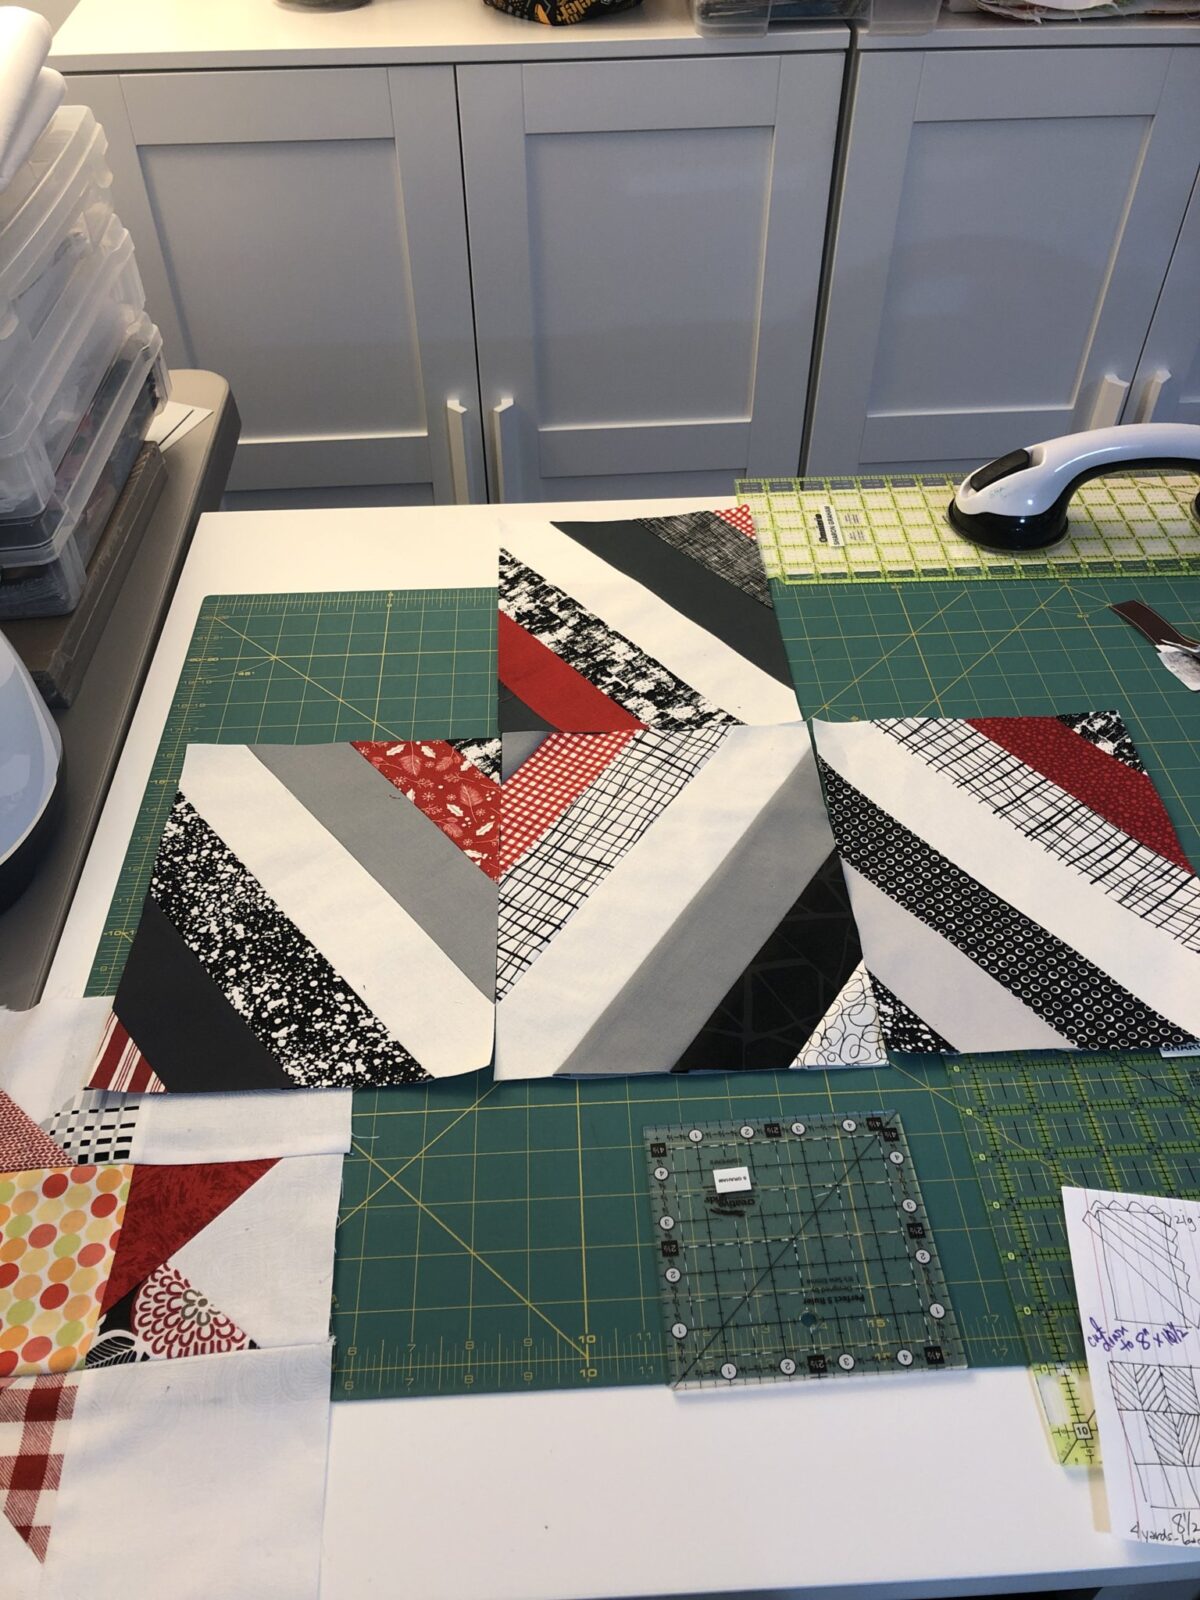
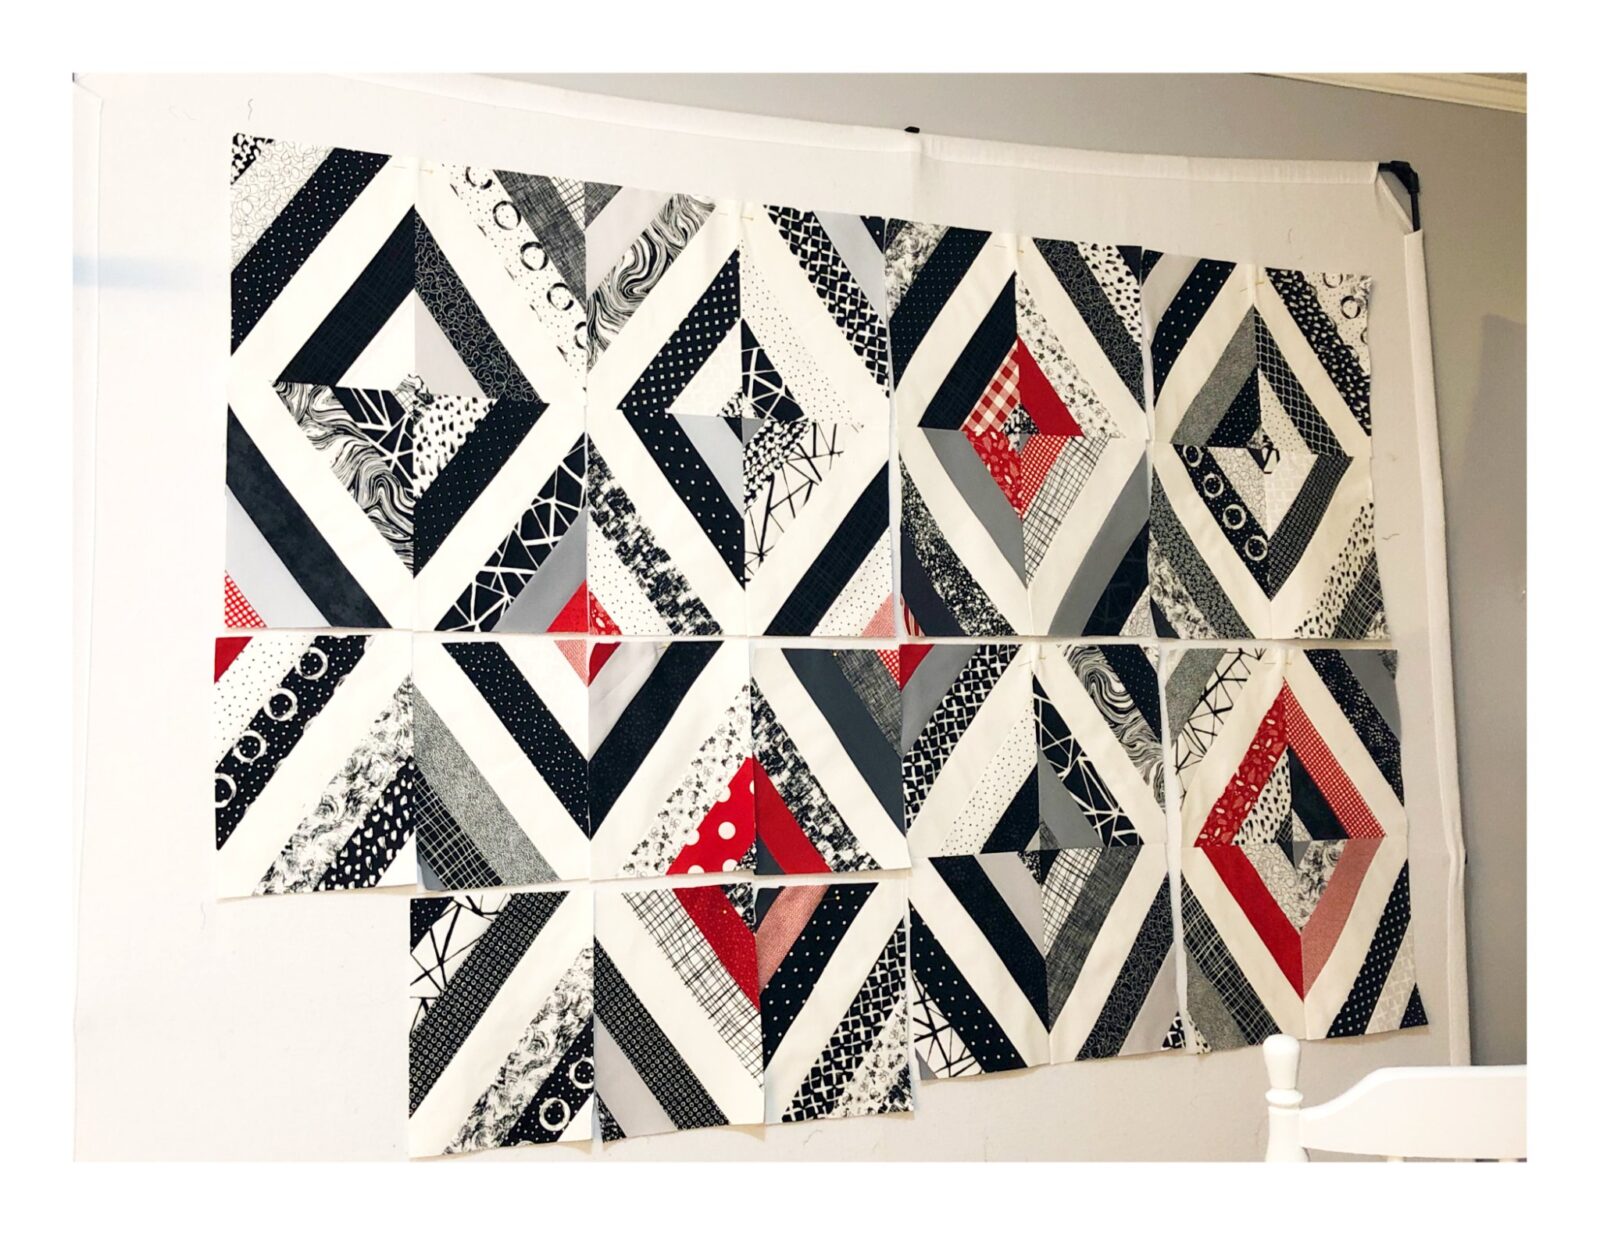
Putting the Quilt Blocks Together
When my blocks were all sewed and trimmed, I laid out the blocks into the quilt pattern I wanted. I then began sewing all the blocks together then prepared for the Long arm quilting. I was beyond happy with the final product.

Fun Facts:
Finished Size: 60″ x 60″
Fabric Collection: Scrap Jelly Roll and Red Strips
Quilting Pantograph: IQ Cruz
Quilted By: Lady Mumm Designs
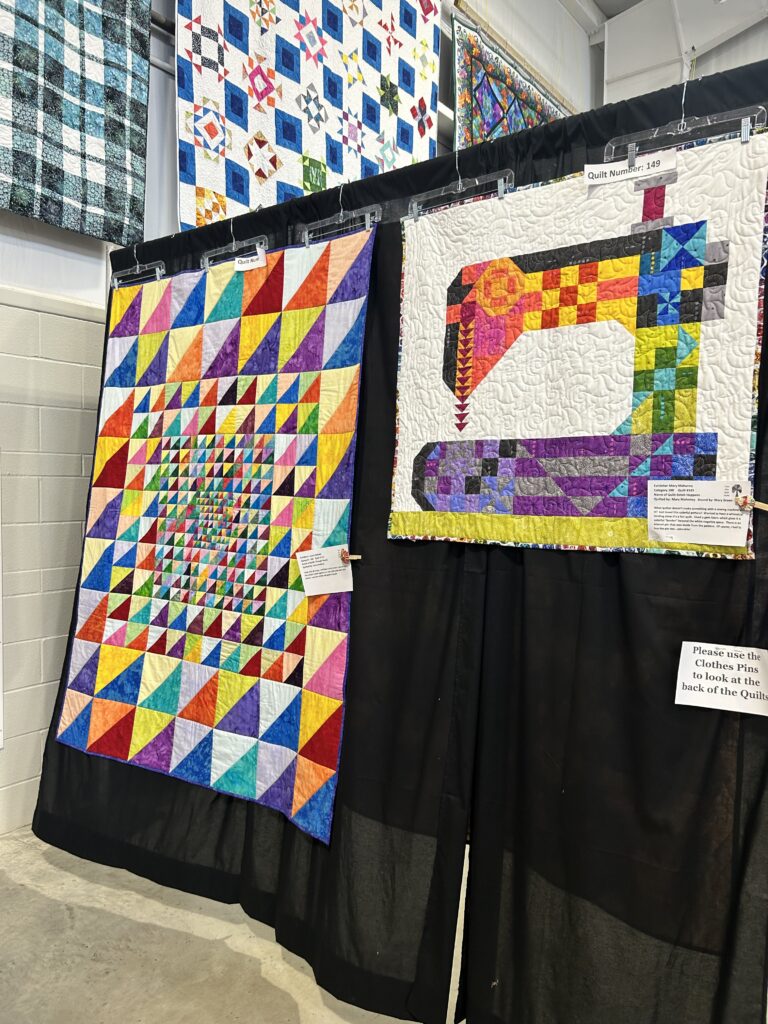
Hung in the Ohio State Fair 2022
Quilt on and Sharon the Moments