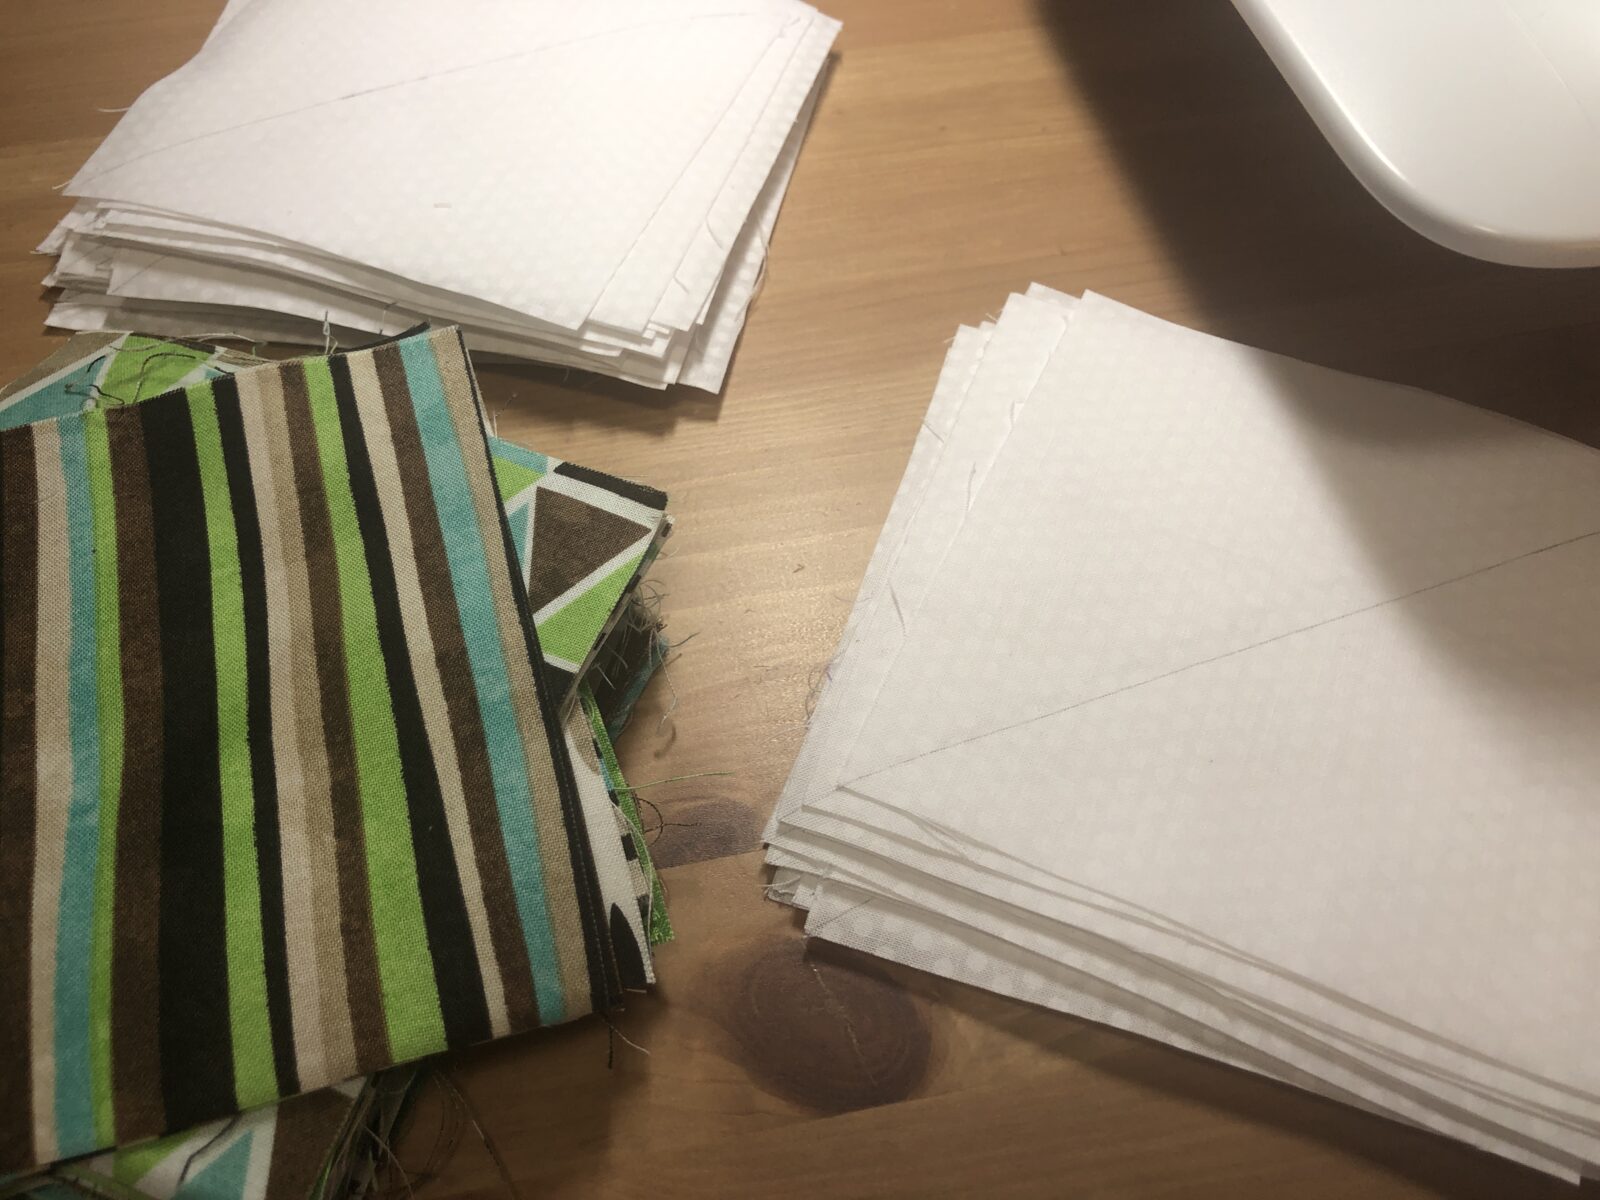
Selecting fabrics and deciding the pattern that would work perfectly together is a puzzle piece all itself. I was gifted this beautiful retro vibe fabric and spent time looking through quilt books and online for ideas of the perfect pattern.
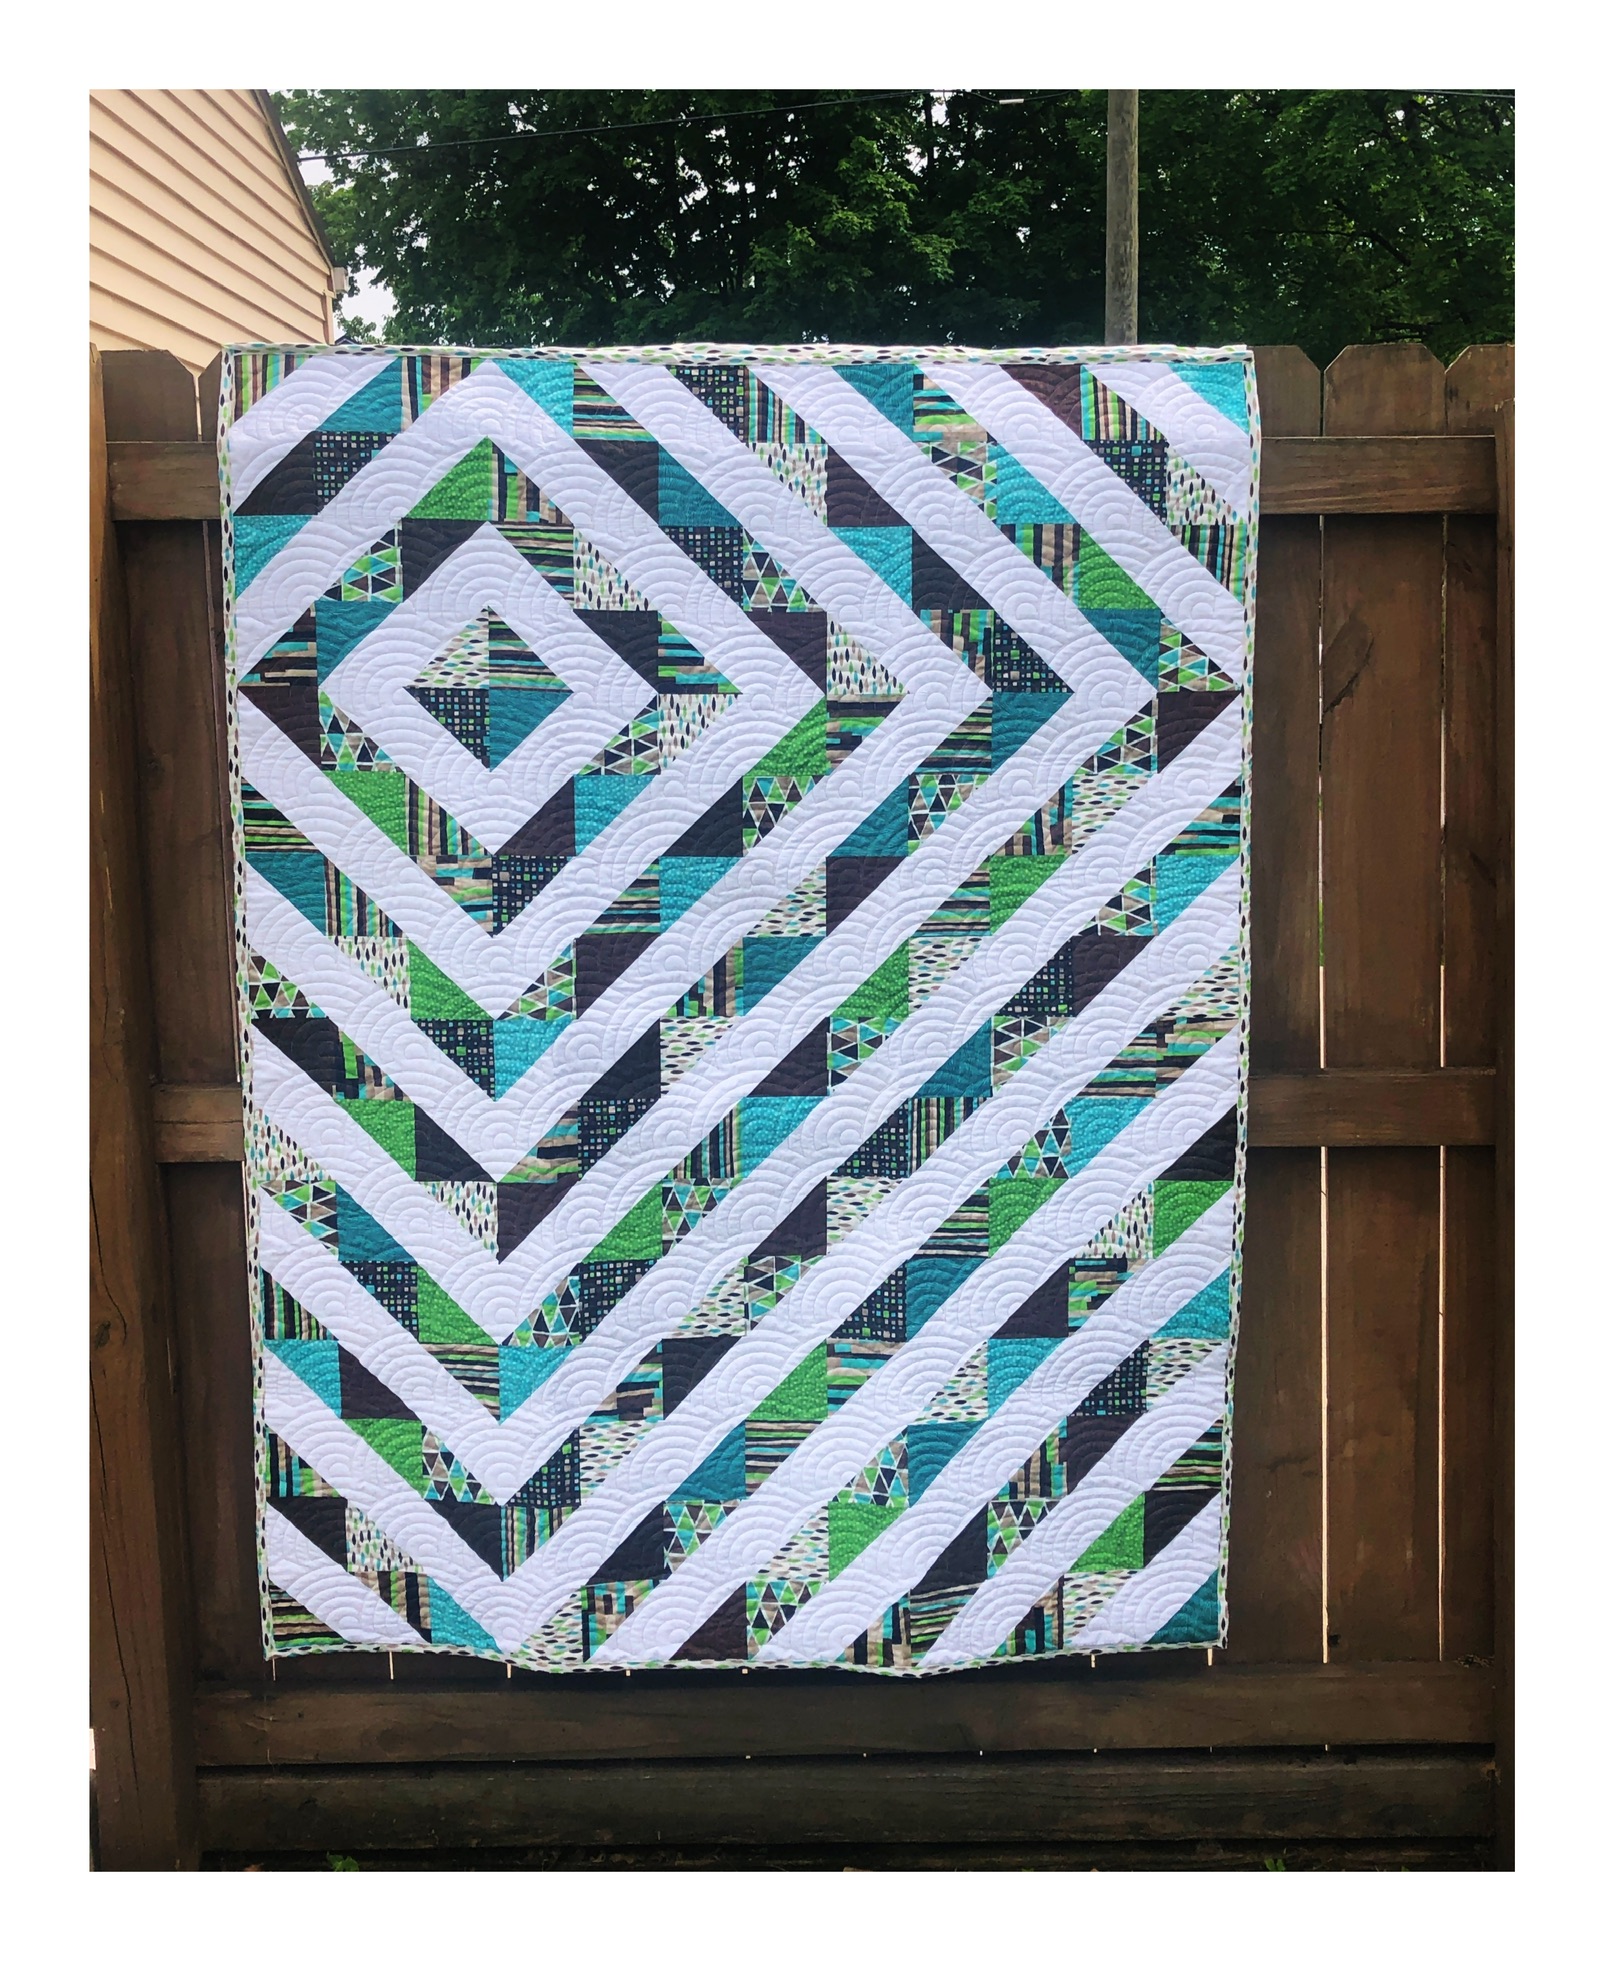
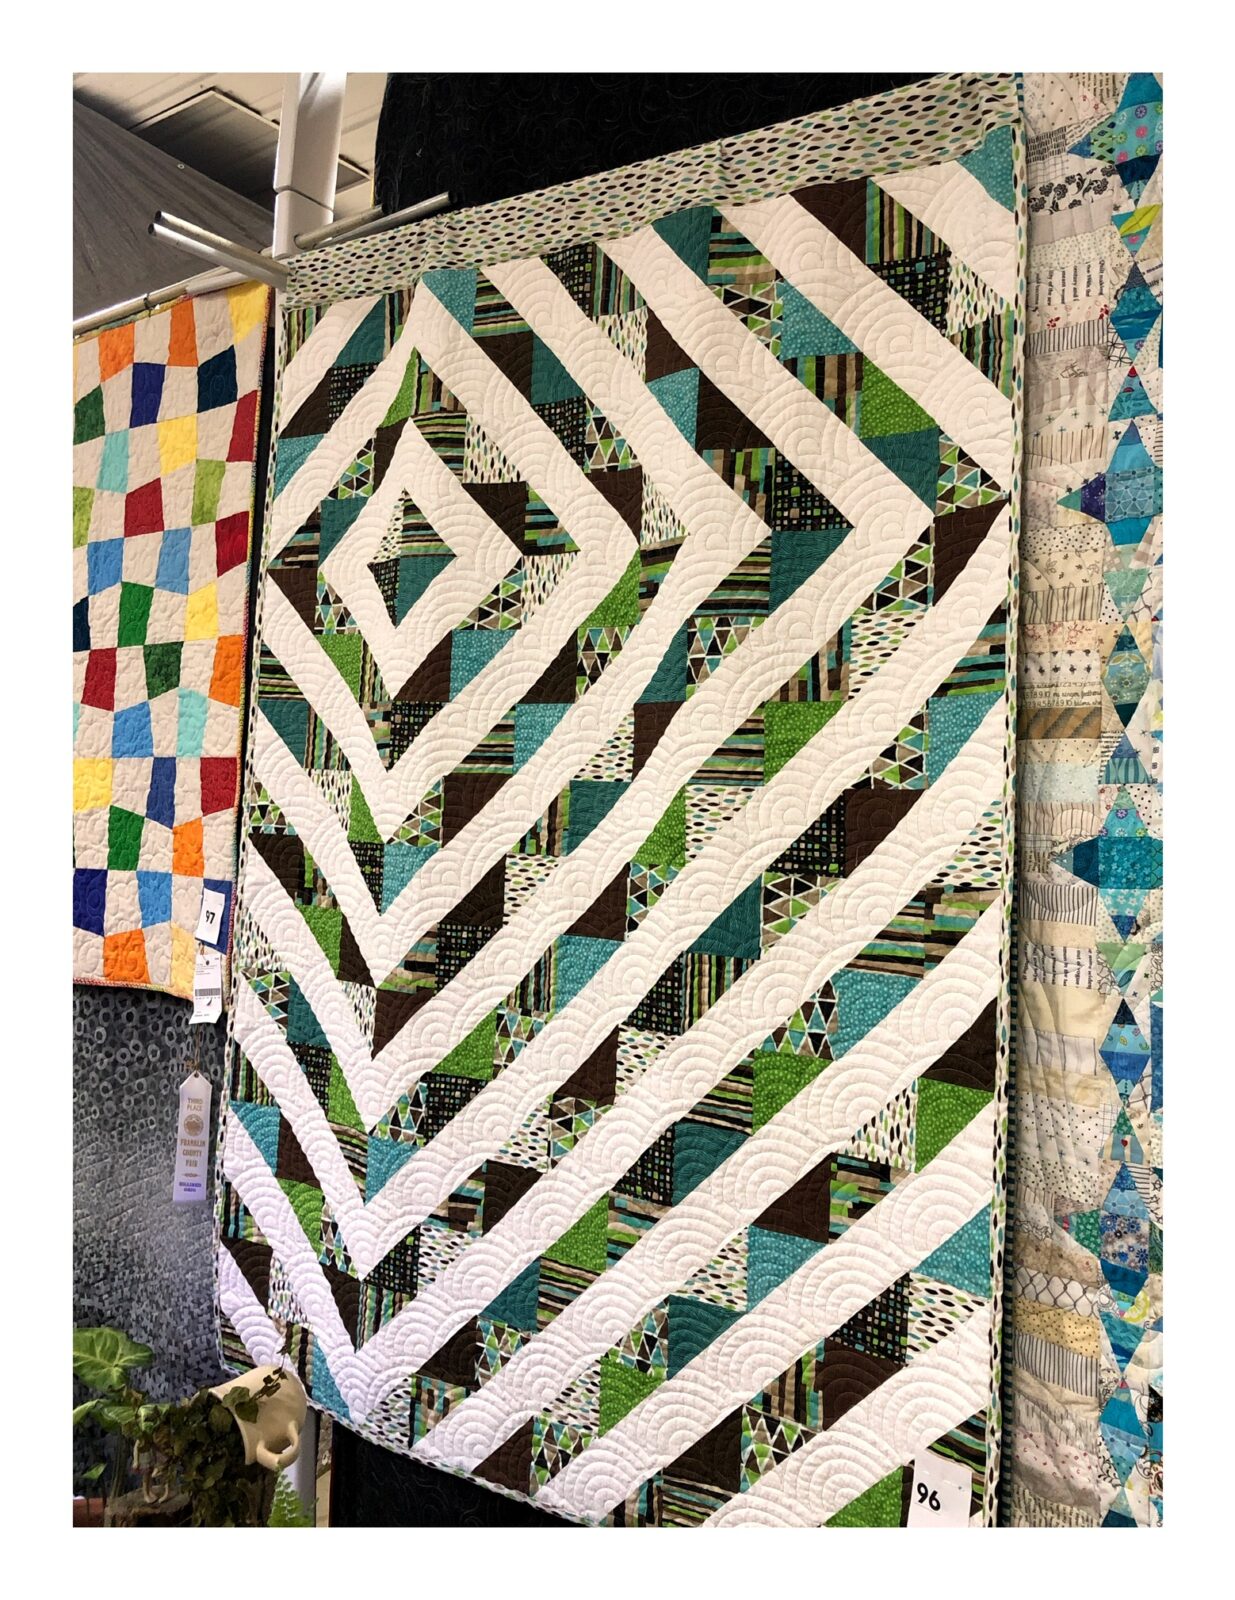
I landed a ripple effect half square triangle (HST) pattern. I love how the retro vibe of the green and brown hues go perfectly with the ripple effect. Interested in more talk about HSTs? You can read about it here.
The construction of HSTs is fairly simple and it a great starting point for beginner quilters. There are many methods for making HSTs. I used to draw the diagonal line on every block and then chain sew. However, after I discovered the Sew Straight tool method, not only does this save me time from drawing the line on every square, it is just much neater and easier.
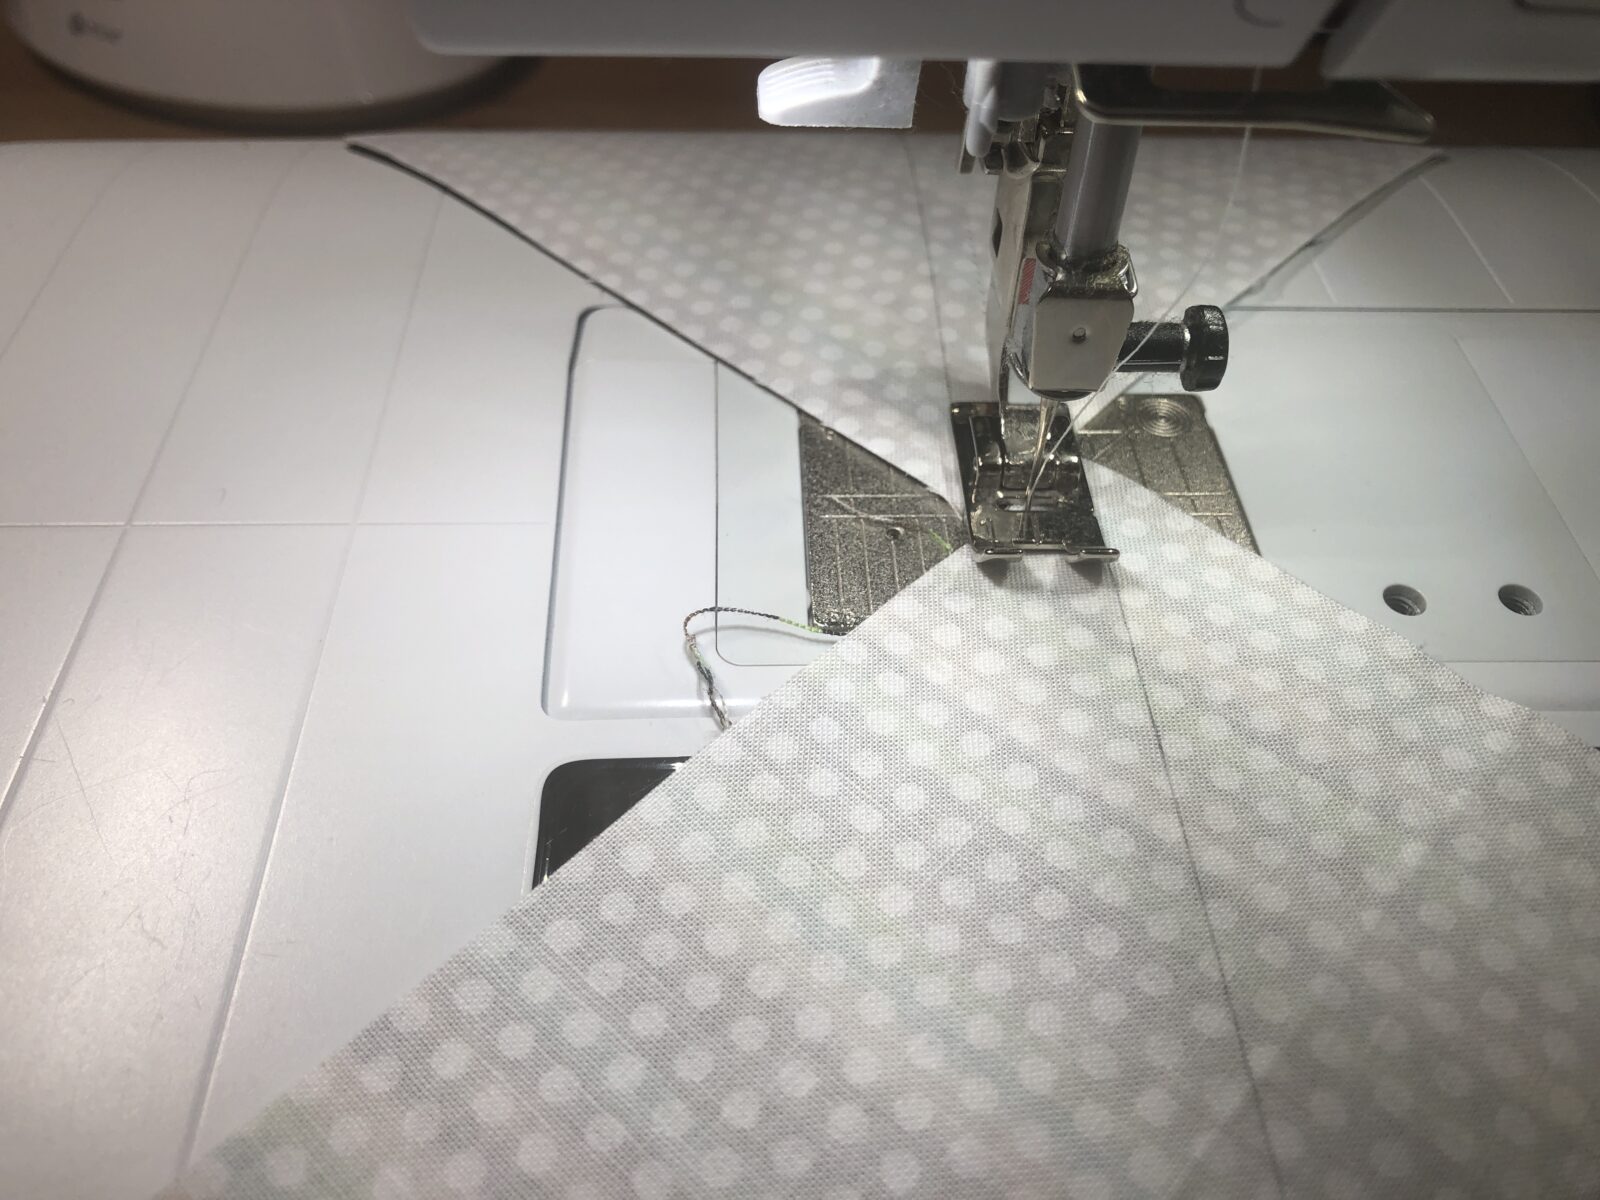
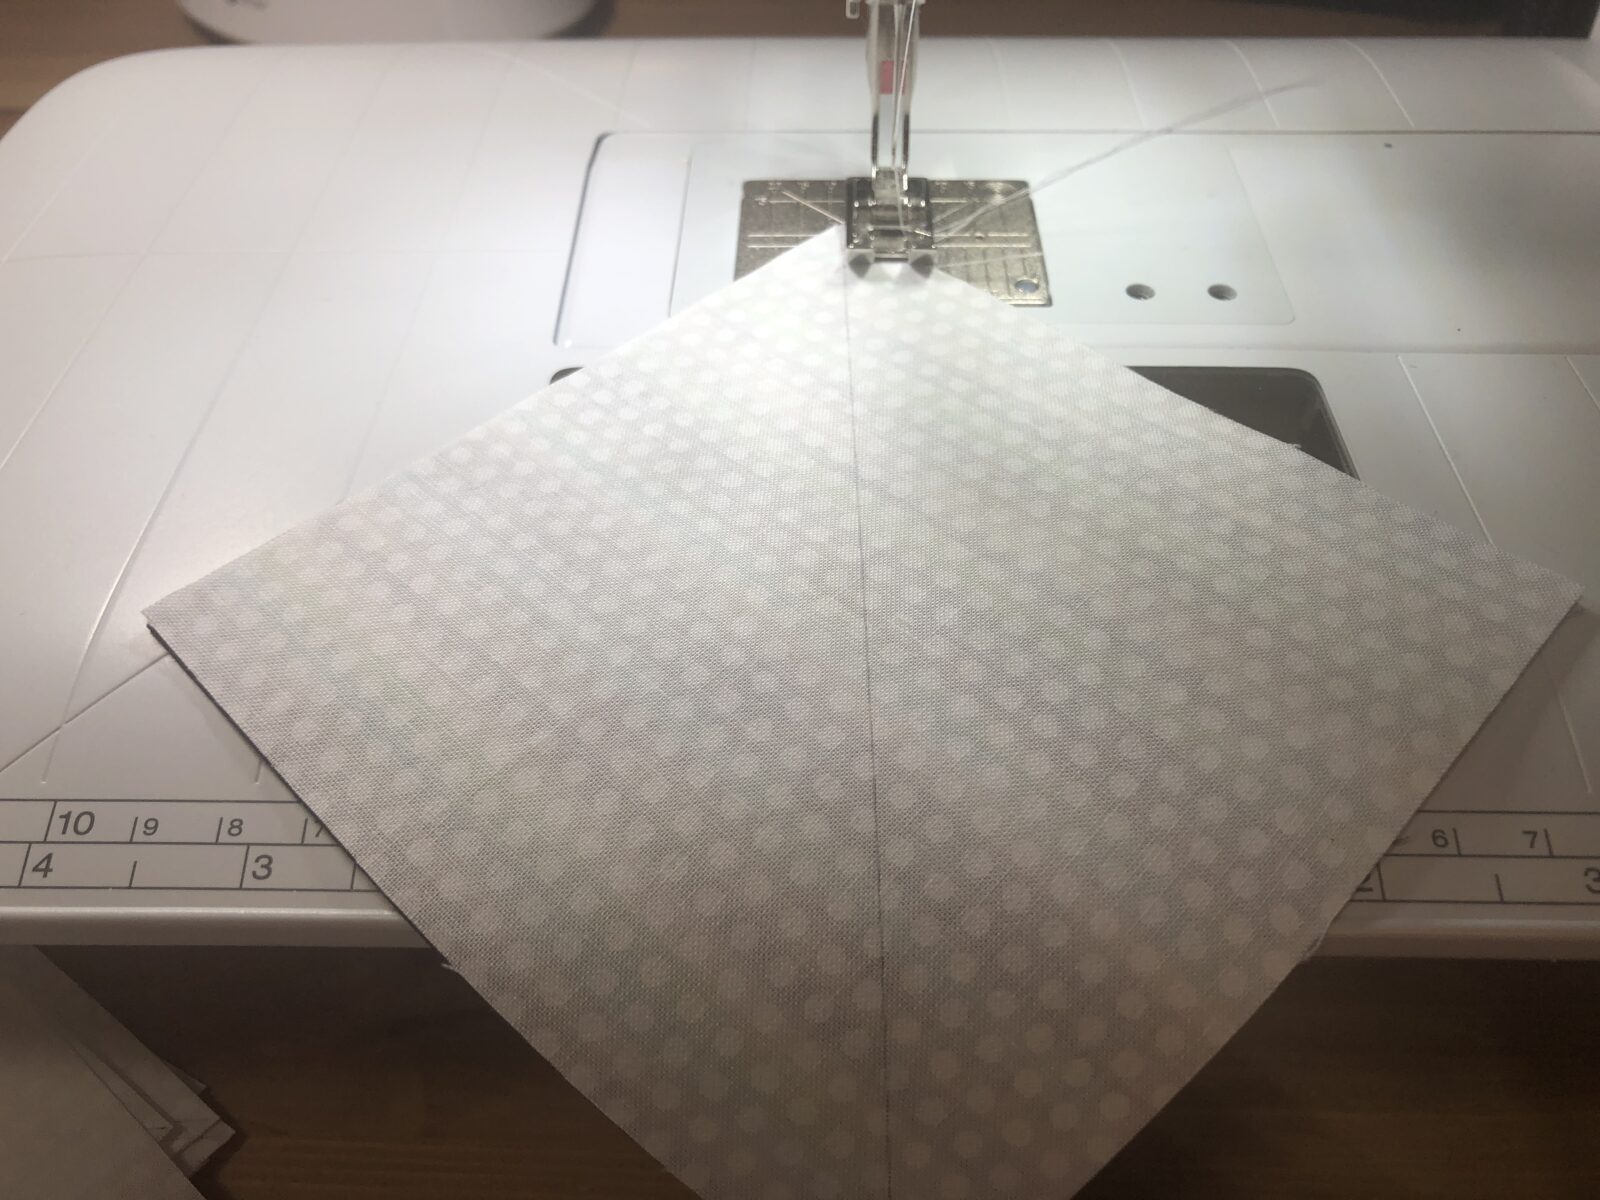
Tip: Draw the line diagonal from corner to corner on the wrong side of the fabric. With both right sides together, sew 1/4 inch from each side of the line, feeding the next block under the needle. Once you have stitched on both sides of the block, cut on the marked line.
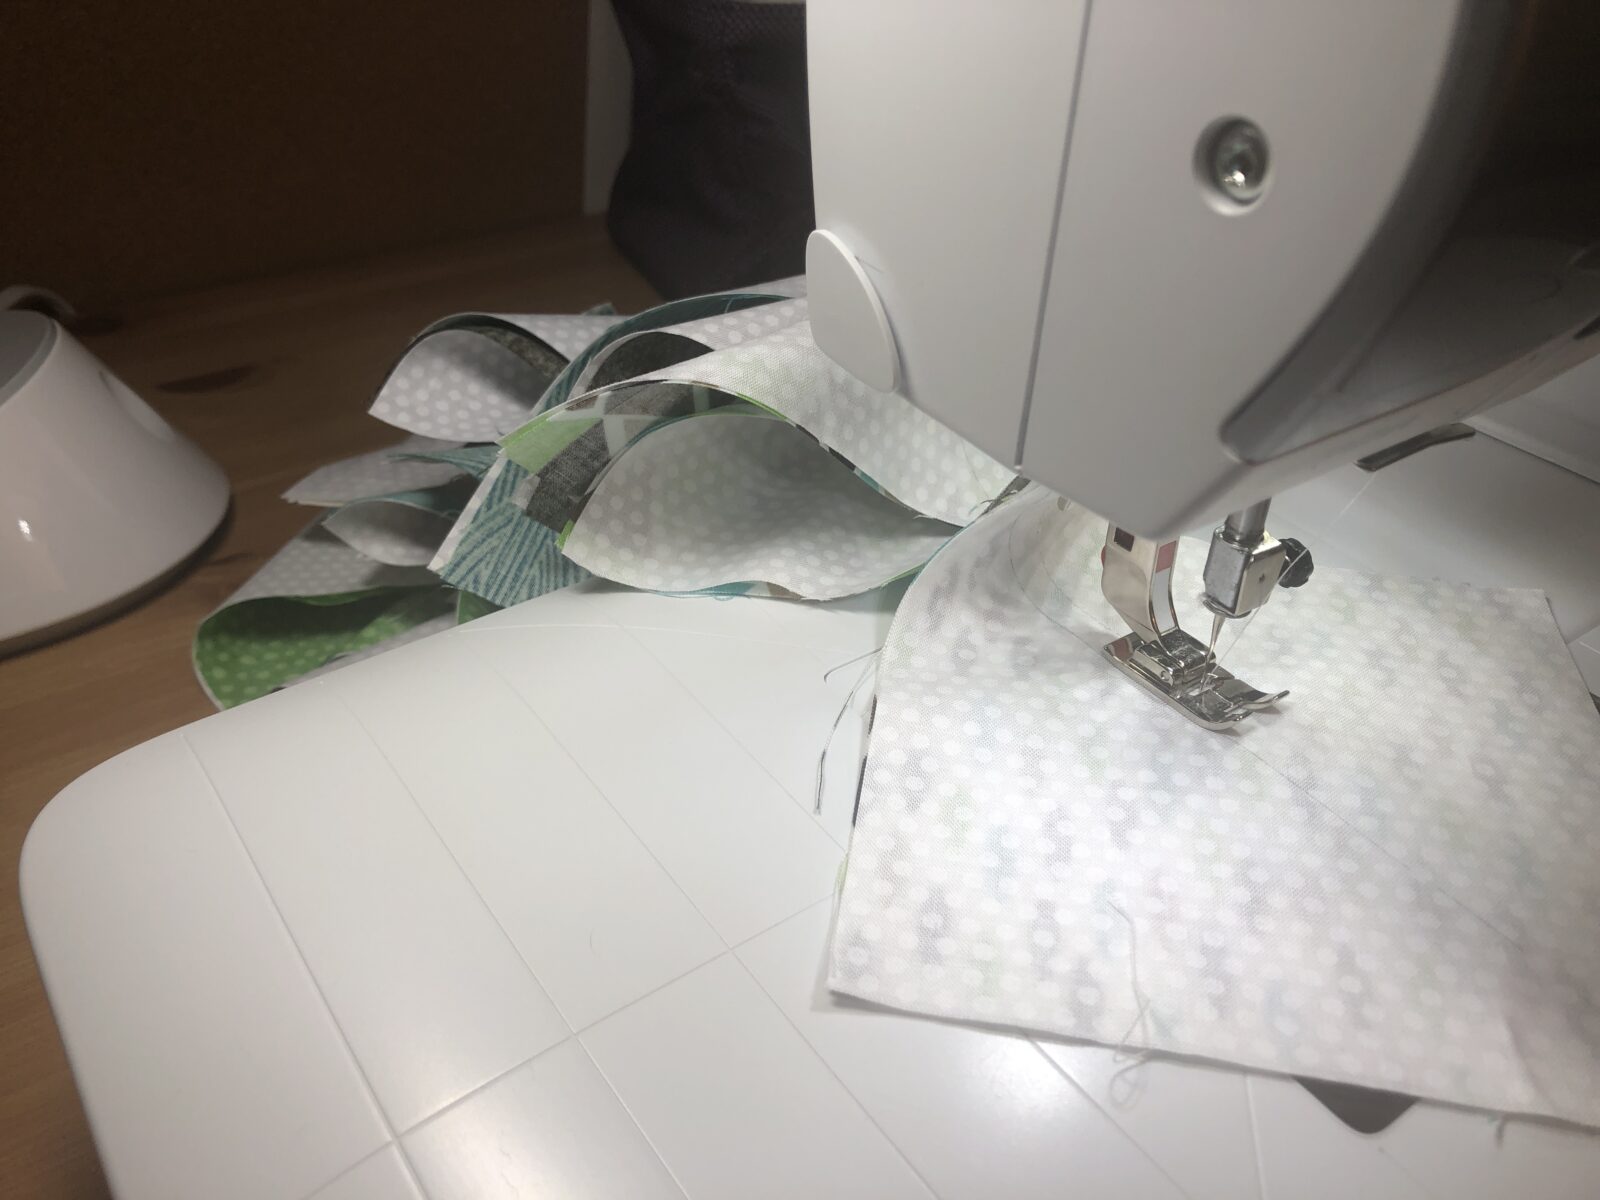
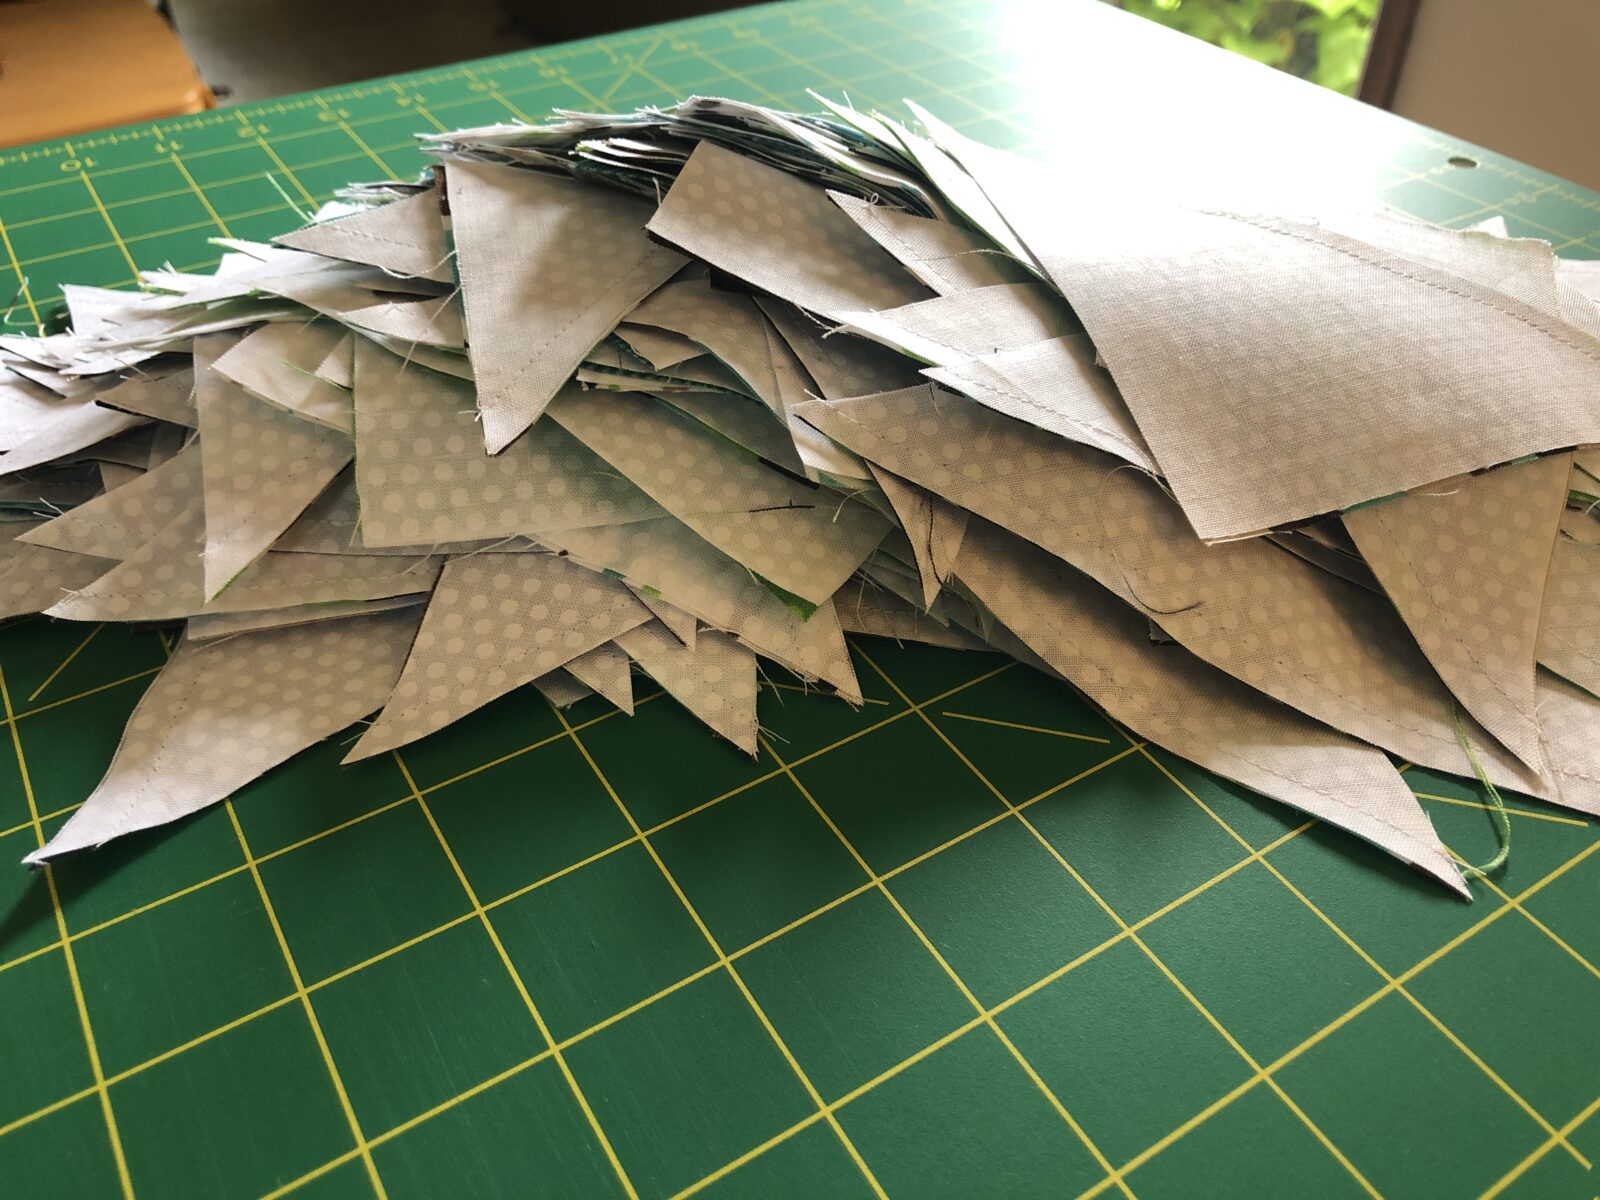
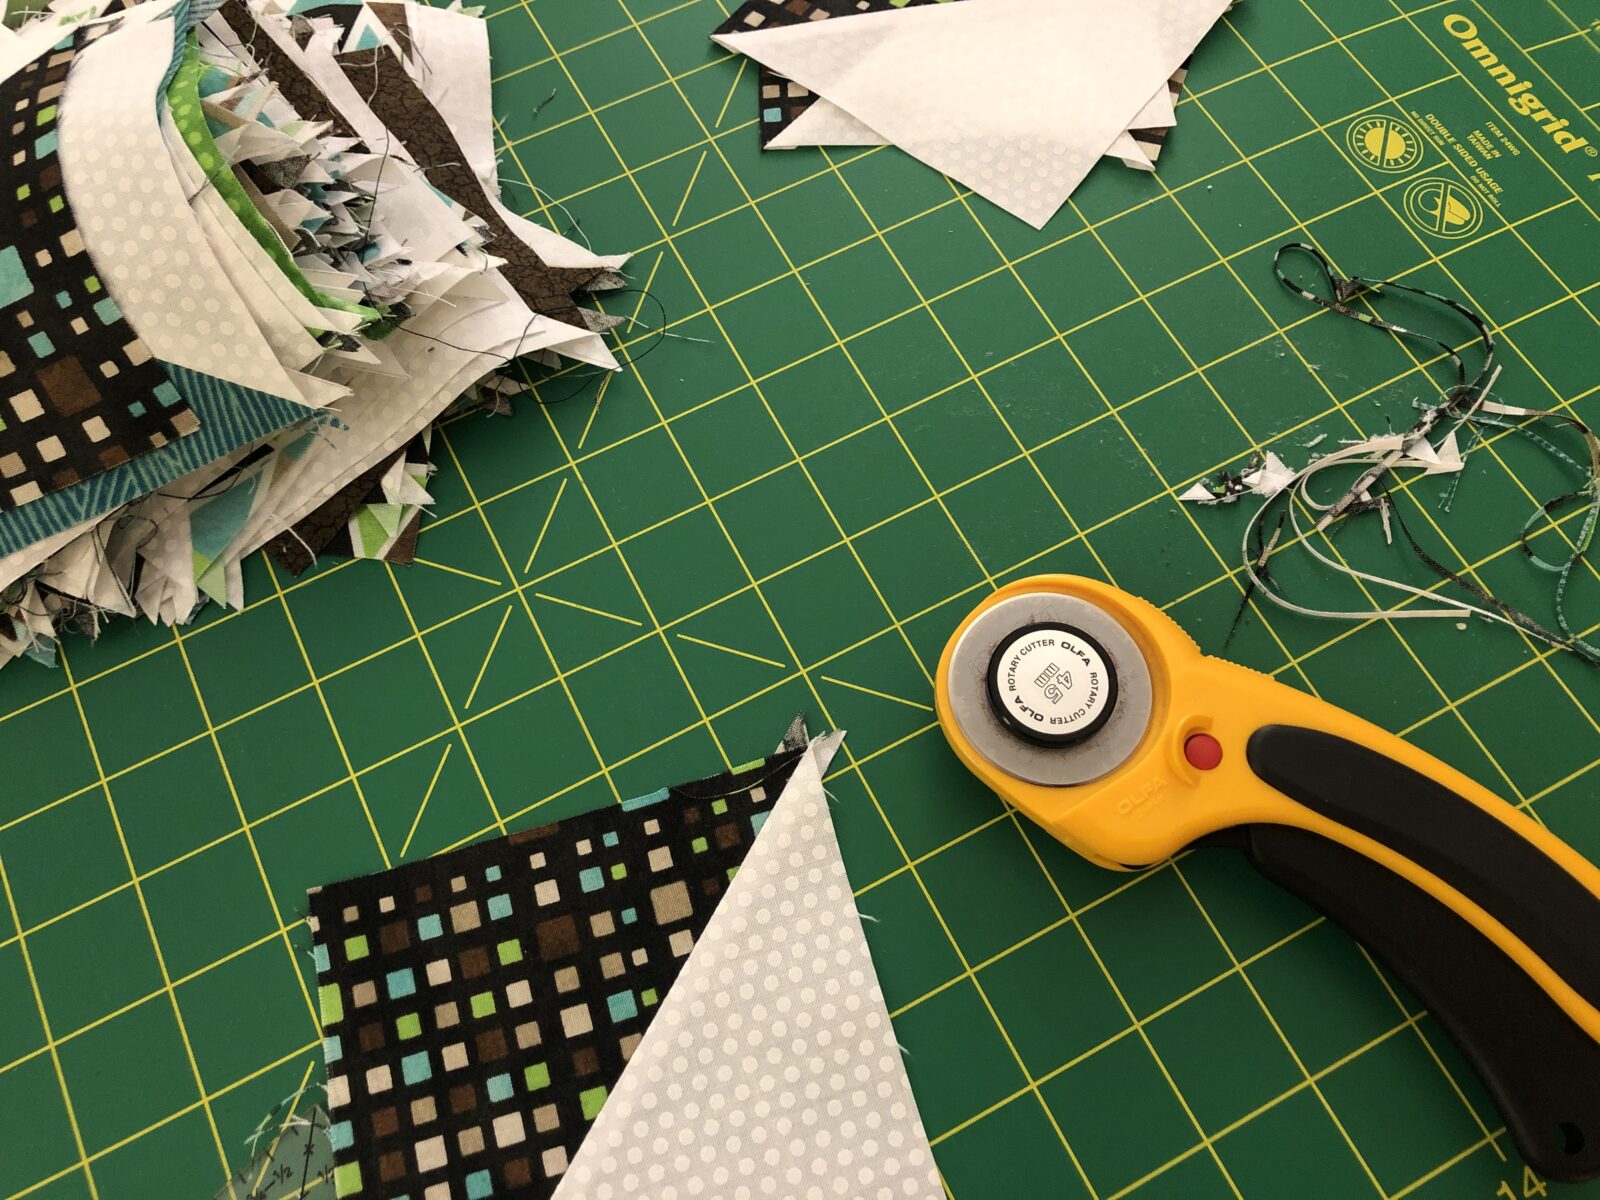
While sewing HSTs is the easy part, they are time consuming to complete the entire process to the finished a block. This particular quilt needed 128 HSTS (therefore 64 blocks). Once I have stitched up one side and down the other side (I flip the blocks), I have a big stack of blocks that need to be cut in half. Thus the name Half Square Triangle (this gives me the 128 HSTs that I need).

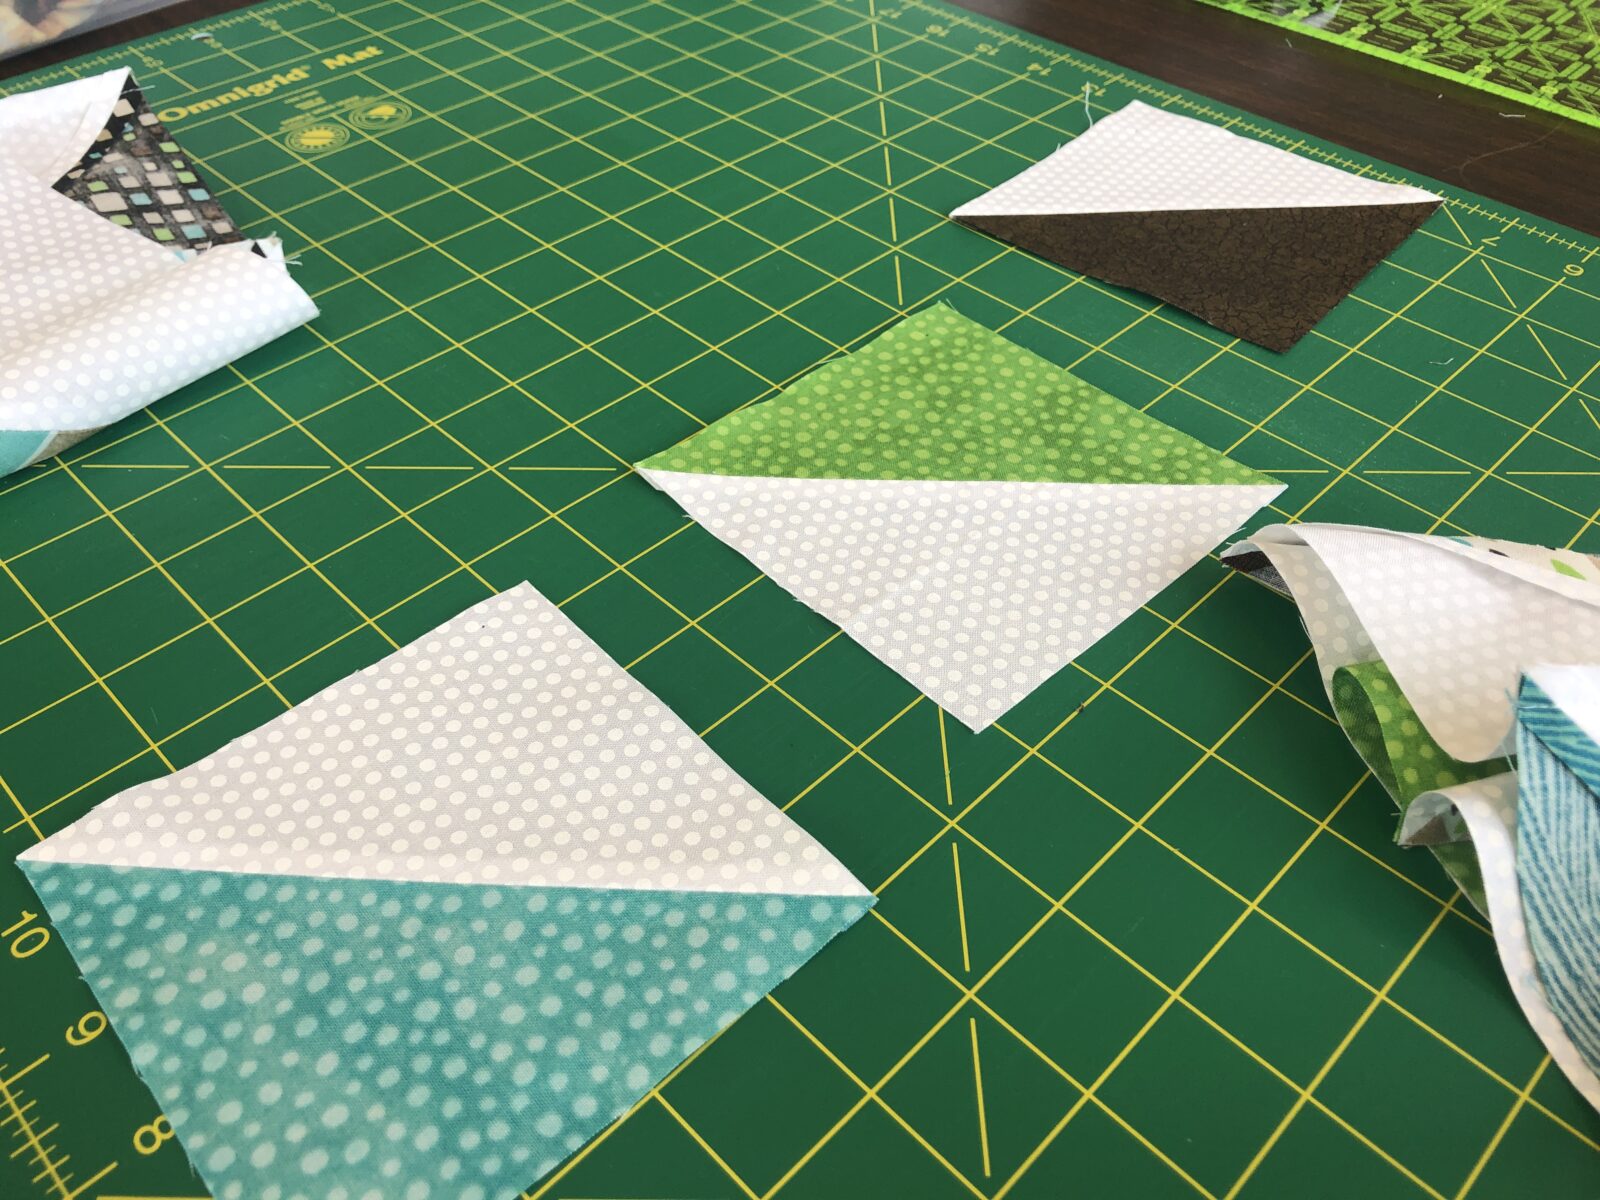
After the blocks are cut in half (on the diagonal line), they need to pressed open and squared up. When I have this many HSTs, I like to set up my little iron and cutting station in the living room and watch a movie with my son. Then away I go, pressing and trimming.
Once I have all 128 blocks pressed and trimmed, I like to lay out the pattern on my design wall.
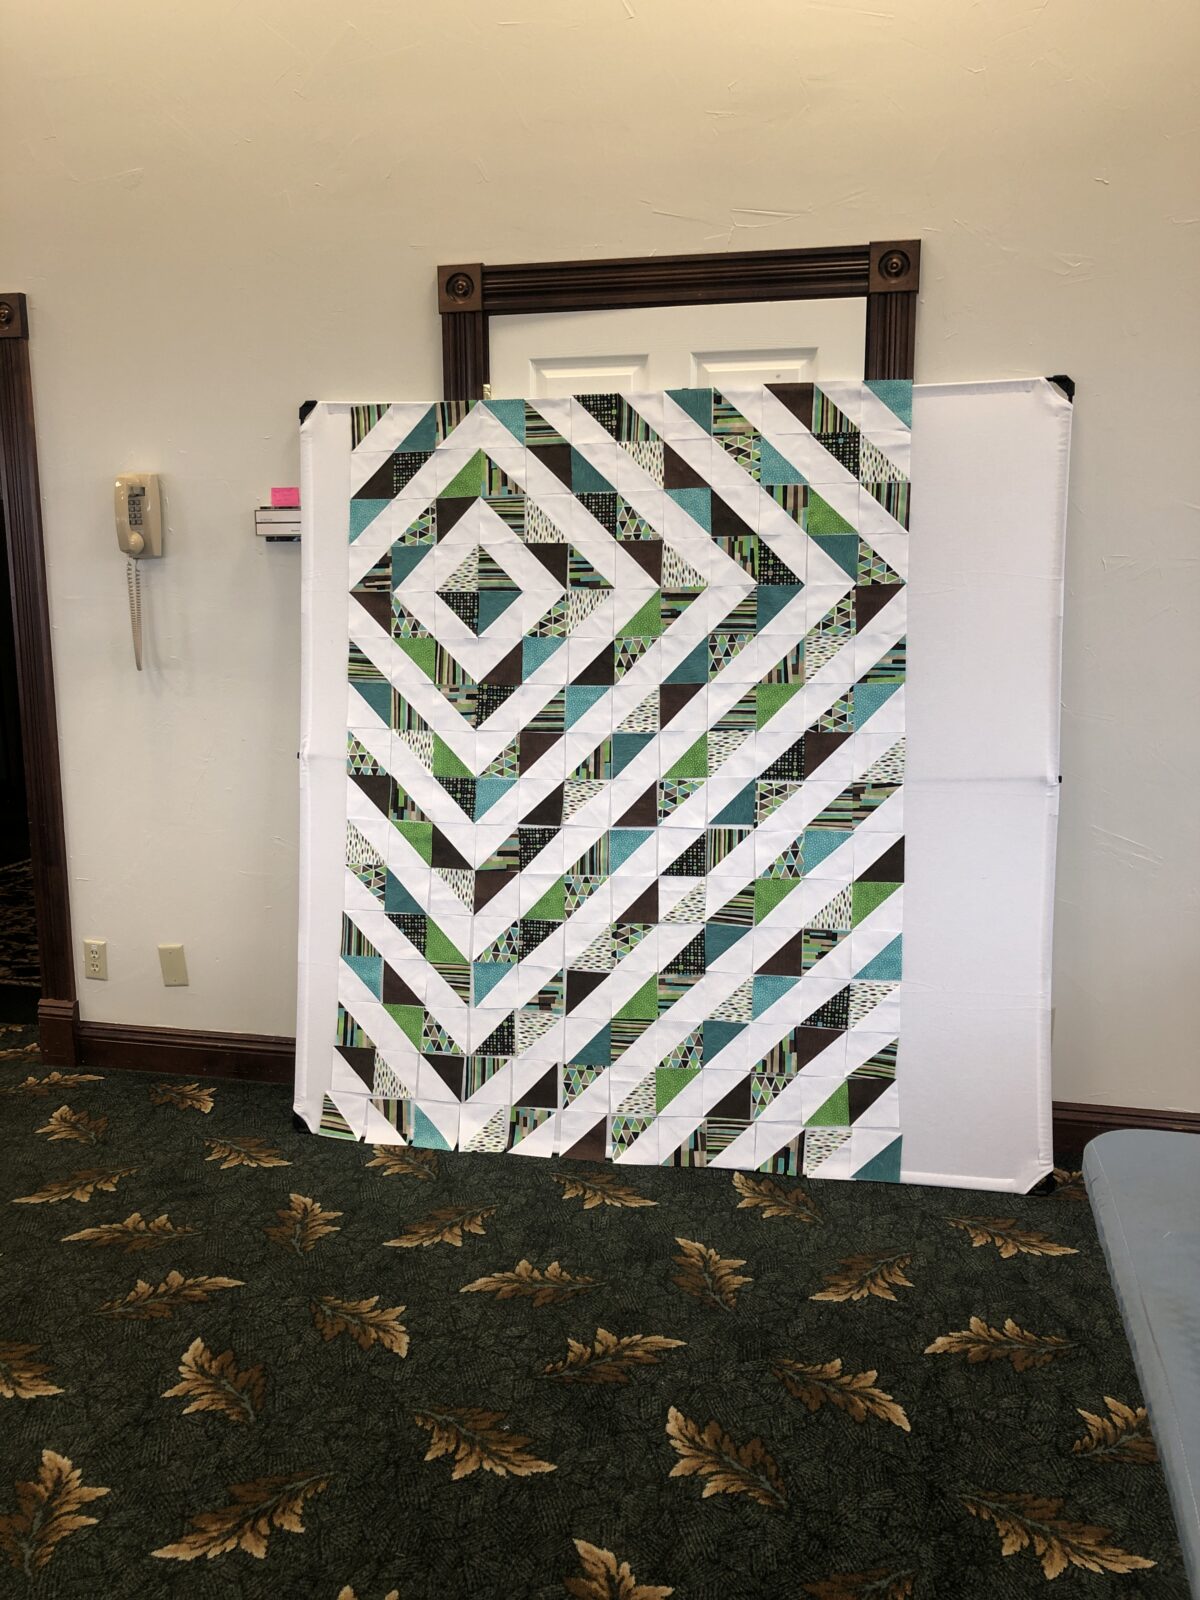
With any quilt block, the design wall / visual board (shown here) is a great Quilting tool that allows you to visualize the layout of your quilt blocks.
This visual board also allows for moving and rearranging blocks that may not look good next to one another or help discover that two of the same fabrics are side by side and should be moved.
Once I decided on this particular layout and my blocks were exactly where I wanted them, the sewing blocks together process was next.
I am so happy with the way this Quilt turned out. So happy in fact, that I entered it into my local County Fair and it won a 1st place ribbon.
Fun Facts:
Finished Size: 48″x 66″.
Fabric Collection: Modern Elements by Deborah Edwards.
Quilting Pantograph: Baptist Fan.
Quilted By: Lady Mumm Designs
1st Place Ribbon at Franklin County, OH Fair 2022
Quilt on and Sharon the Moments